LiDAR Project Creation
1. Description
Aether makes it easy to manage your LiDAR point cloud data. Let's take a look at how to create a LiDAR project from scratch.
2. Inputs
|
Required Inputs |
Description |
| Vector files | Area/corridor of the LiDAR project. See Manual File Upload about vector files supported. |
| Point cloud file | .las format |
3. Workflow
3.1 Project Creation
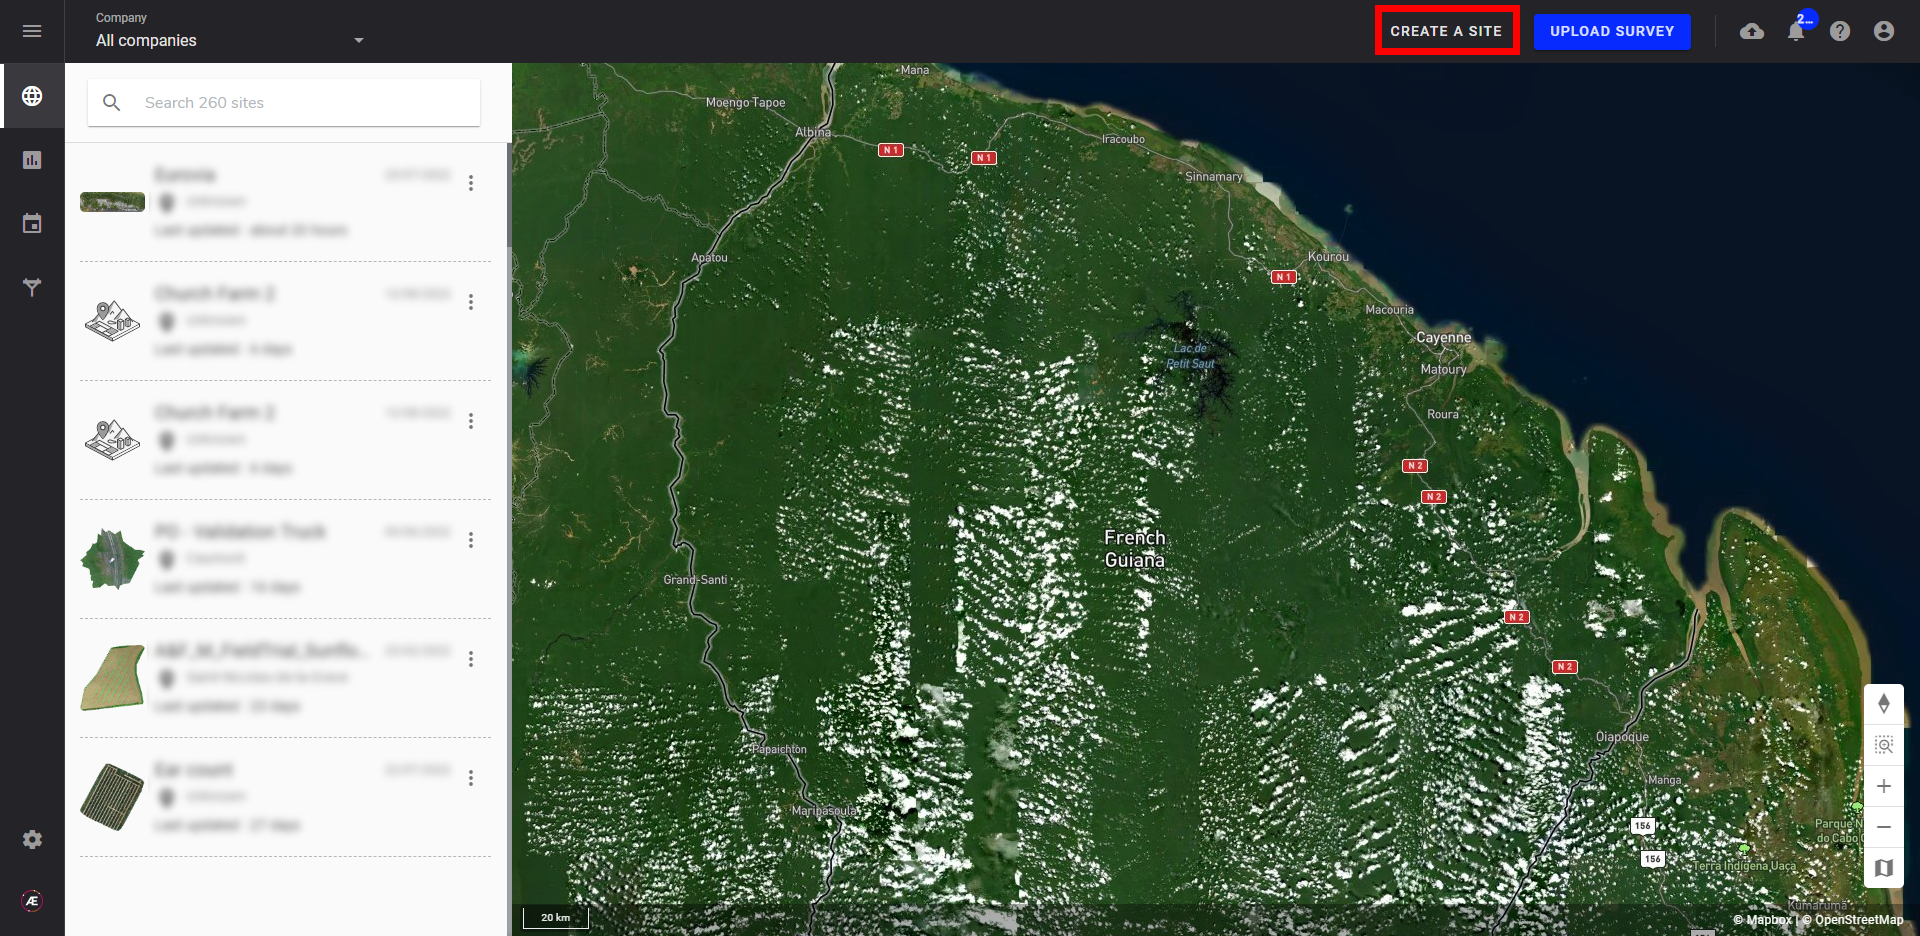
Step 1 - Select "CREATE A PROJECT" in the top-right corner of the home page.
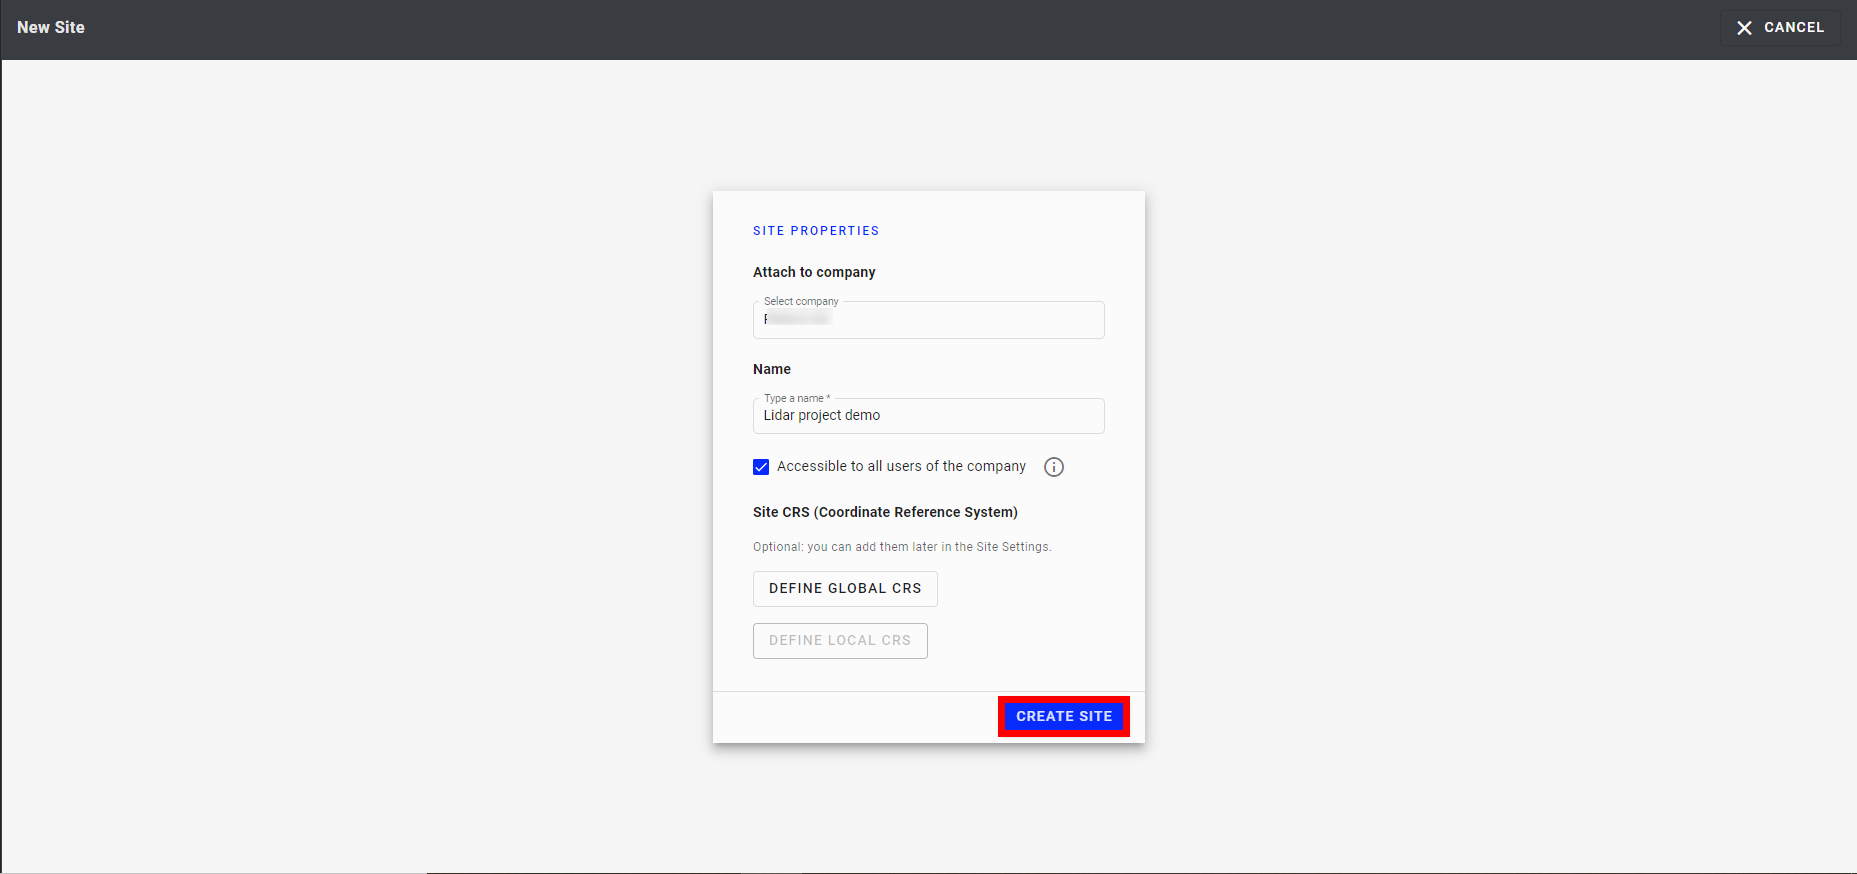
Step 2 - Fill in the information about the new project (see Project Creation).
Info
If you manage more than one company , select the one in which you wish to create the new project, define a project name, flag the checkbox if you want to make the project accessible to all users, and define a project CRS (this step can also be defined later on).
Step 3 - Select "CREATE PROJECT".
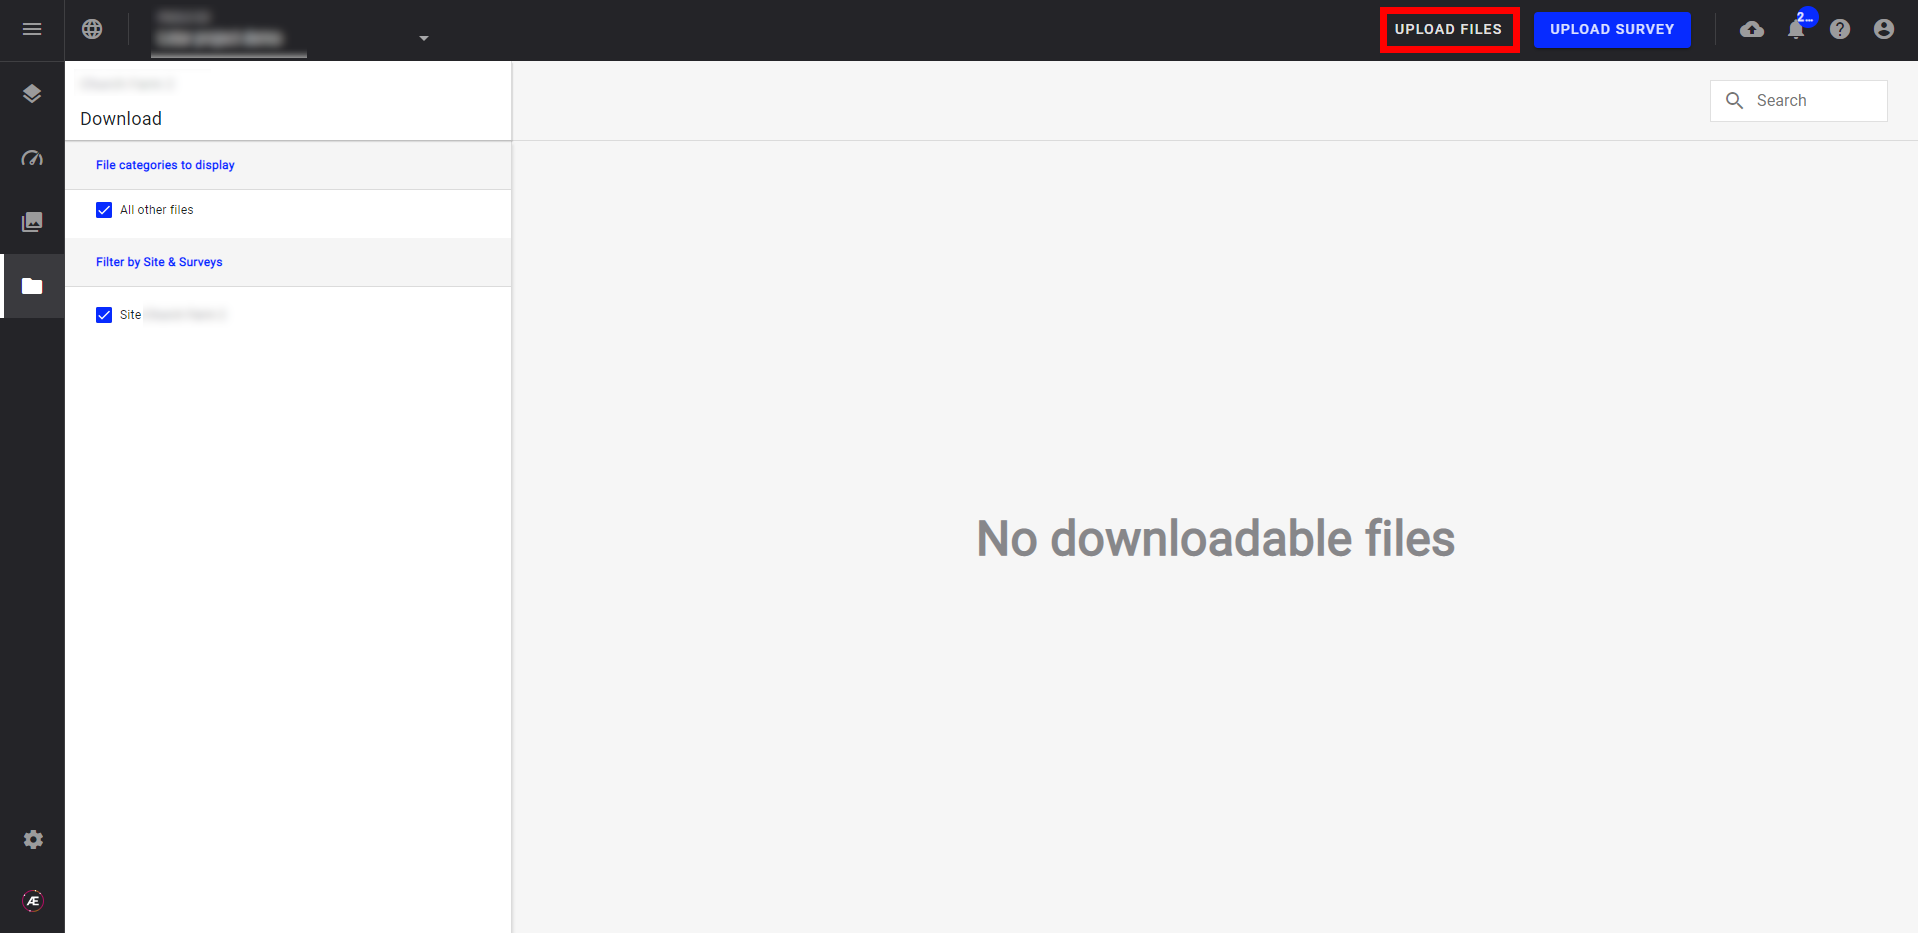
Step 4 - Select "UPLOAD FILES".
Step 5 - Upload a vector file.
Info
The file you choose should be a vector file showing the area/corridor in which you want to focus for your LiDAR project (for example, a .kml file.).
Step 6 - Make sure to select the radio button for "All surveys of this project". Then, click on "NEXT".
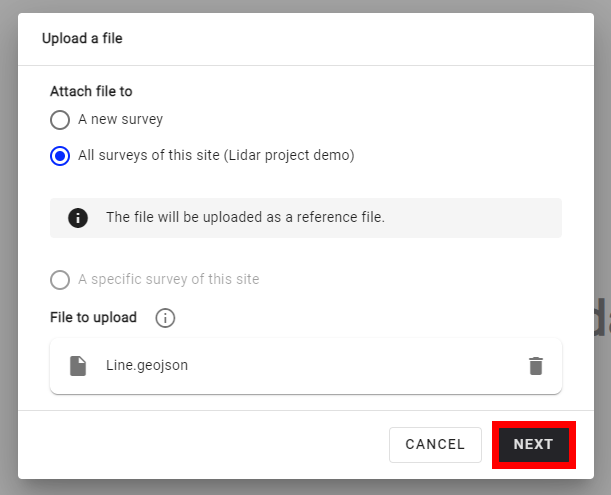
Step 7 - Fill in the information required. Then click on "UPLOAD"
Information required:
- Name the file (here for the example: "Powerline")
- File type
- Category
- Coordinate Reference Systems (CRS)

Step 8 - Once the upload is complete, the file is visible in the download section.
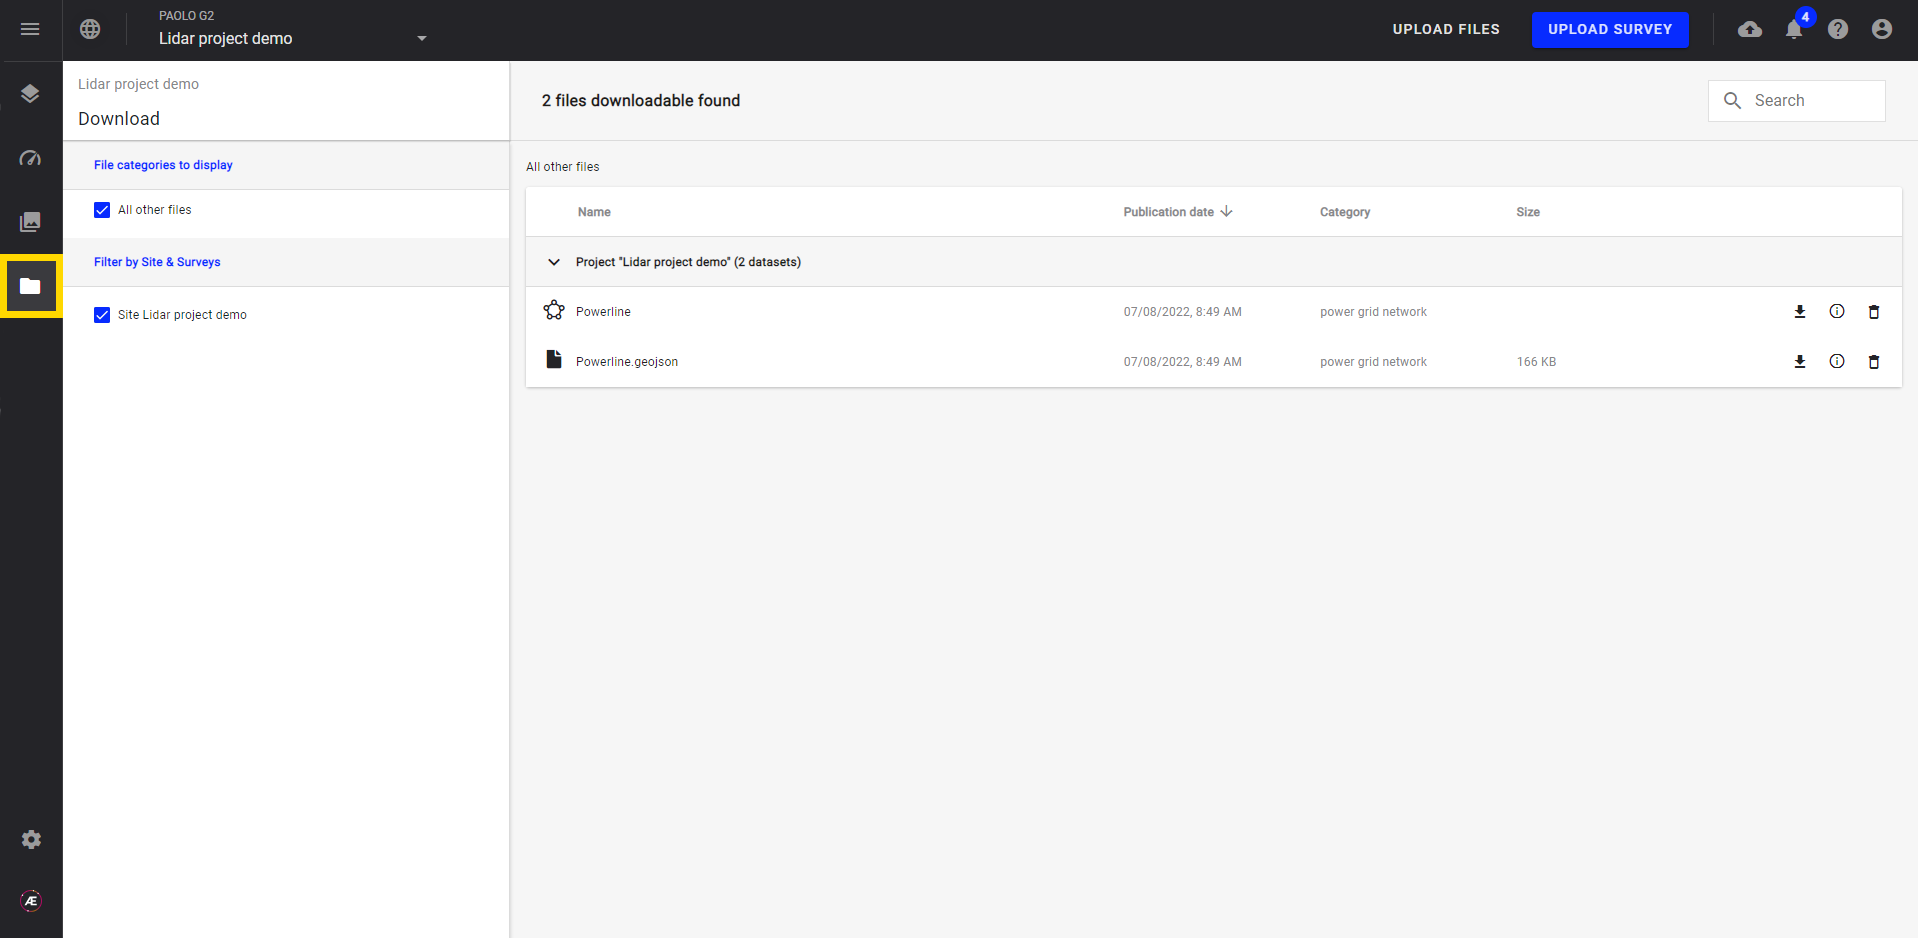
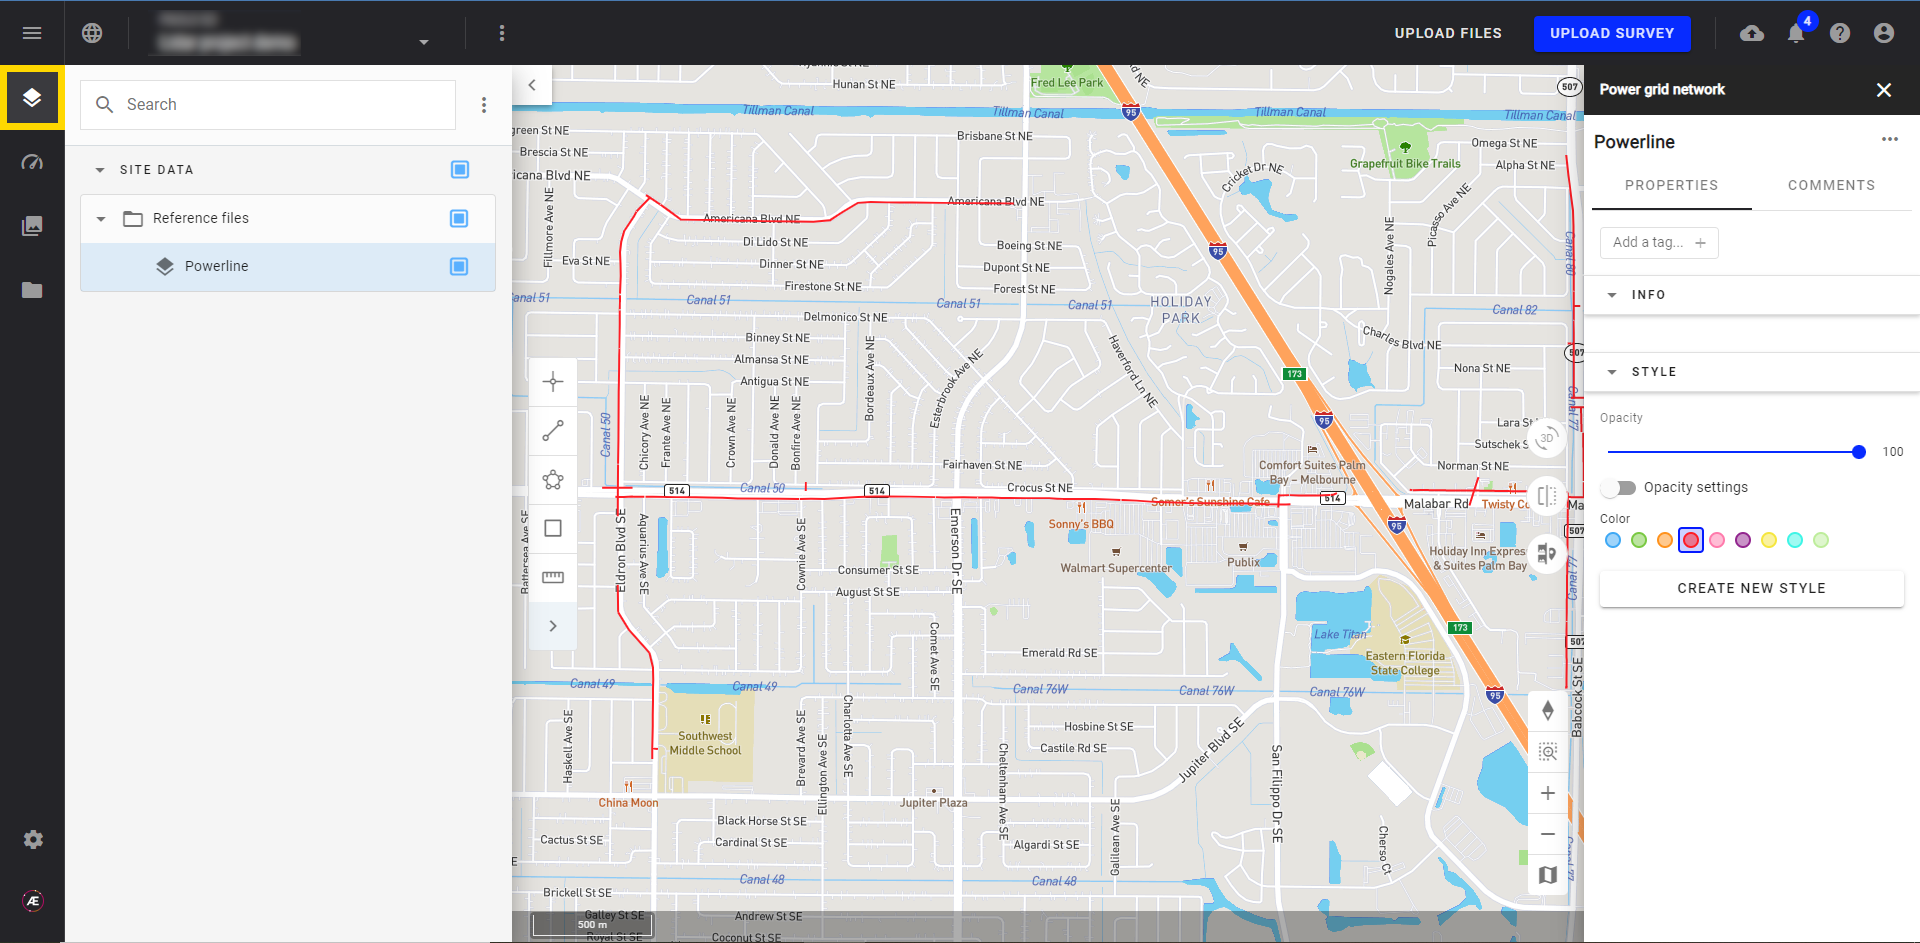
Step 9 - The same file also becomes visible in the layers section.
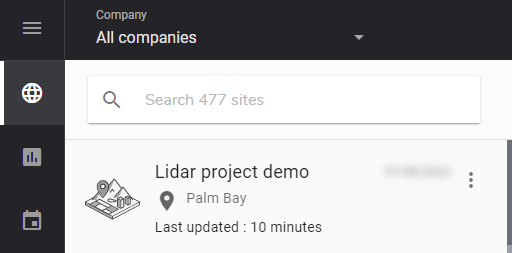
Step 10 - To check that it's visible in the project list, exit the project and search for it in the search bar.
3.2 LiDAR Survey Creation
Step 1 - Select “UPLOAD FILES”.

Step 2 - A new "Upload a file" window opens. Select "A new survey" under "Attach a file to".
Step 3 - Fill in the information:
- Date of the survey
- Name the survey
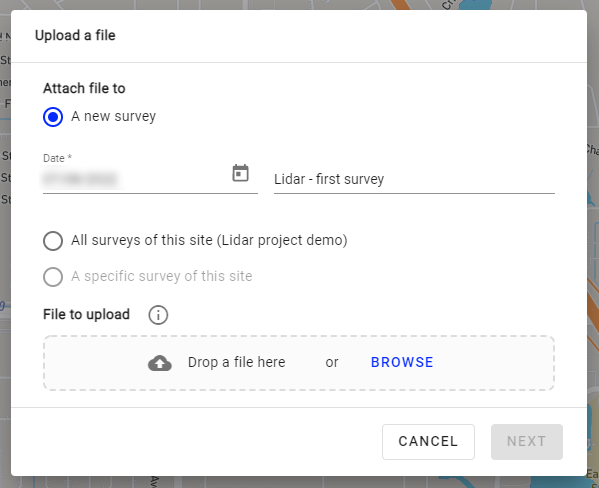
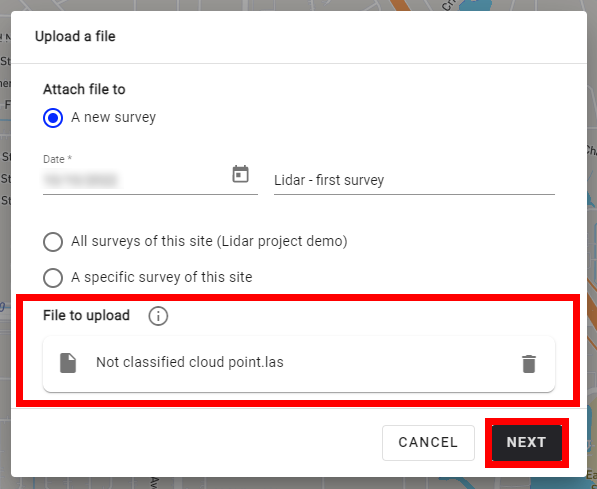
Step 4 - Drag and drop or browse for the point cloud file (.las) in the upload area. Then, Click on "NEXT".
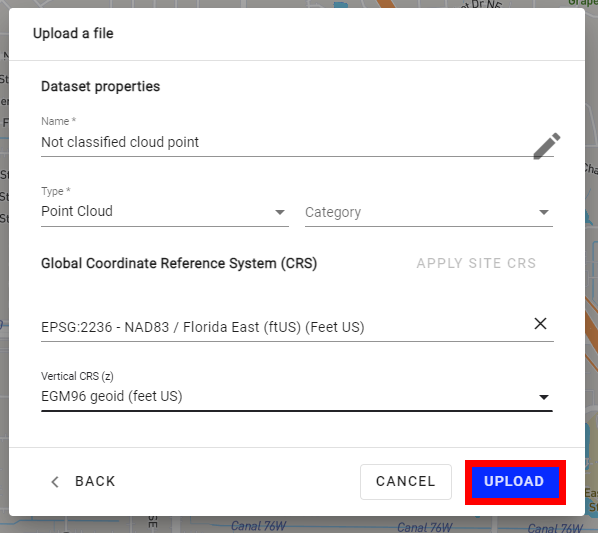
Step 5 - Fill in the file information and click on "UPLOAD".
-
In the "Dataset properties" section:
- Name
- Type ("Point Cloud")
- Category (can be left empty)
- Select the correct CRS
Info
A warning appears, asking to confirm the upload, and indicating that you cannot close the browser tab before the completion of the upload.
Step 6 - When you're ready to proceed, select "Confirm".
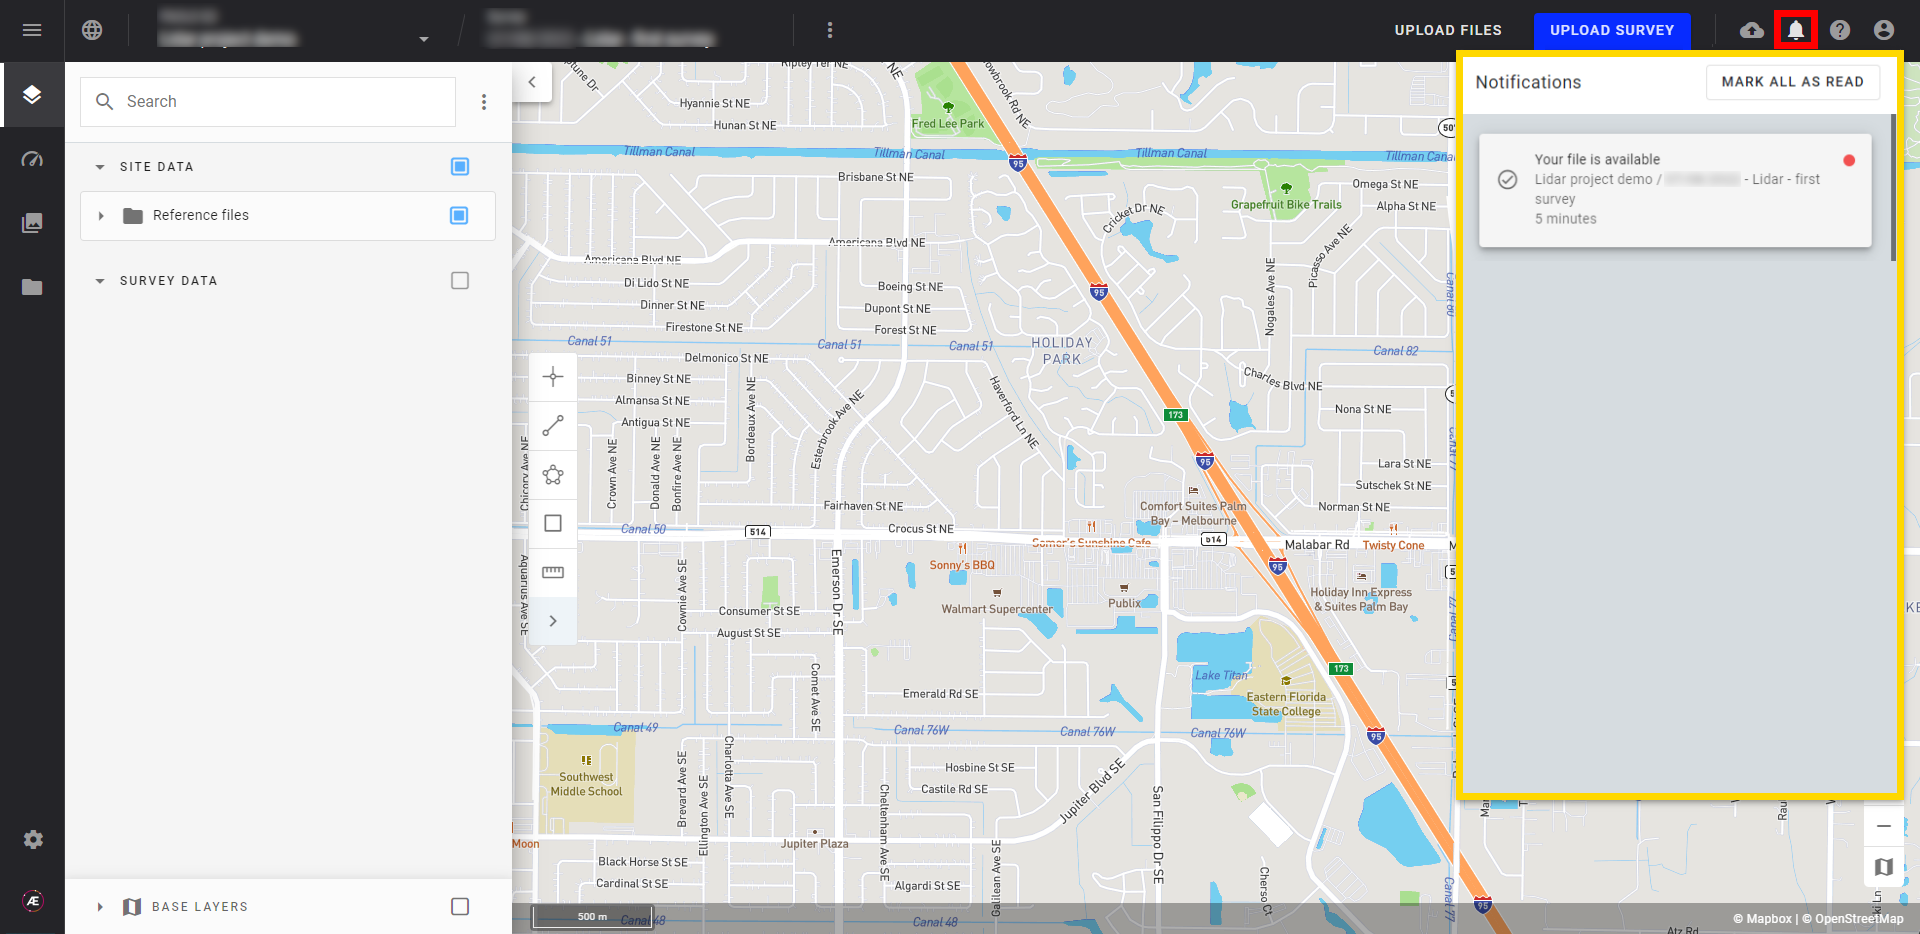
Step 7 - To view the upload progress, select the cloud icon from the top right-hand side of the screen. The duration of this step depends on the size of the point cloud and depends on your Internet connection.
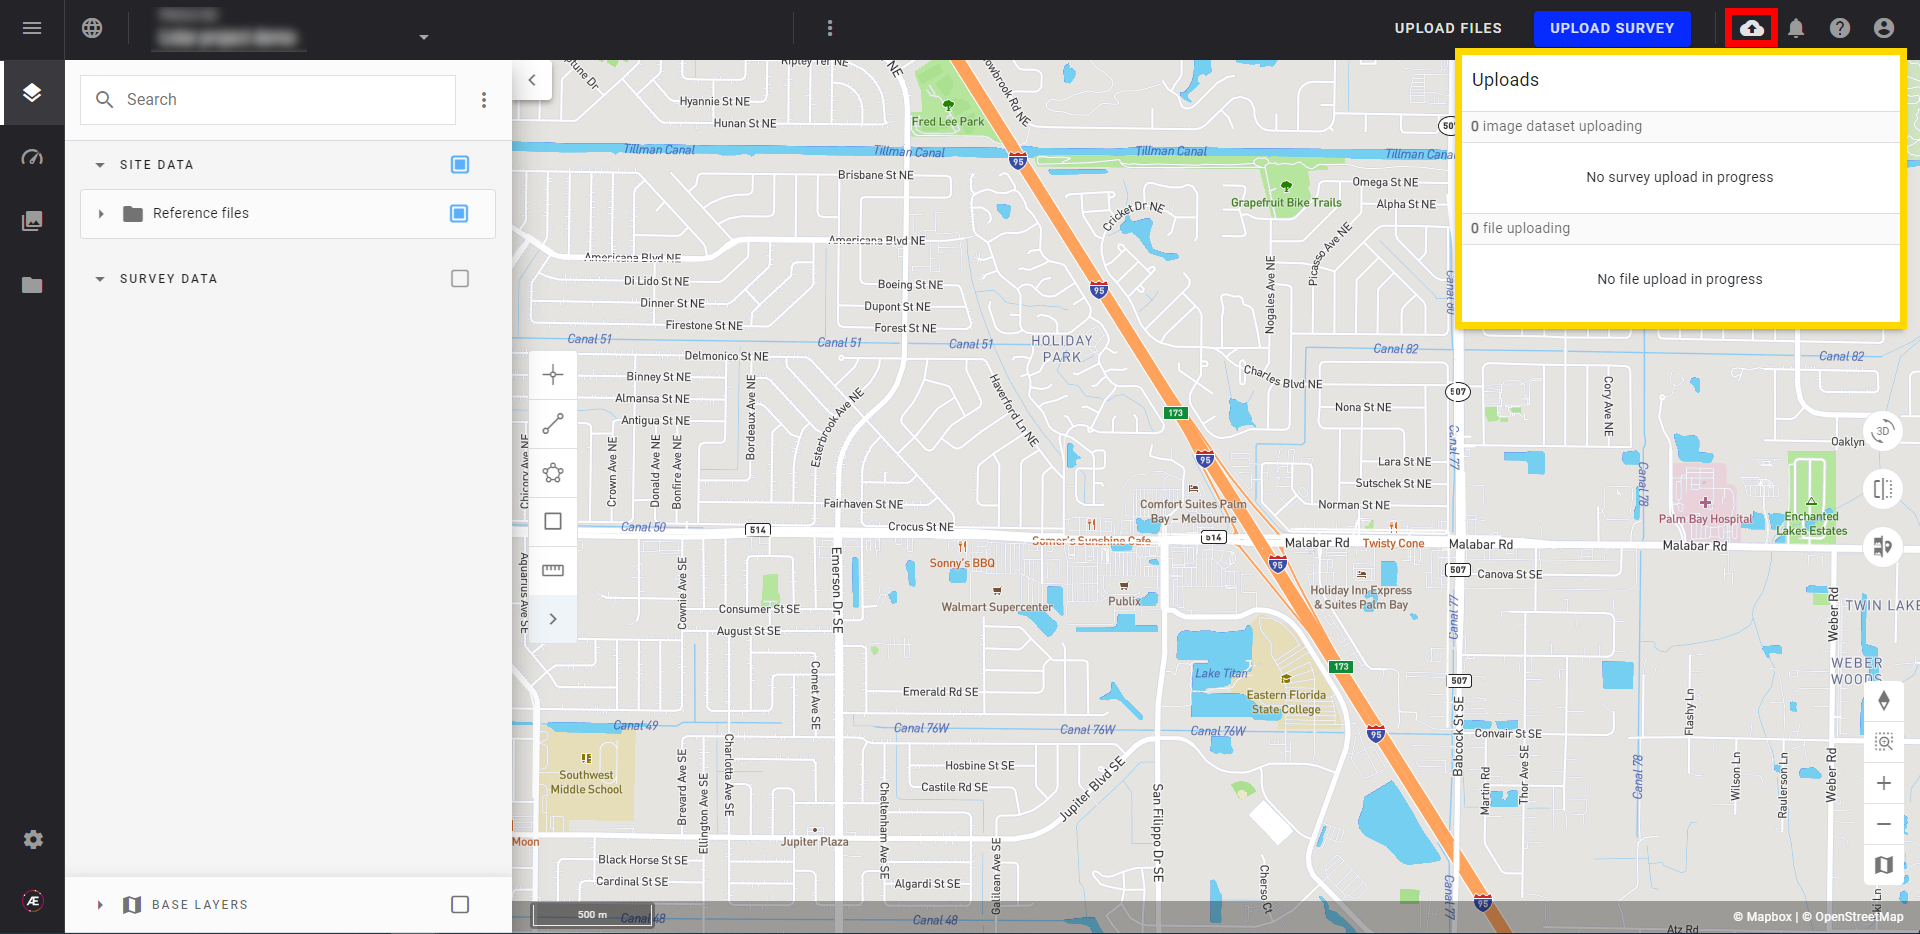
Step 8 - Once complete, a notification will appear.
Step 9 - Once all the files are uploaded, refresh the web page by selecting the project from the home menu.
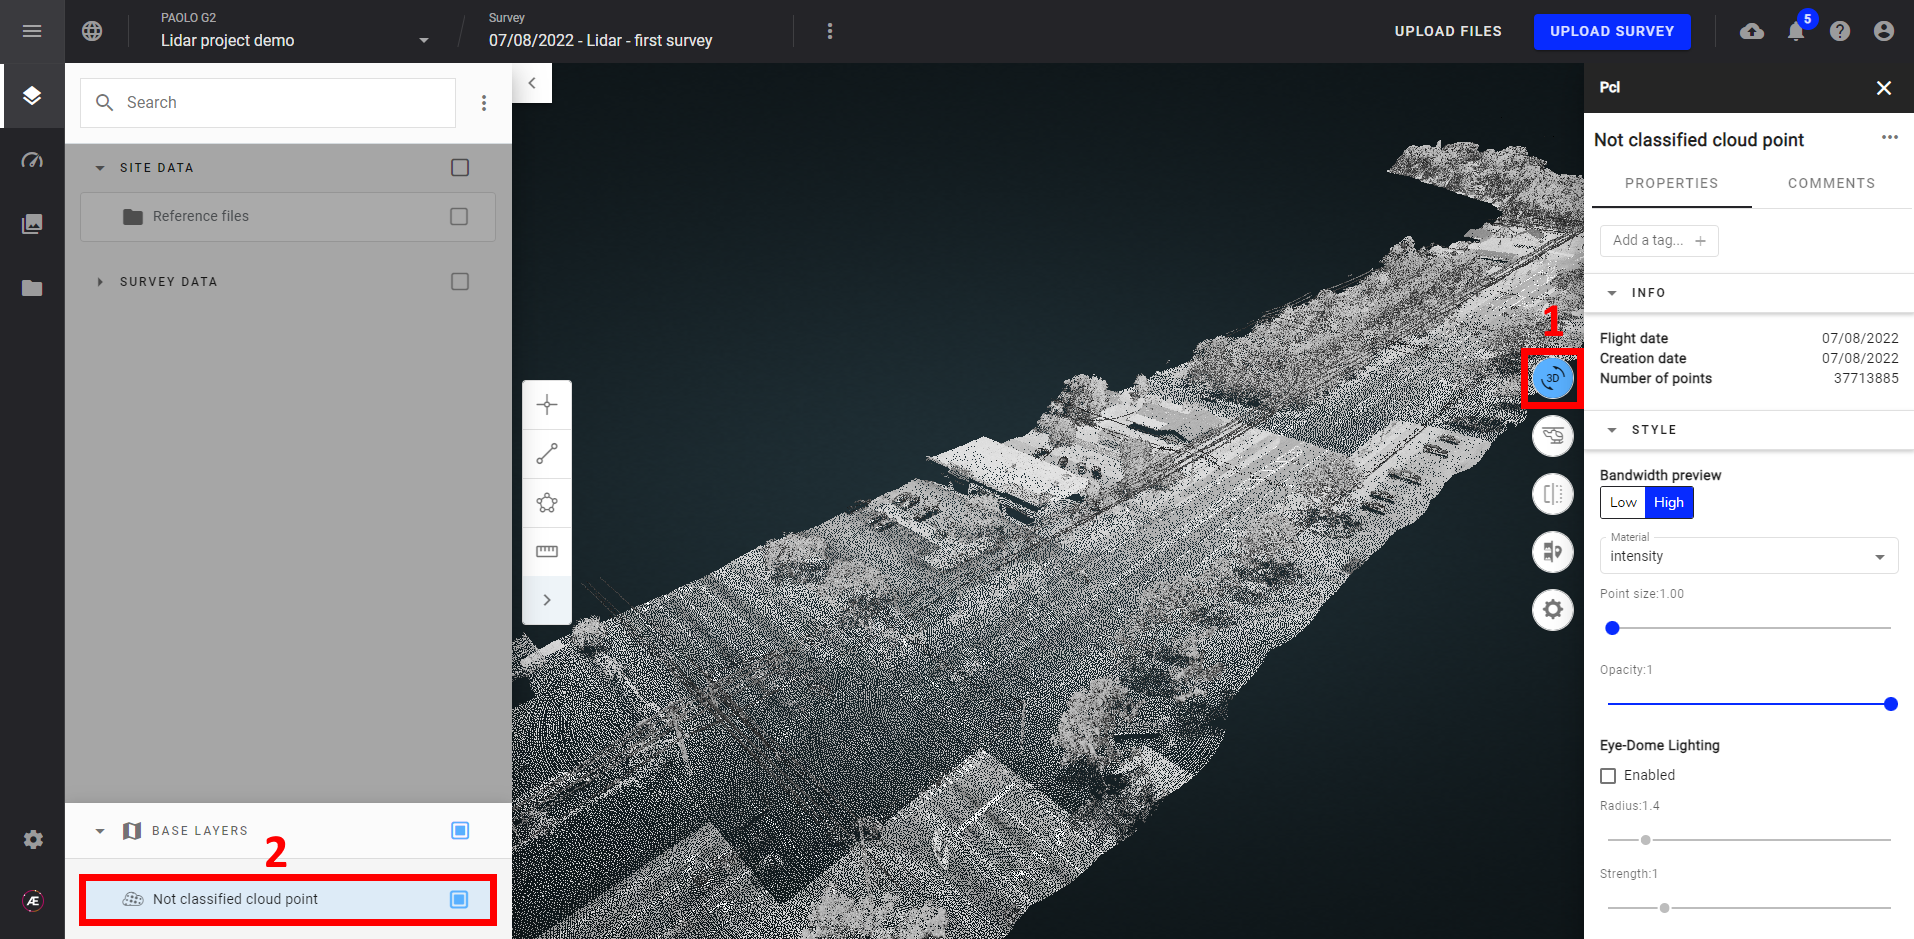
Step 10 - Select the 3D view from the layers panel to browse your LiDAR survey.