

Data Acquisition - Tasks Management and Update
1. Tasks management
Info
This section is intended for Capture task Coordinators.
1.1 Task creation
Step 1 - Click on "+ NEW TASK" to create a new task from scratch in the Data Acquisition Module.
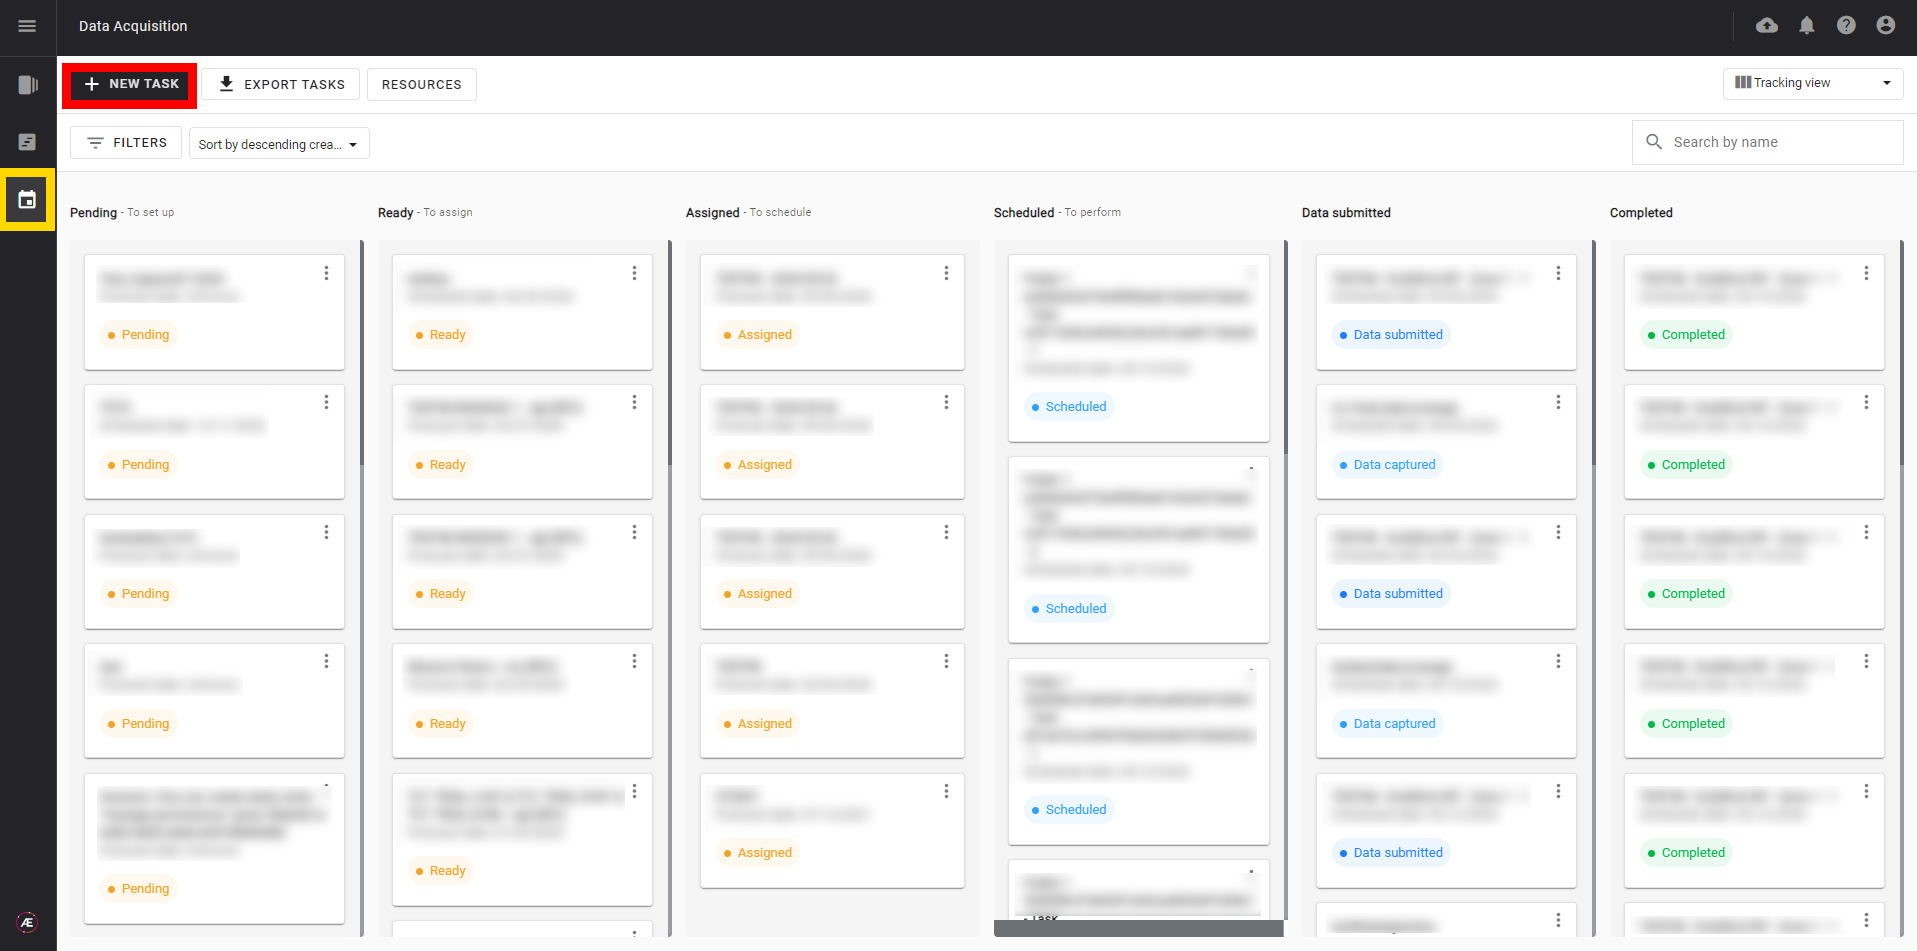
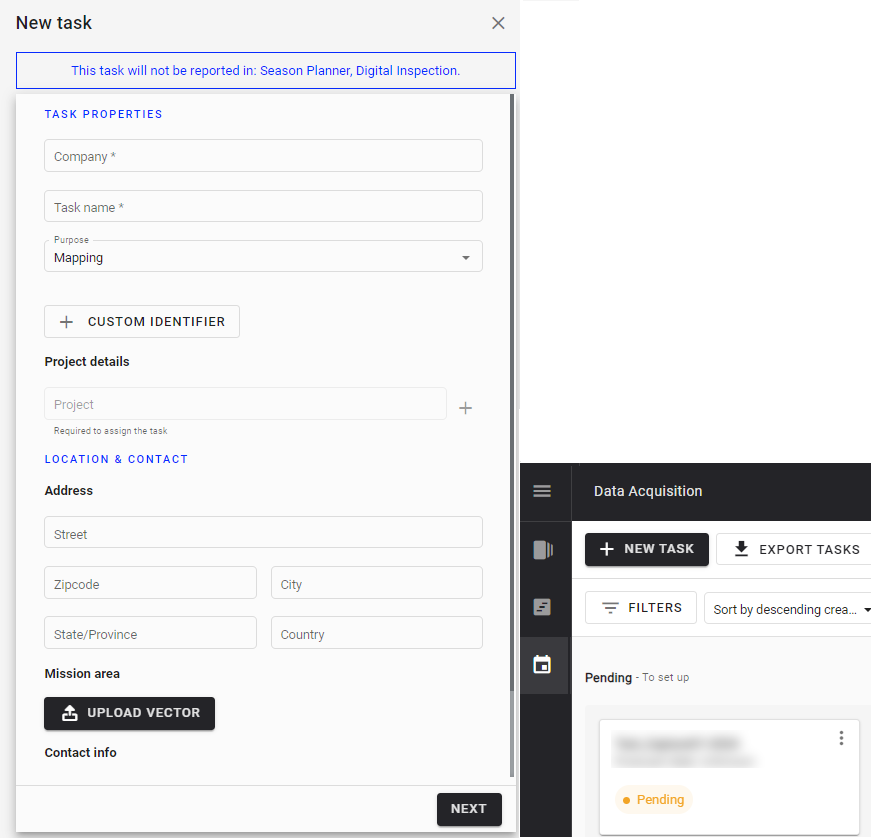
Step 2 - Indicate the different information related to the Data Acquisition task, at this stage, the minimum information required is the corresponding Company and the Task name. The new task created appears in the "Pending" section of Data Acquisition.
1.2 Task deletion
Info
Deleting a task linked to Season Planner will remove the link between the Data Acquisition task and Season Planner task. In the Season Planner, the task will have the status “No capture task” and the button “VIEW TASK” will no longer be displayed. It will be necessary to generate the capture task again from the season planner (see Season Planner - Creation of Data Acquisition Tasks).
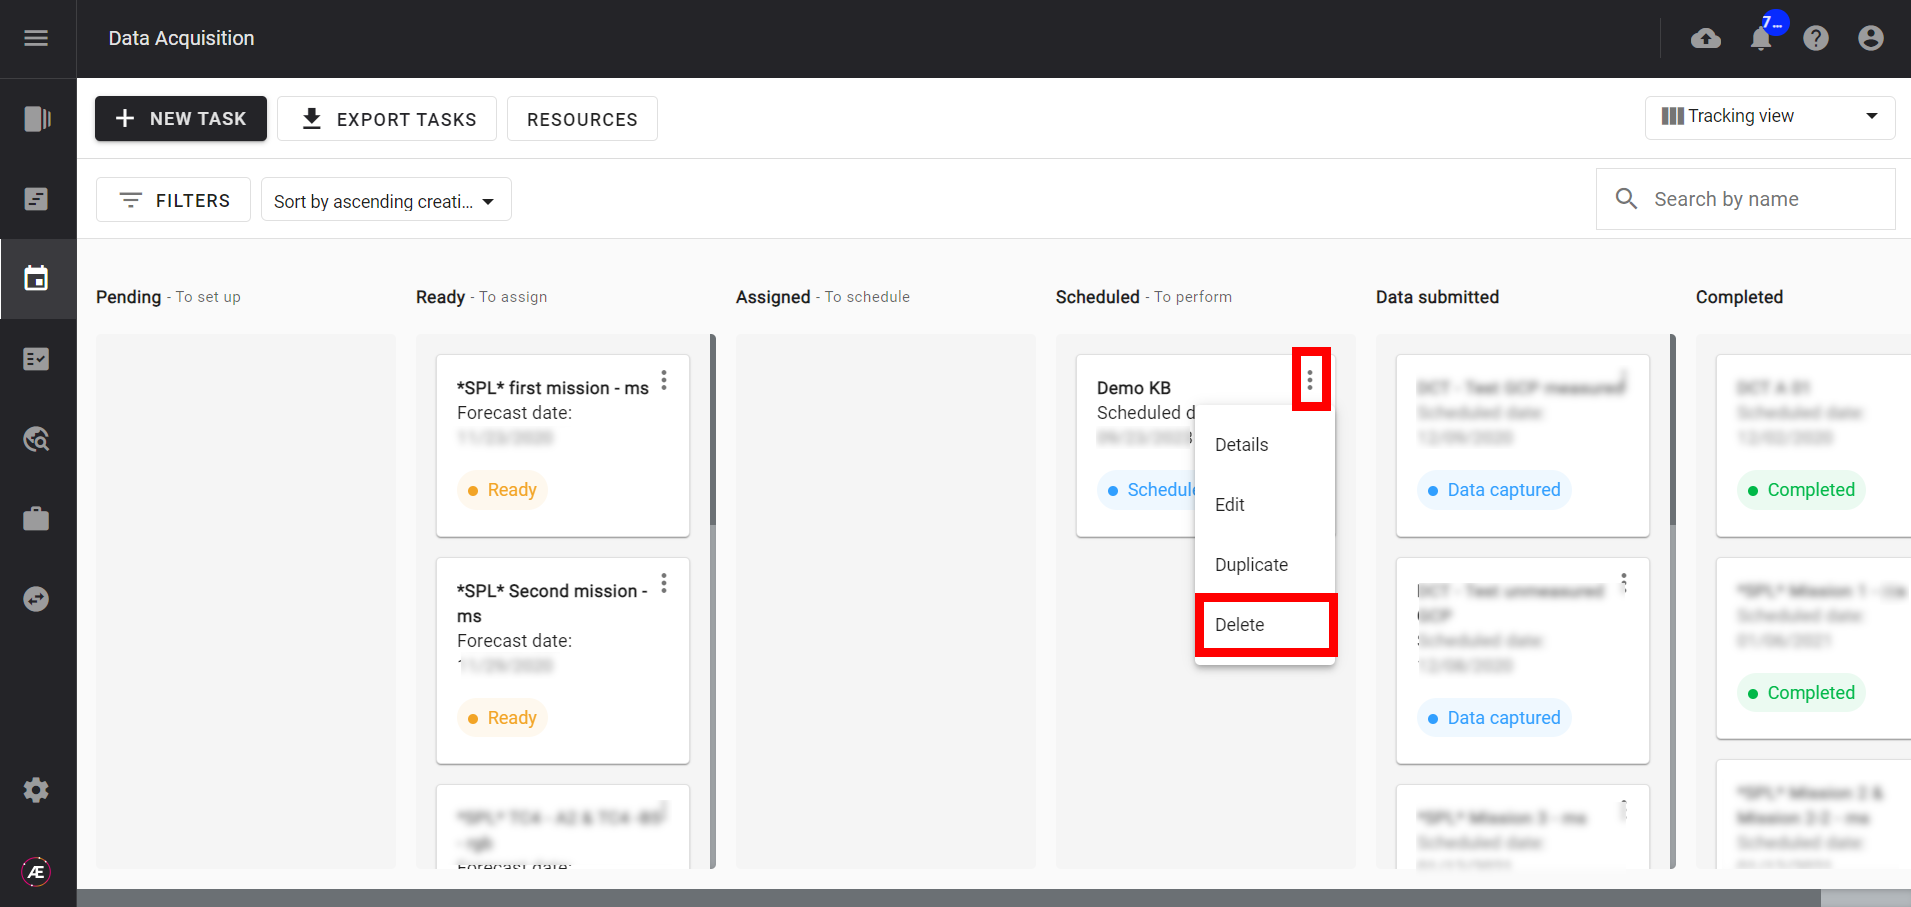
1.2.1 Unitary task deletion
From any view, use the 3 dots menu of the desired task and click on "Delete".
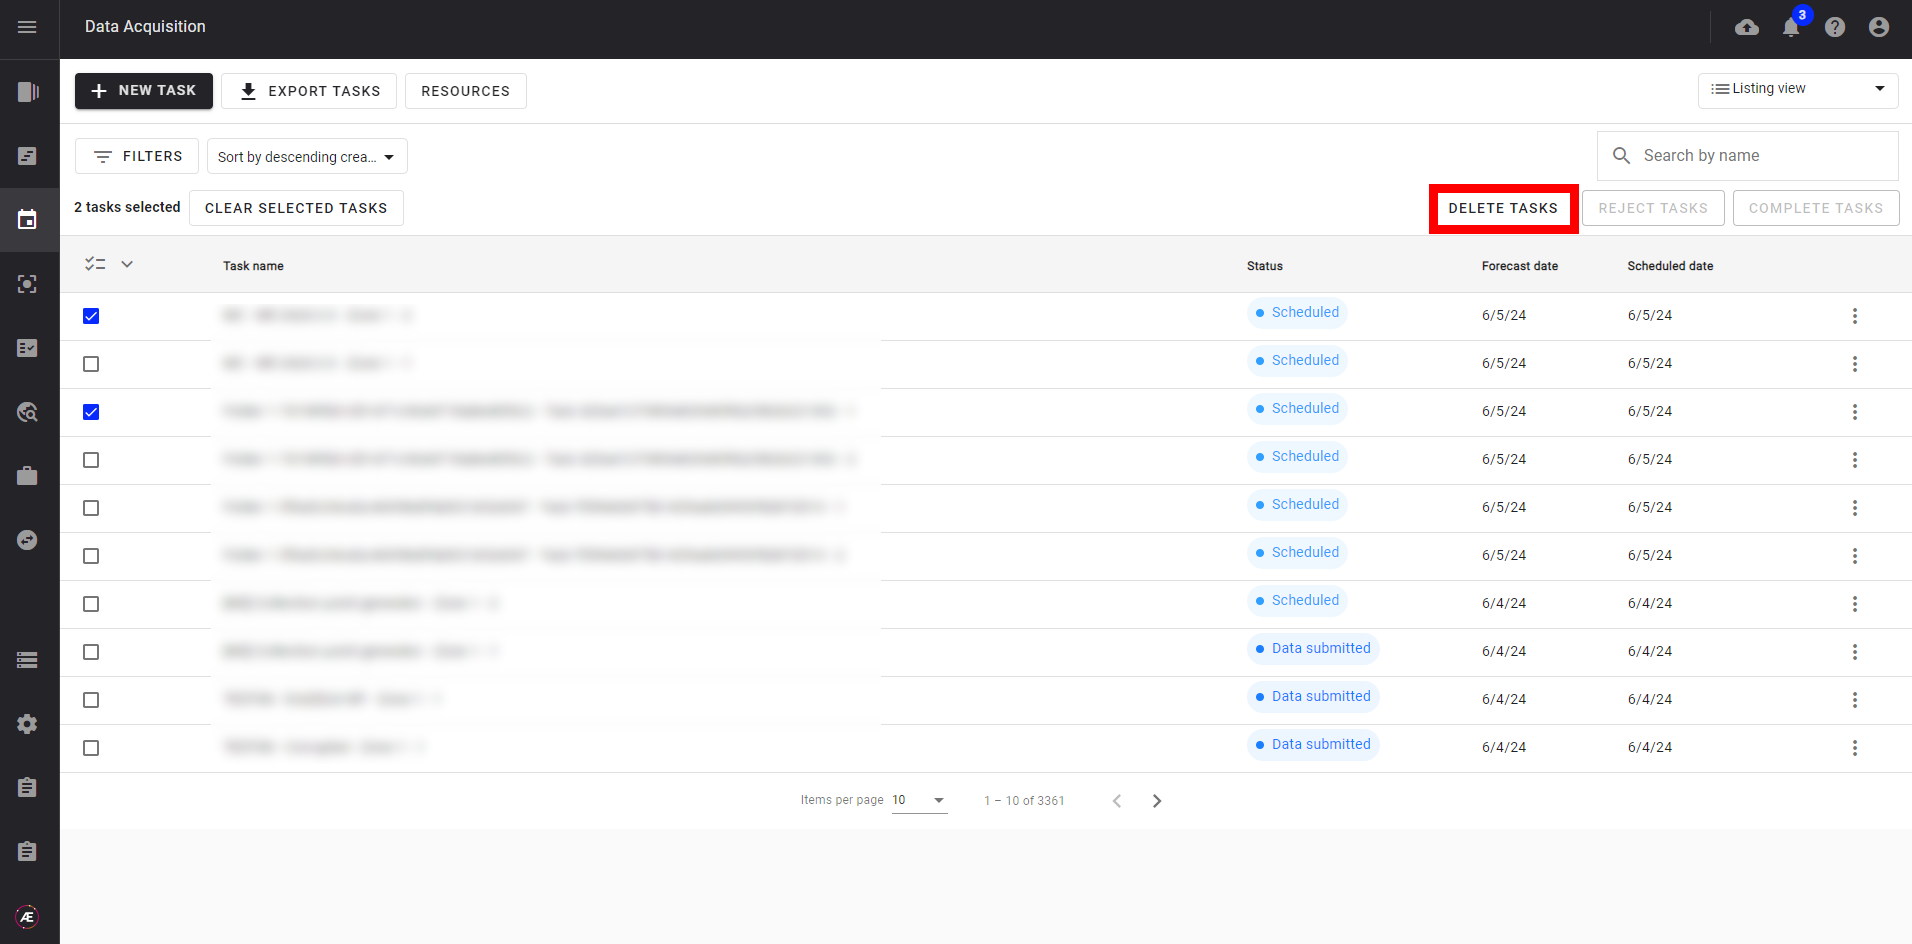
1.2.2 Bulk tasks deletion
In the Listing view, select the tasks you want to delete and click on "Delete tasks".
2. Update of task status
Info
This section is intended for Capture task Coordinators and Capture task Editors.
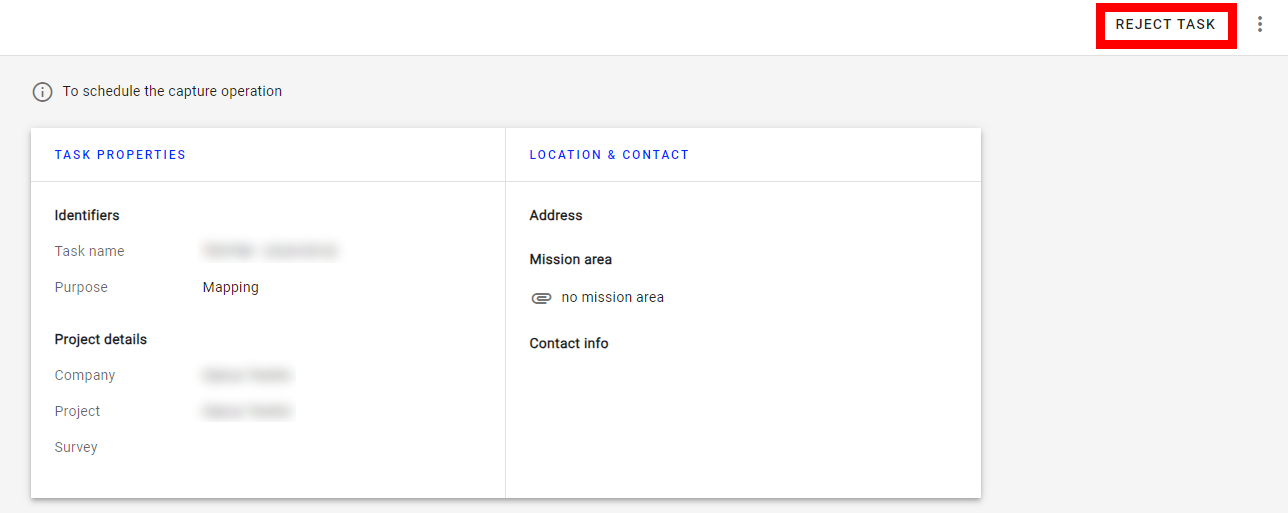
2.1 Unitary task rejection
Click on “REJECT TASK” from the task details page (in "Assigned" status").
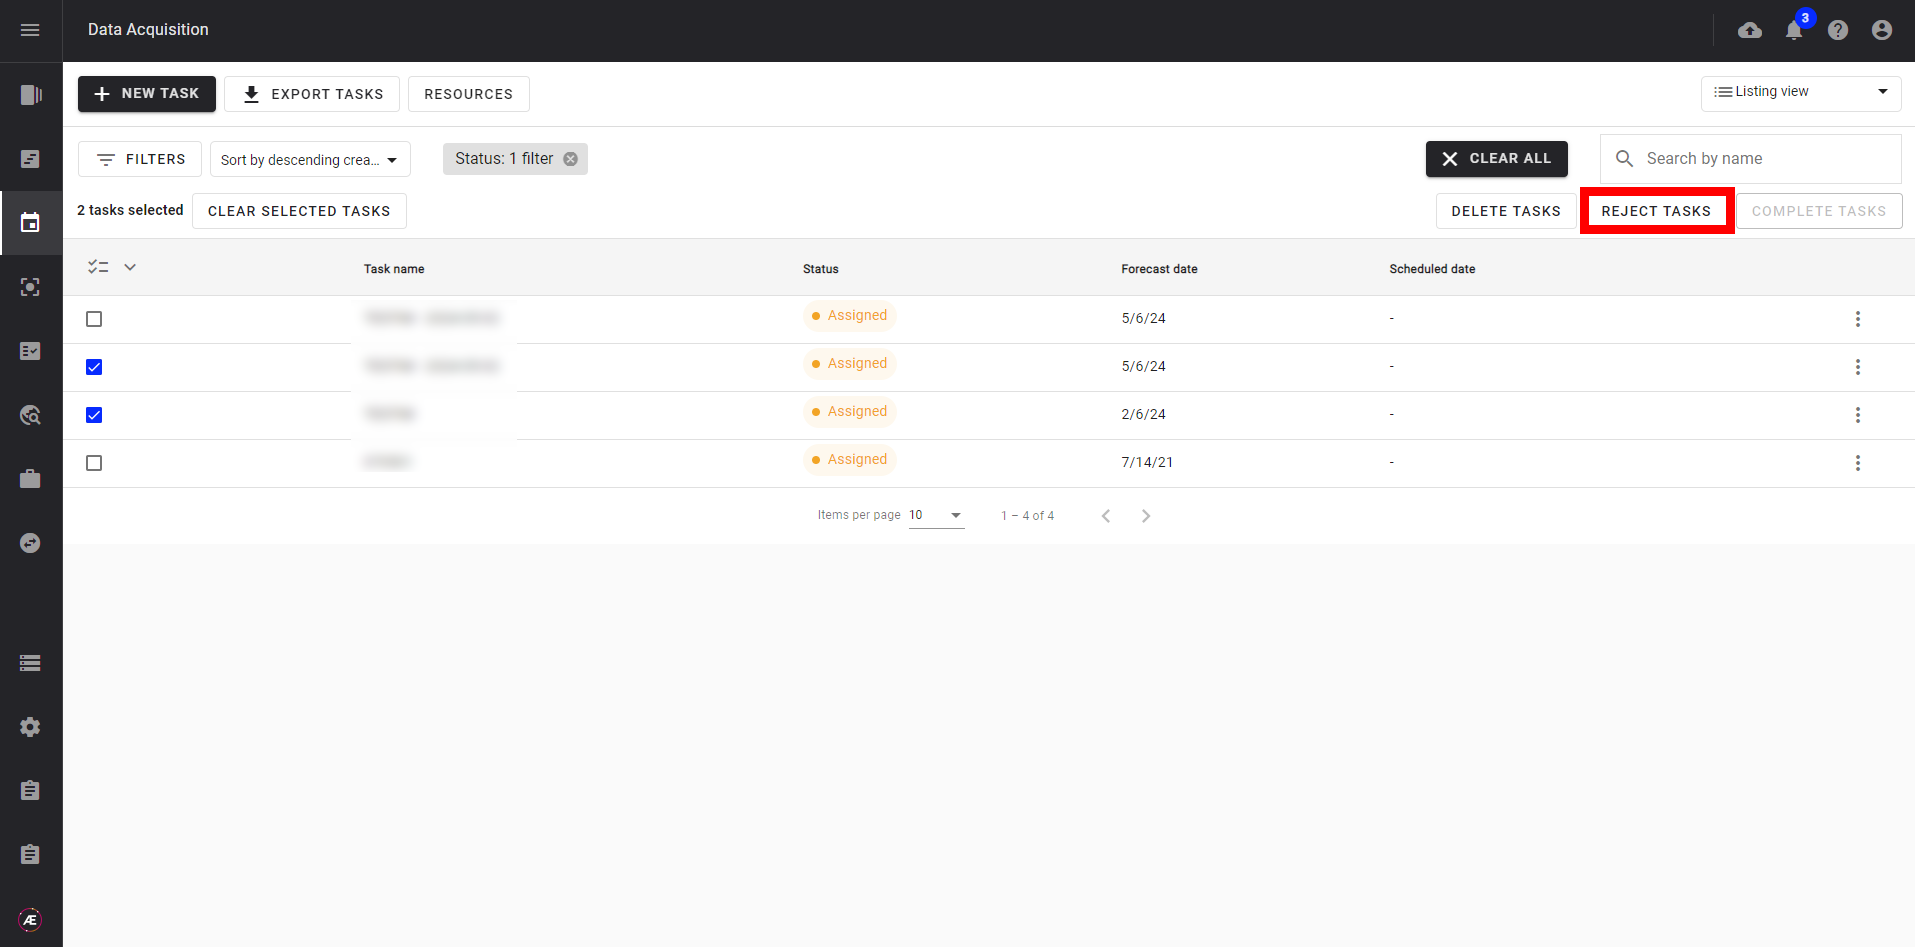
2.2 Bulk task rejection
In the Listing view, select the desired tasks (in “Assigned” status) and click on "Reject tasks".
2.3 Task completion
Click “SET AS COMPLETE” on the task details page (in the “Data submitted” status).
2.4 Bulk tasks completion
In the List view, select the desired tasks (with the status “Data submitted”) and click “Complete tasks”.
