

Data Acquisition - Task Management: Upload your Data
1. Description
Data can be uploaded through the Data Acquisition module for each task.
2. Task details
Step 1 - Click on the desired task or click on the three dots menu of the task and click on "Details".

Step 2 - This will open the "Details" view of the tasks. All information concerning the task is displayed in this view.
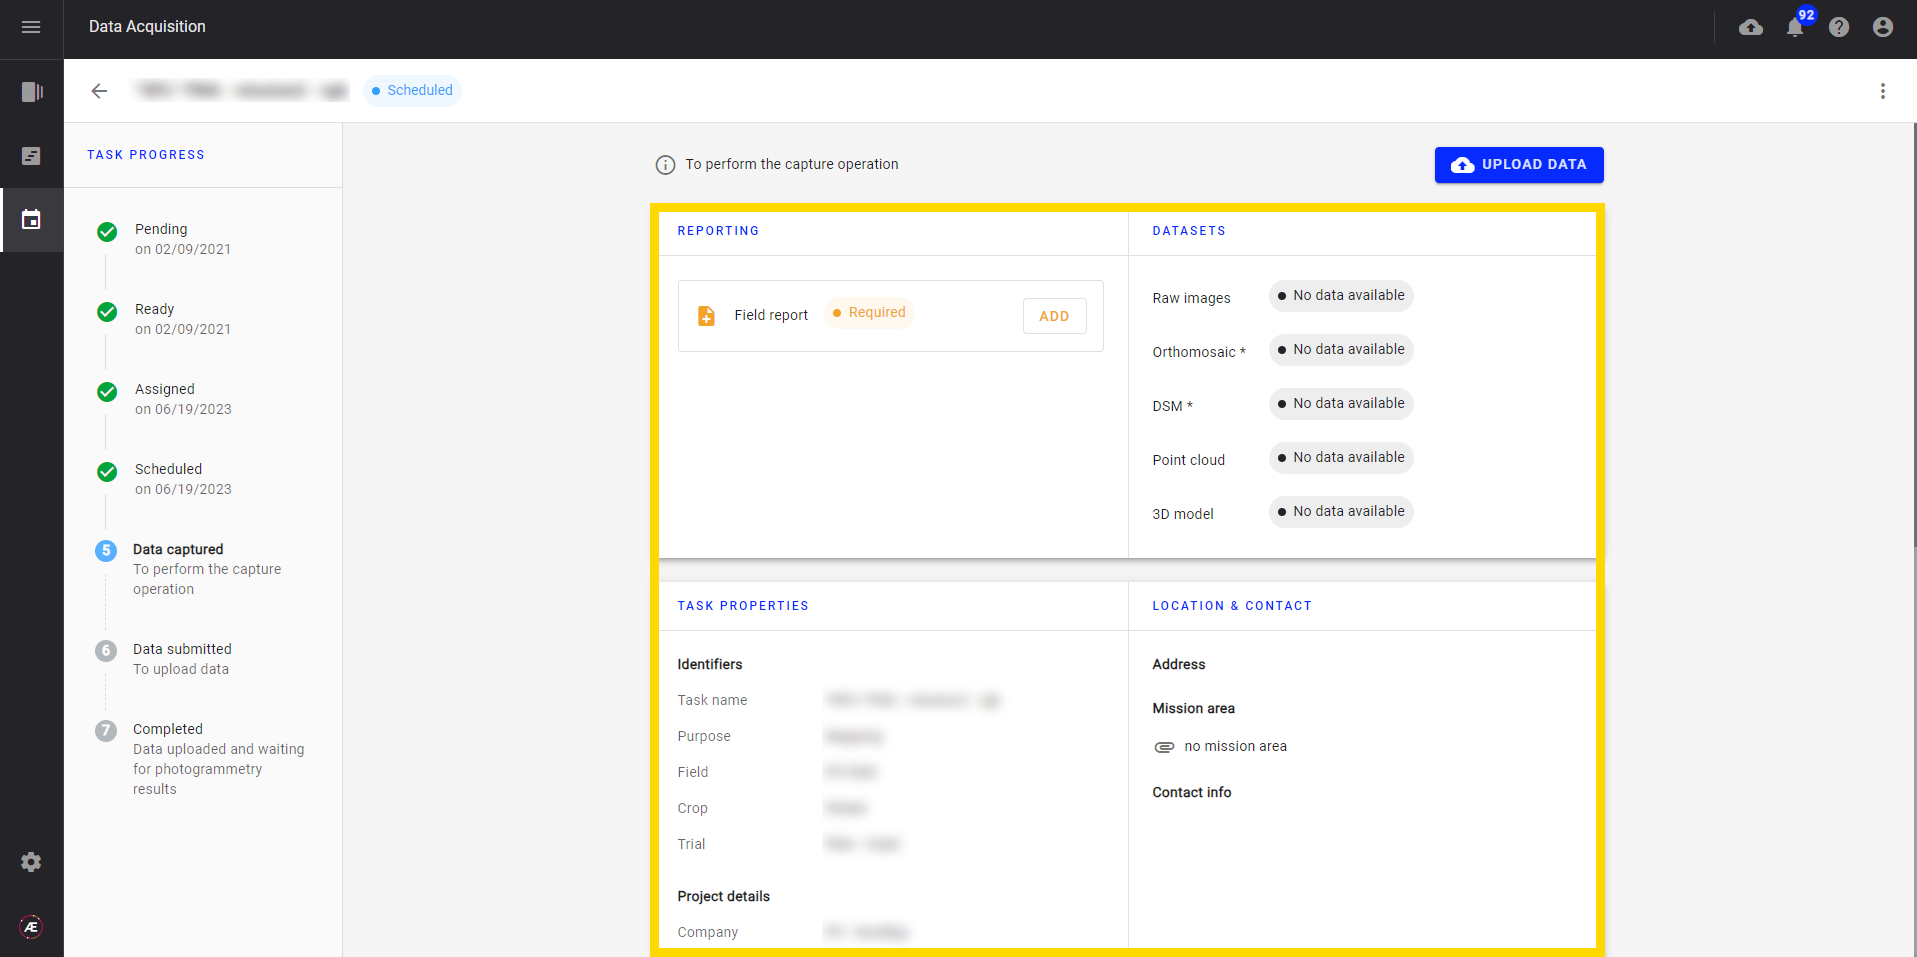
- On the left, there is the task progress status, and in the central section the task details (Properties, Location, Date,...)
- On the top of the central section, is the section for adding the field report and uploading the dataset.
- In the "DATASETS" section, mandatory datasets have an asterisk as a suffix.
3. Field report
The field report allows the pilot to add infield information related to the mission.
Step 1 - Click on the "ADD" button to fill in the field report.
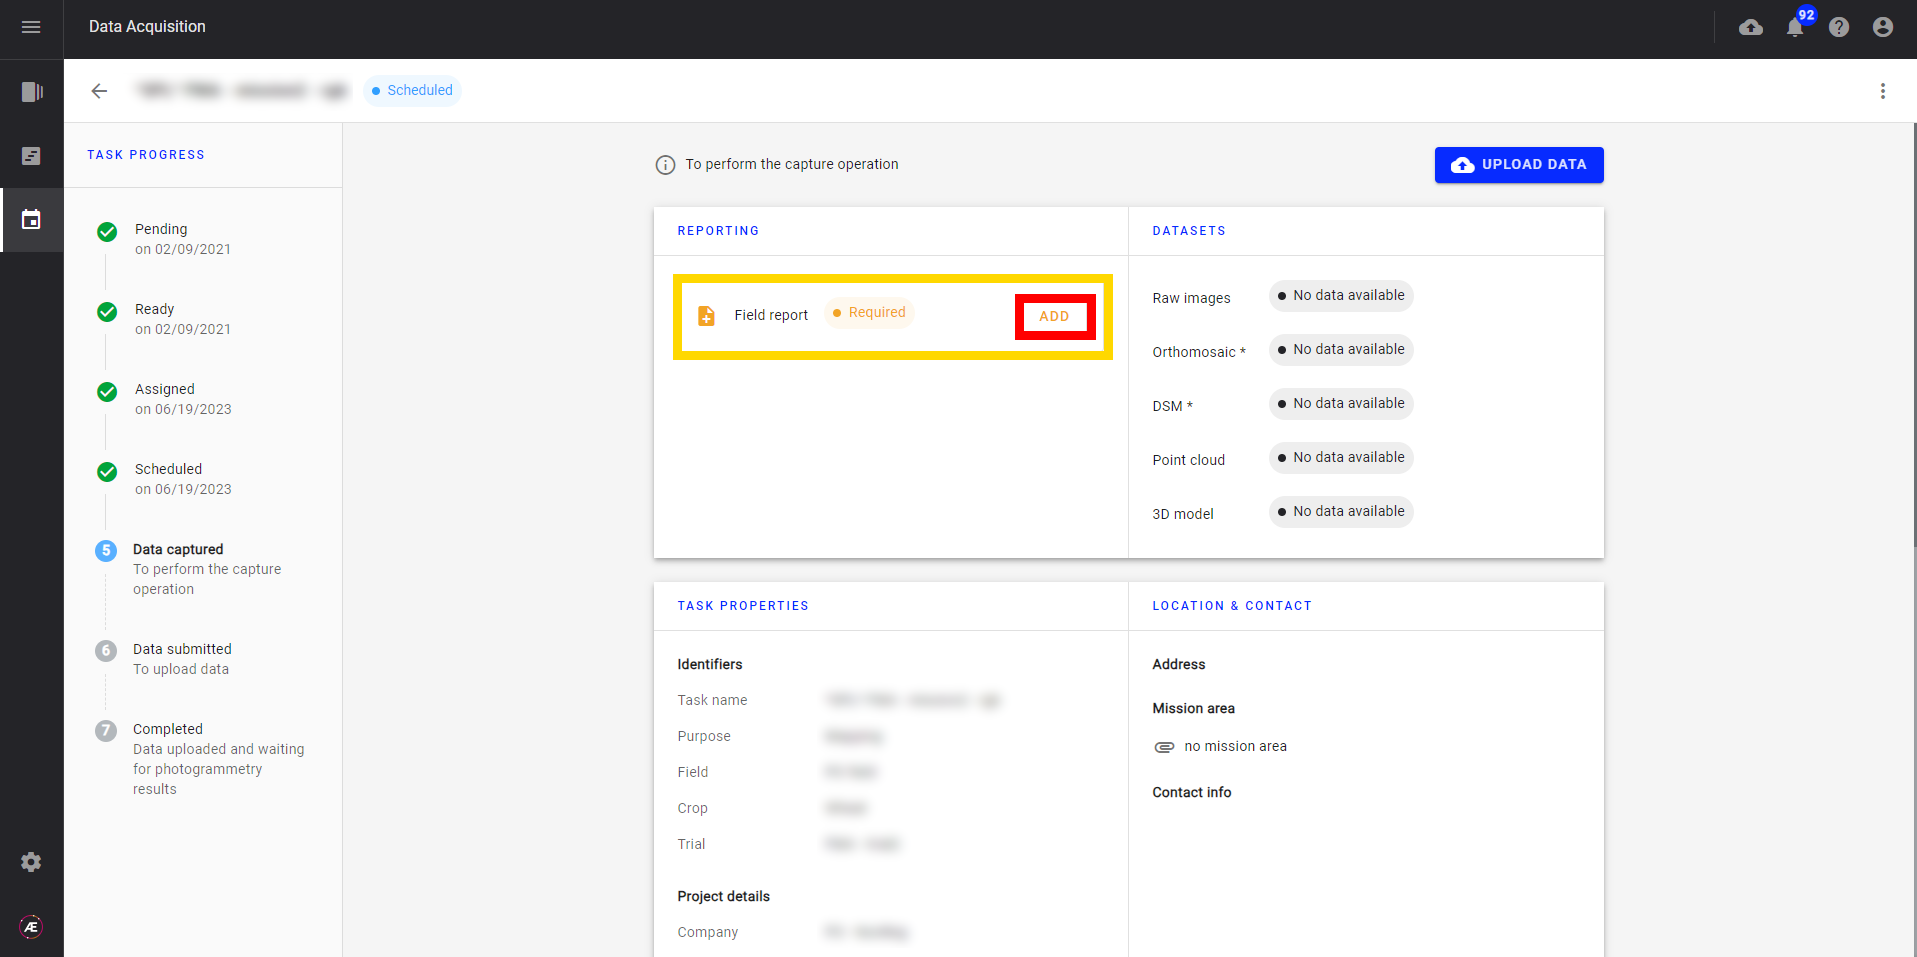
The field report form is displayed.

Step 2 - Add the following information :
- Date and time of the mission: mandatory for validating the field report
- Team and Pilot
- Weather Conditions
- Carrier and sensor
- Flight Parameters (Altitude, Flight Speed, Flight duration)
- Overlap
- Comment if need
- If the task is created from the Season Planner, the crop growth stage can also be indicated.
Step 3 - Click on "SUBMIT FIELD REPORT" to finish.
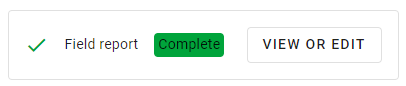
Step 4 - The button "ADD" should have changed to "VIEW OR EDIT", and the "complete" tag is also available.
4. Upload your visual data
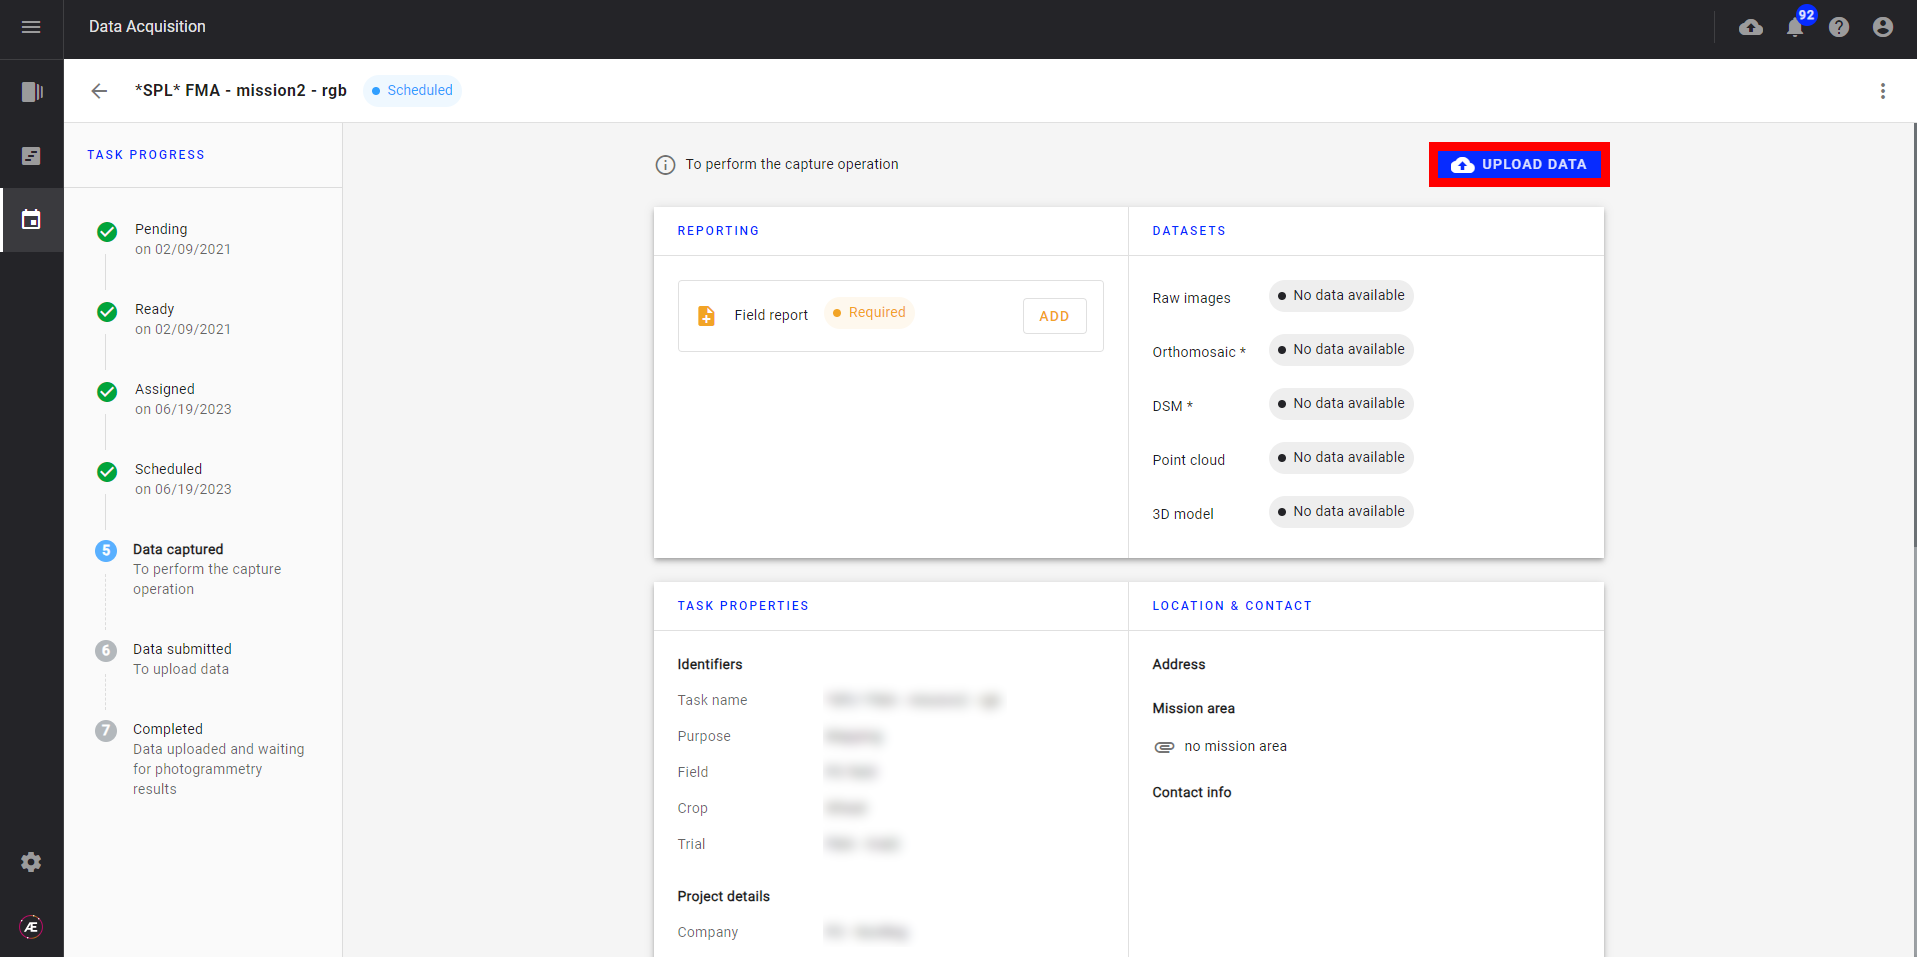
Step 1 - Once the desired Task (task in "Scheduled" status) is selected, click on "UPLOAD DATA" to upload visual data from a mission.
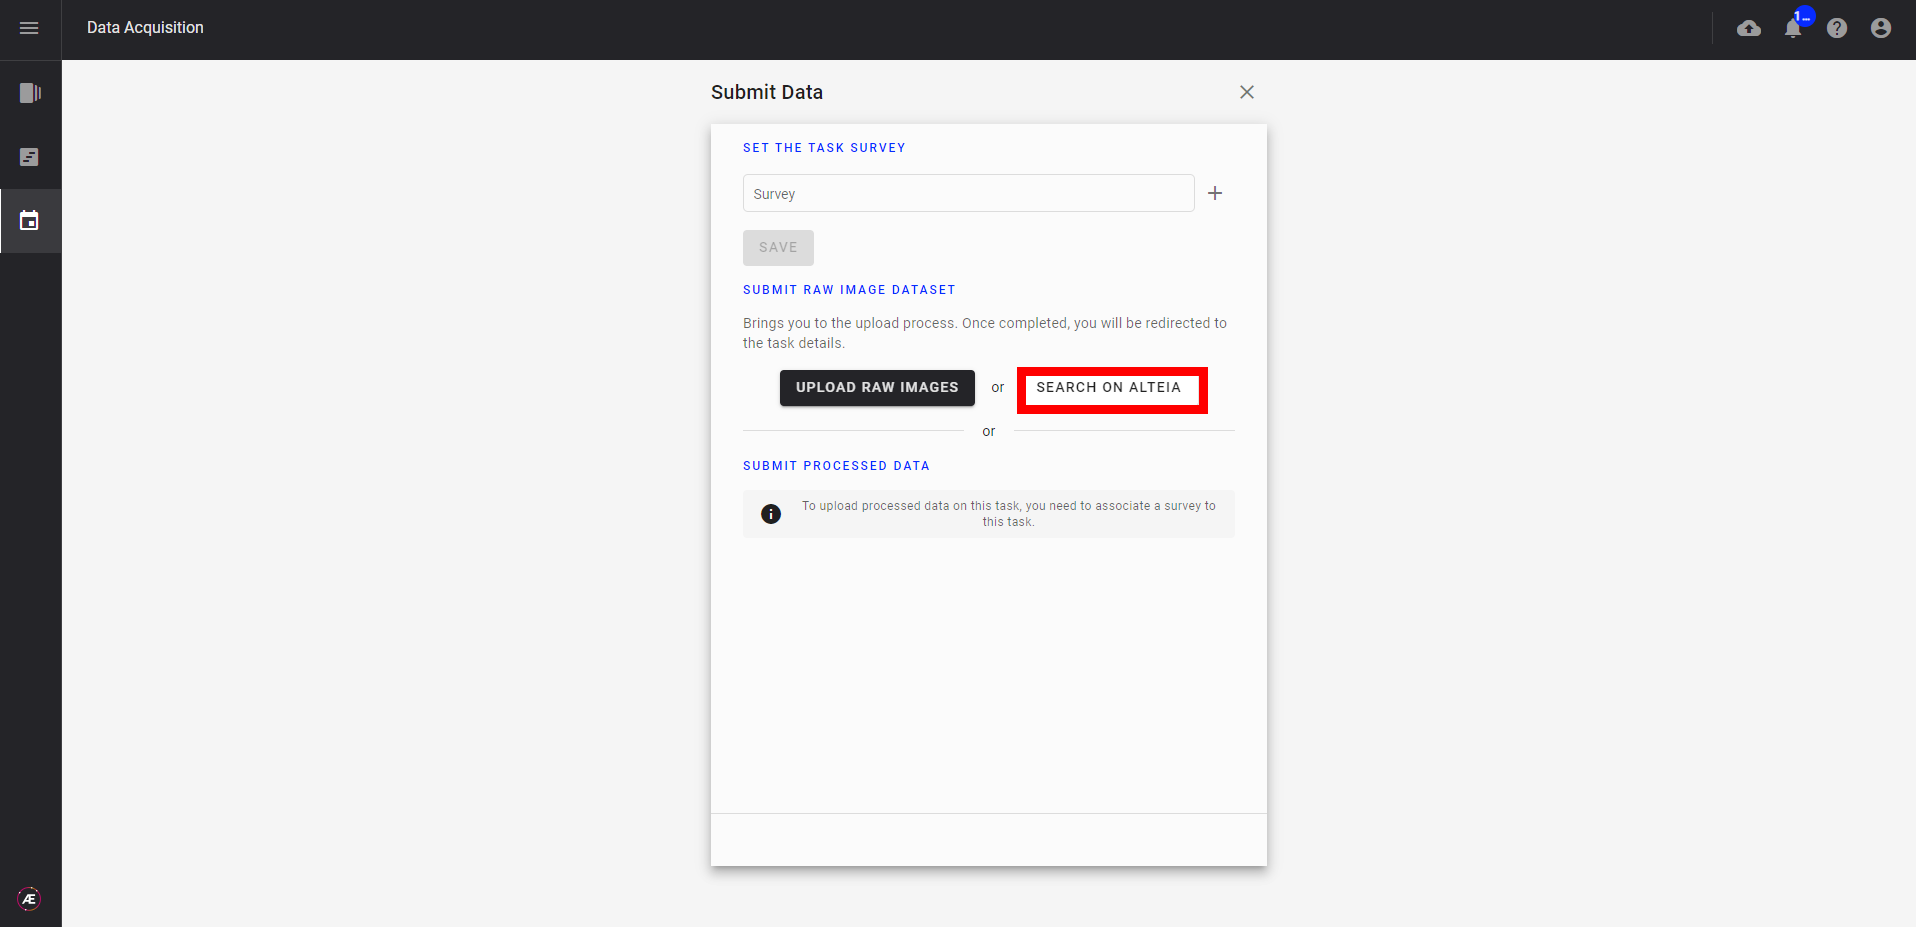
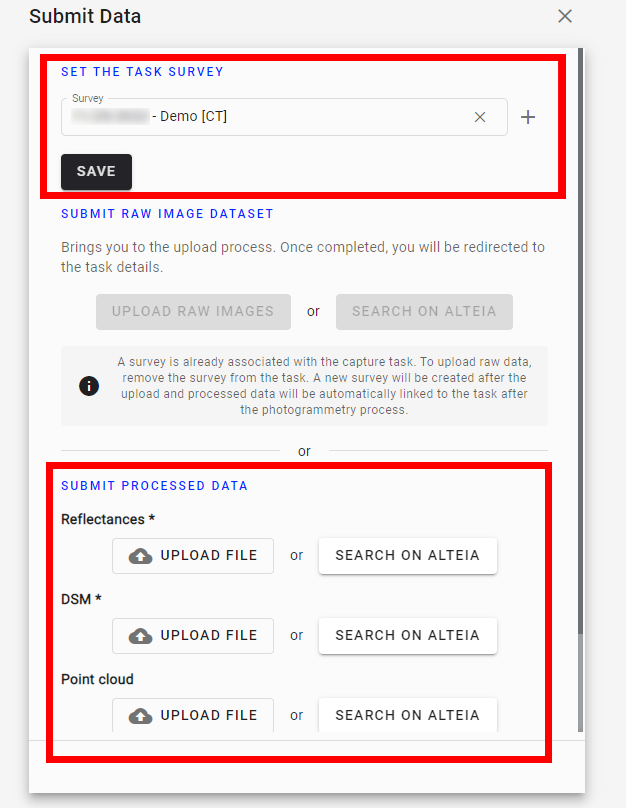
Step 2 - The following window will be displayed and there are 3 different options to submit your data.
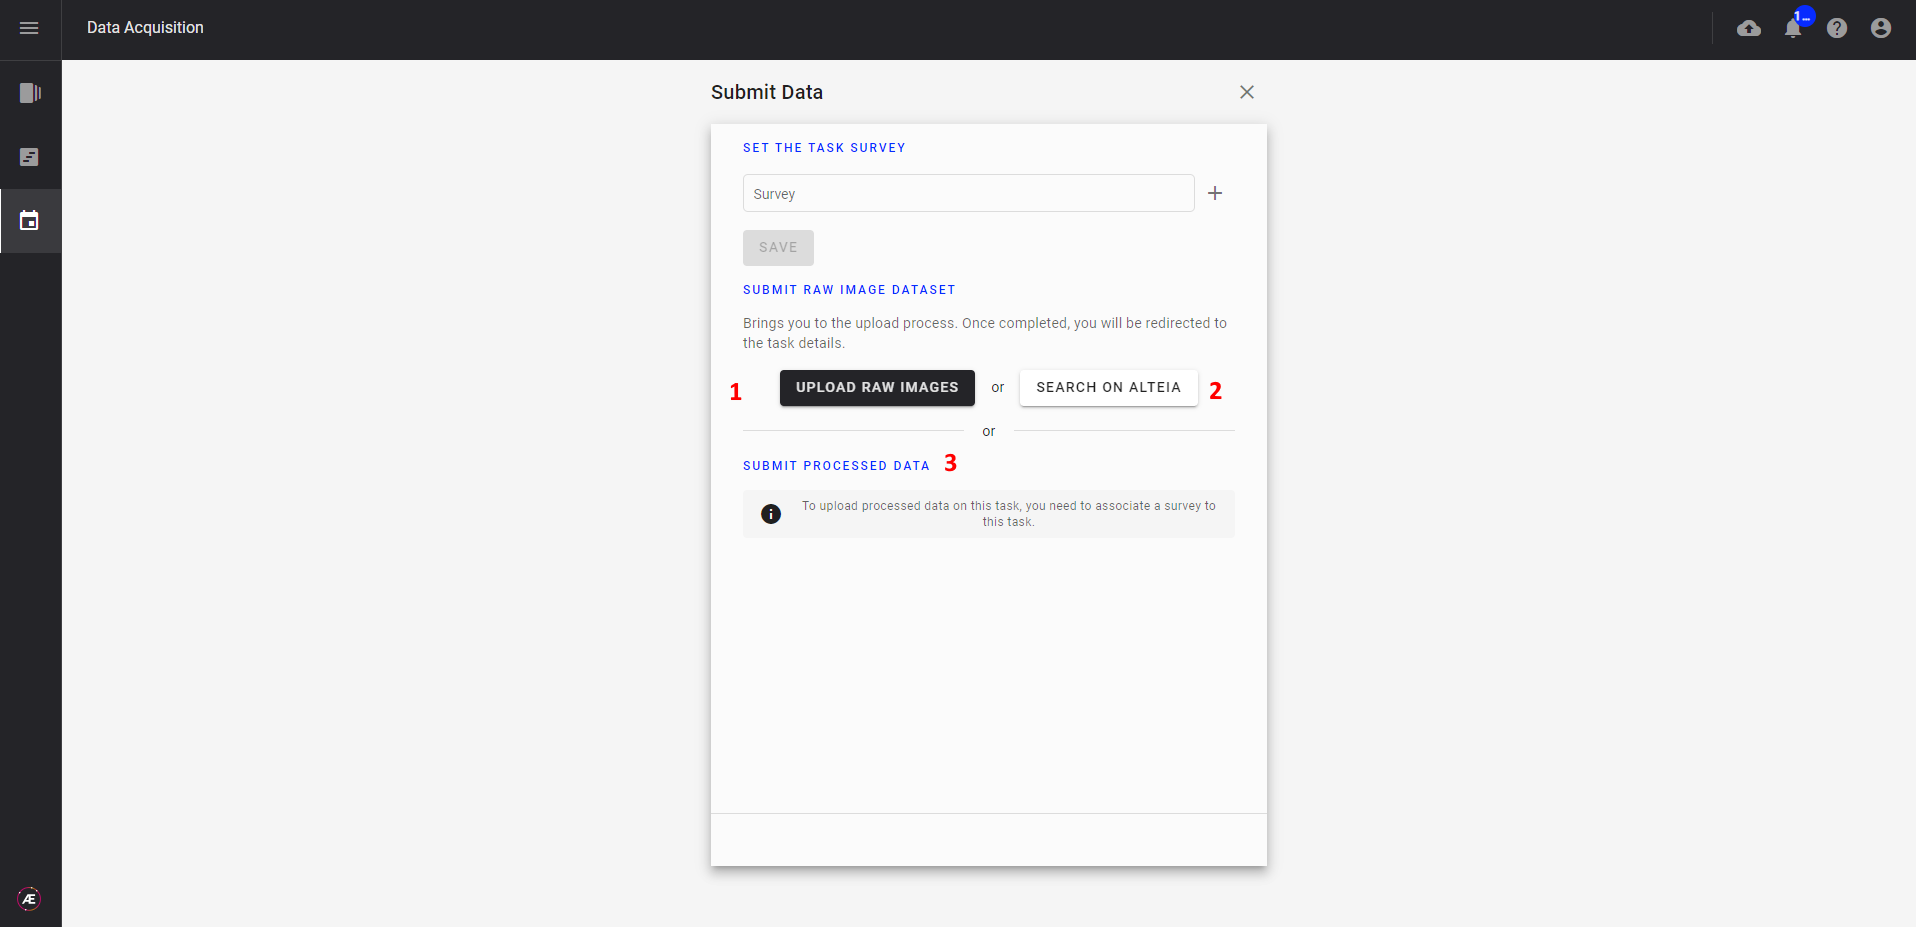
- (1) UPLOAD RAW IMAGES: upload raw images from data acquisition (for example drone images)
- (2) SEARCH ON PLATFORM: use images already stored on the platform.
- (3) SUBMIT PROCESSED DATA: upload externally processed data (from an external software) or processed data stored on the platform.
4.1 Upload raw images
4.1.1 Upload
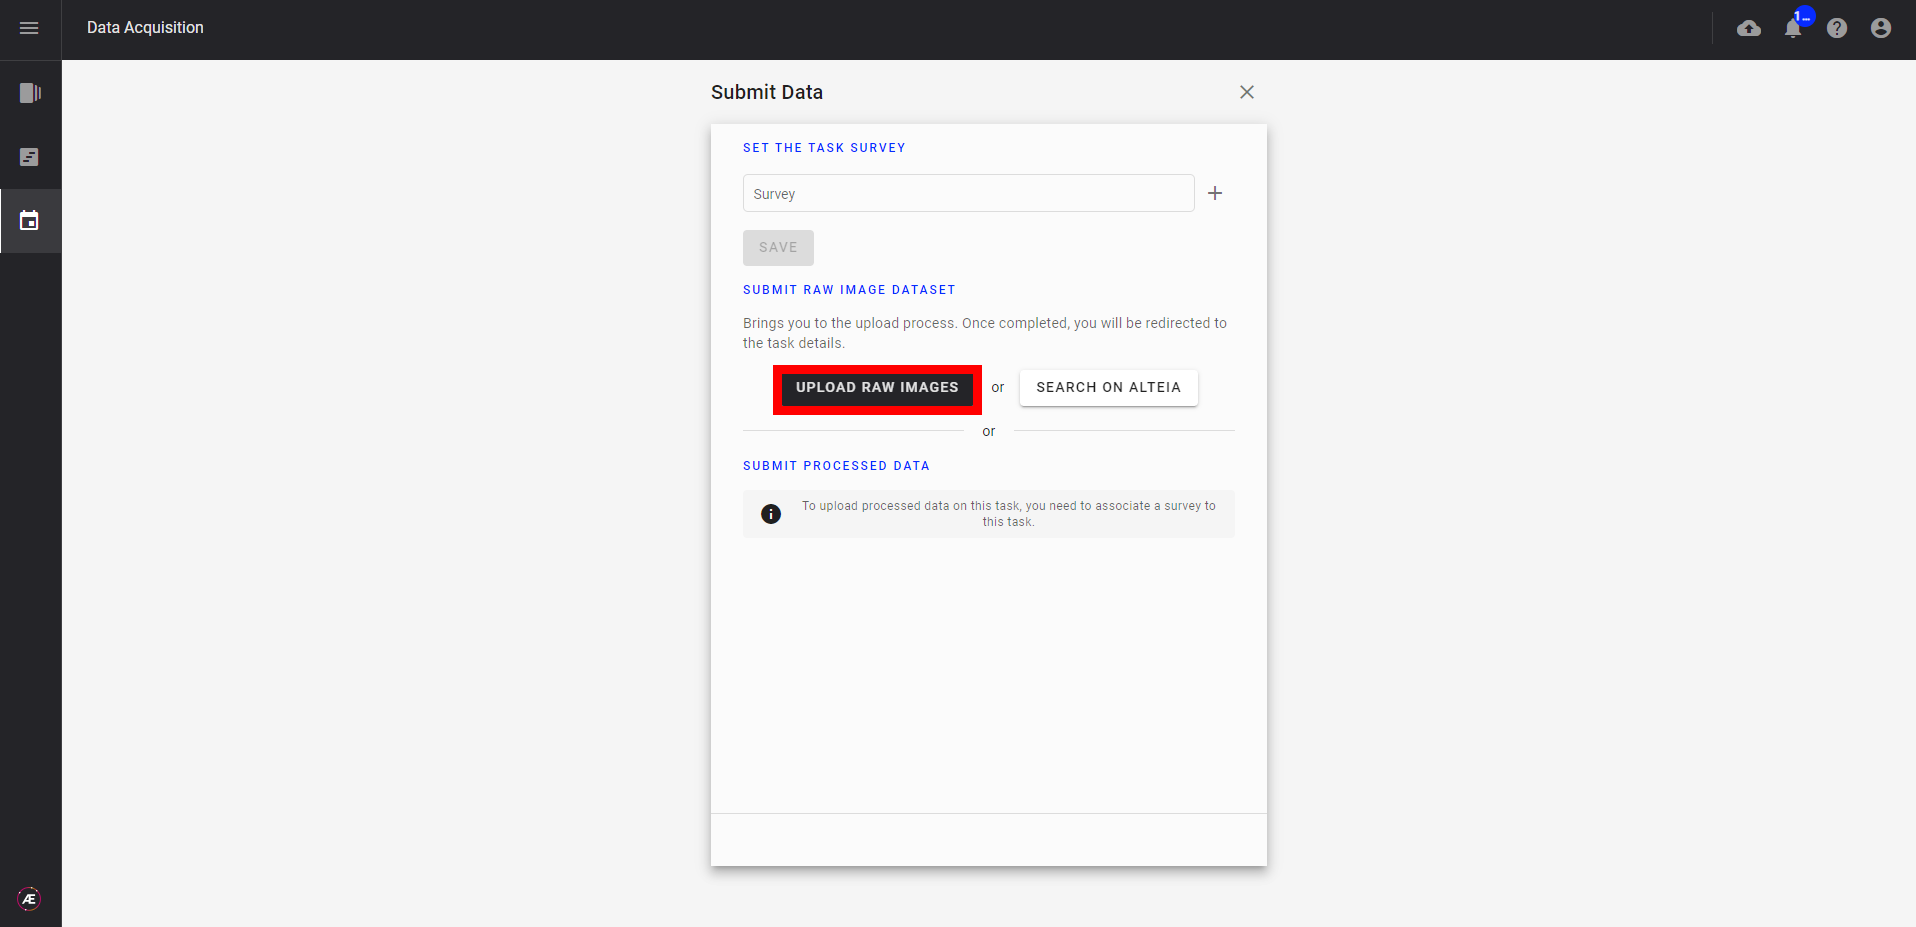
Step 1 - Click on "UPLOAD RAW IMAGES" to select raw images from your computer or other sources.
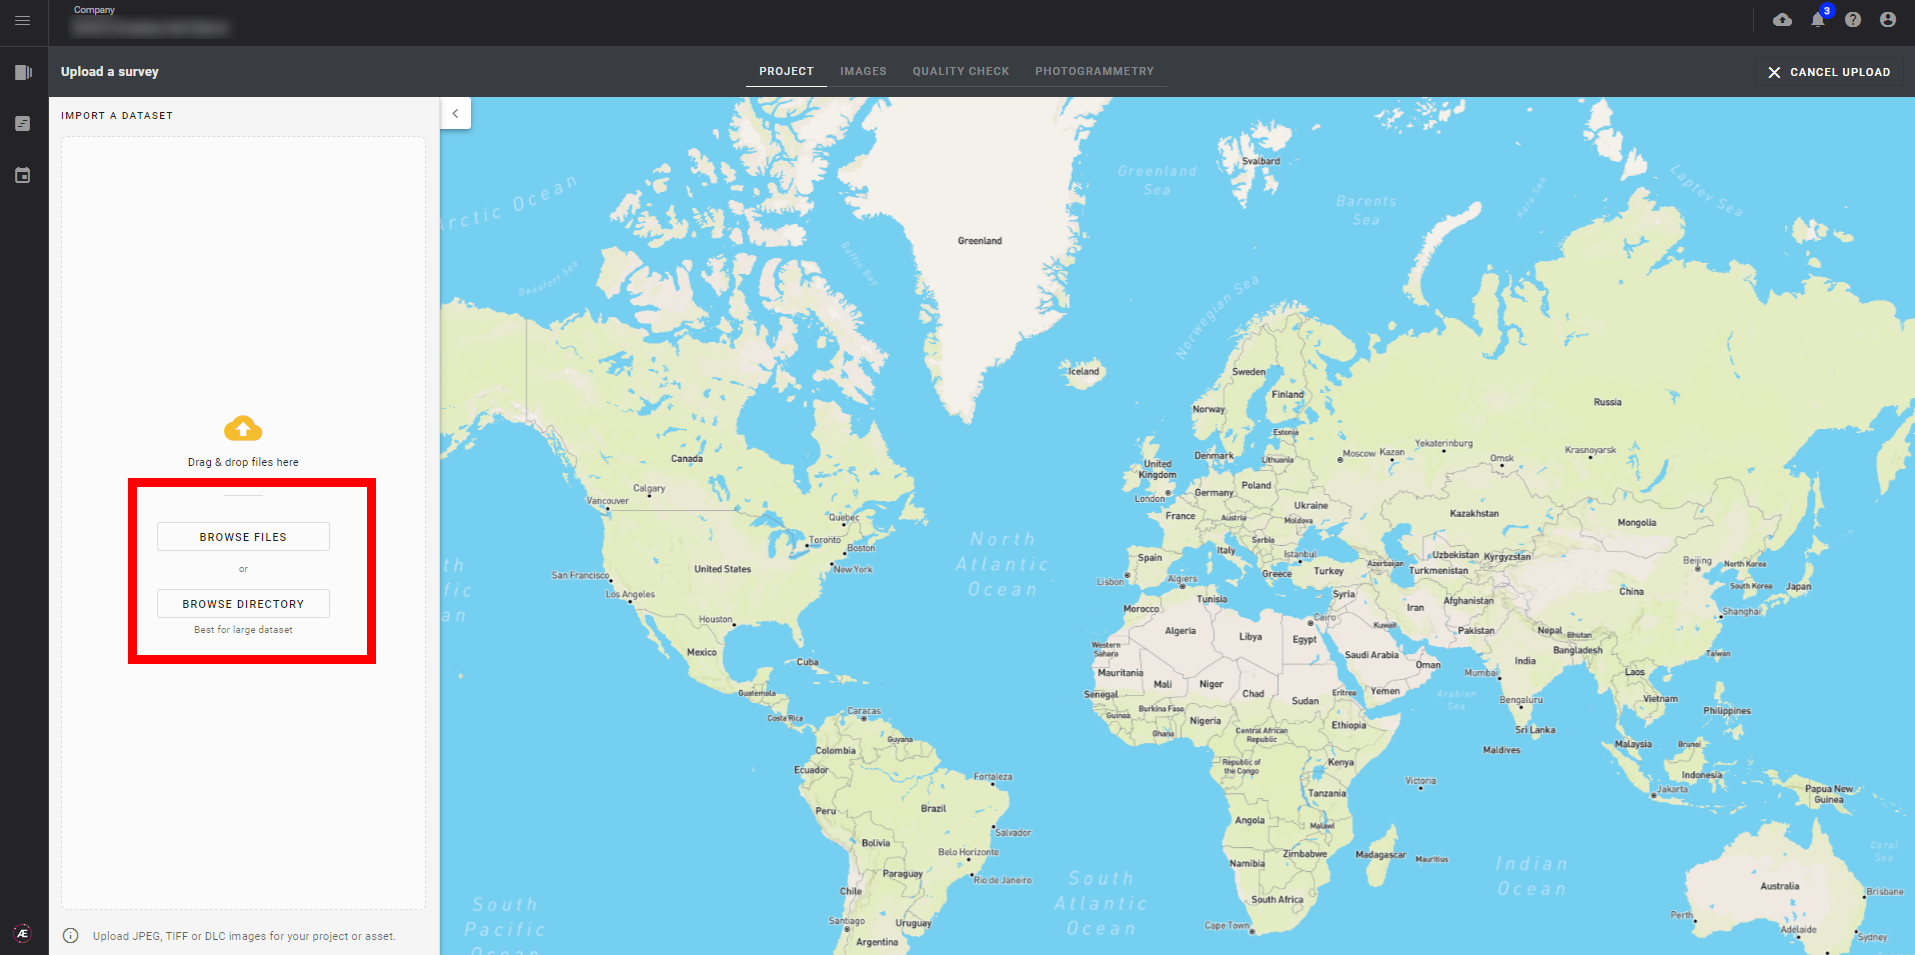
Step 2 - Browse your computer to find the images you wish to upload.
Step 3 - Change the name of the survey if necessary.
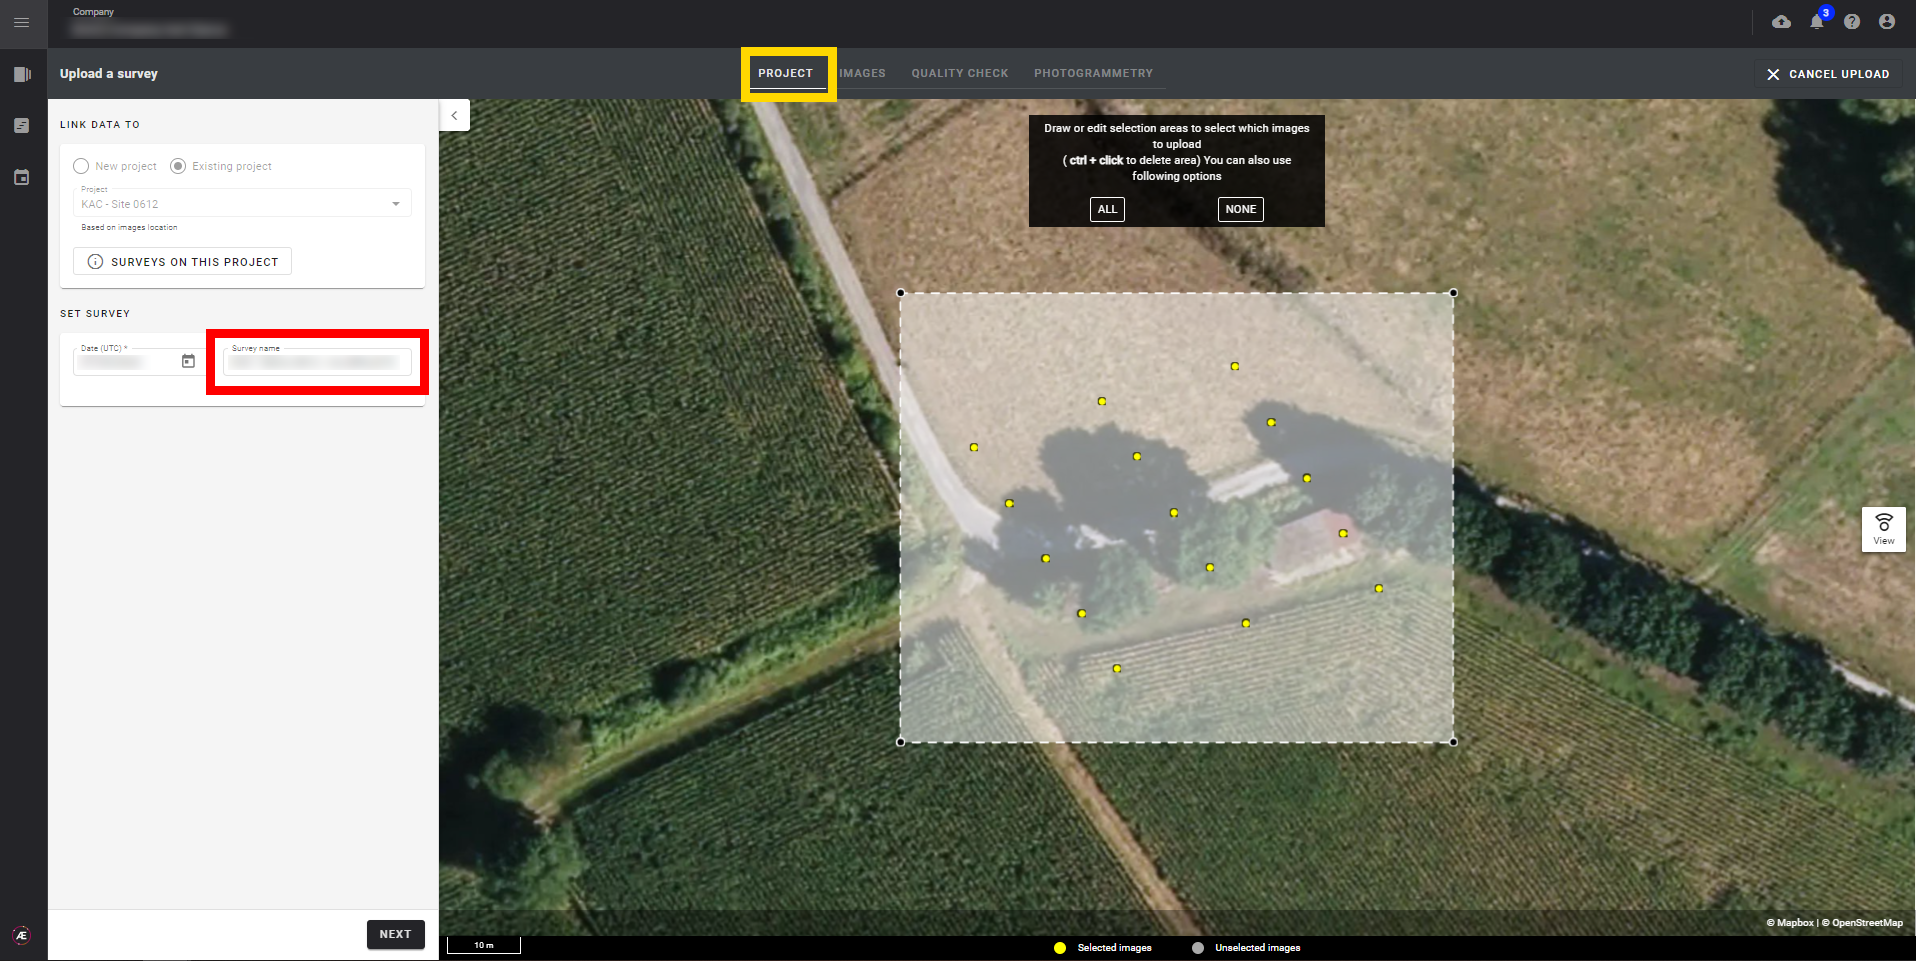
Step 4 - Delete, add images, or add the metadata file if necessary.

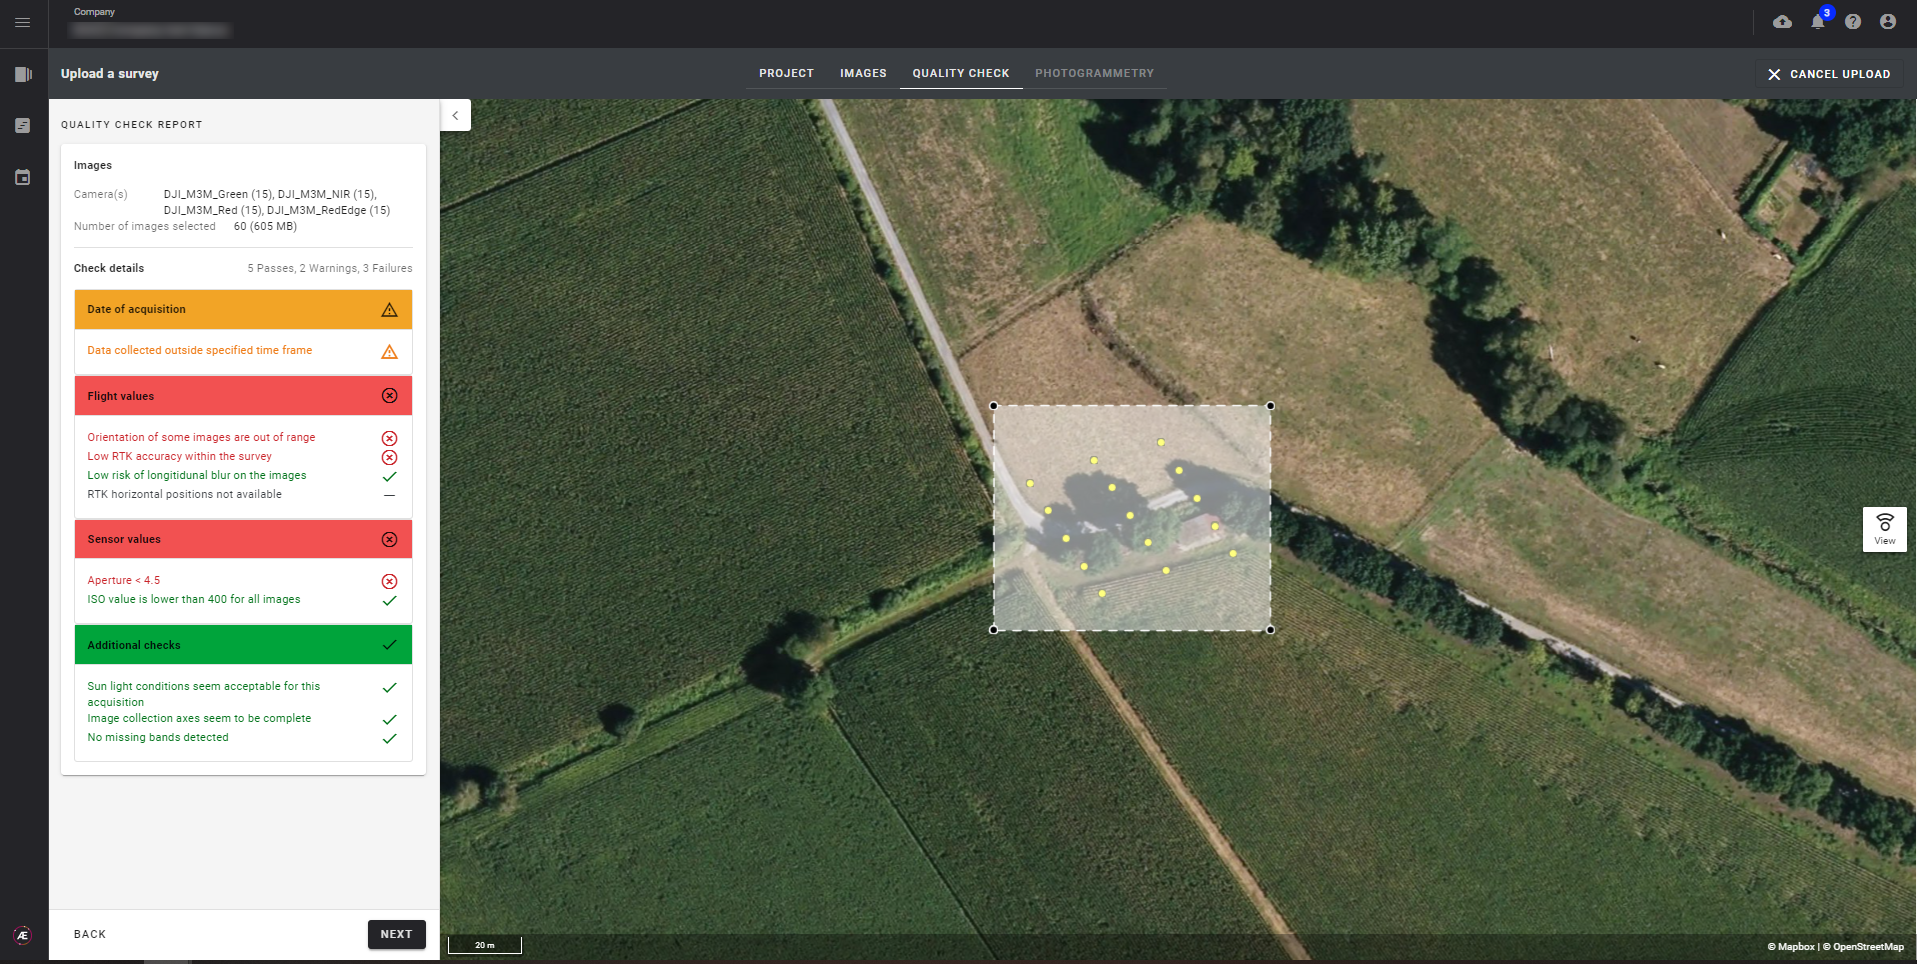
4.1.2 Quality check
While uploading raw images, get access to quality checks. The list of criteria is available here: Data Acquisition - Raw Images Quality Check.
Quality check criteria can have 4 statuses:
- ✓ Valid: The criteria passes the quality check for this data set
- ⚠ Warning: There is a warning for the criteria for this data set
- ❌ Error: There is an important error in the criteria for this data set
- — Criteria not available for this data set.
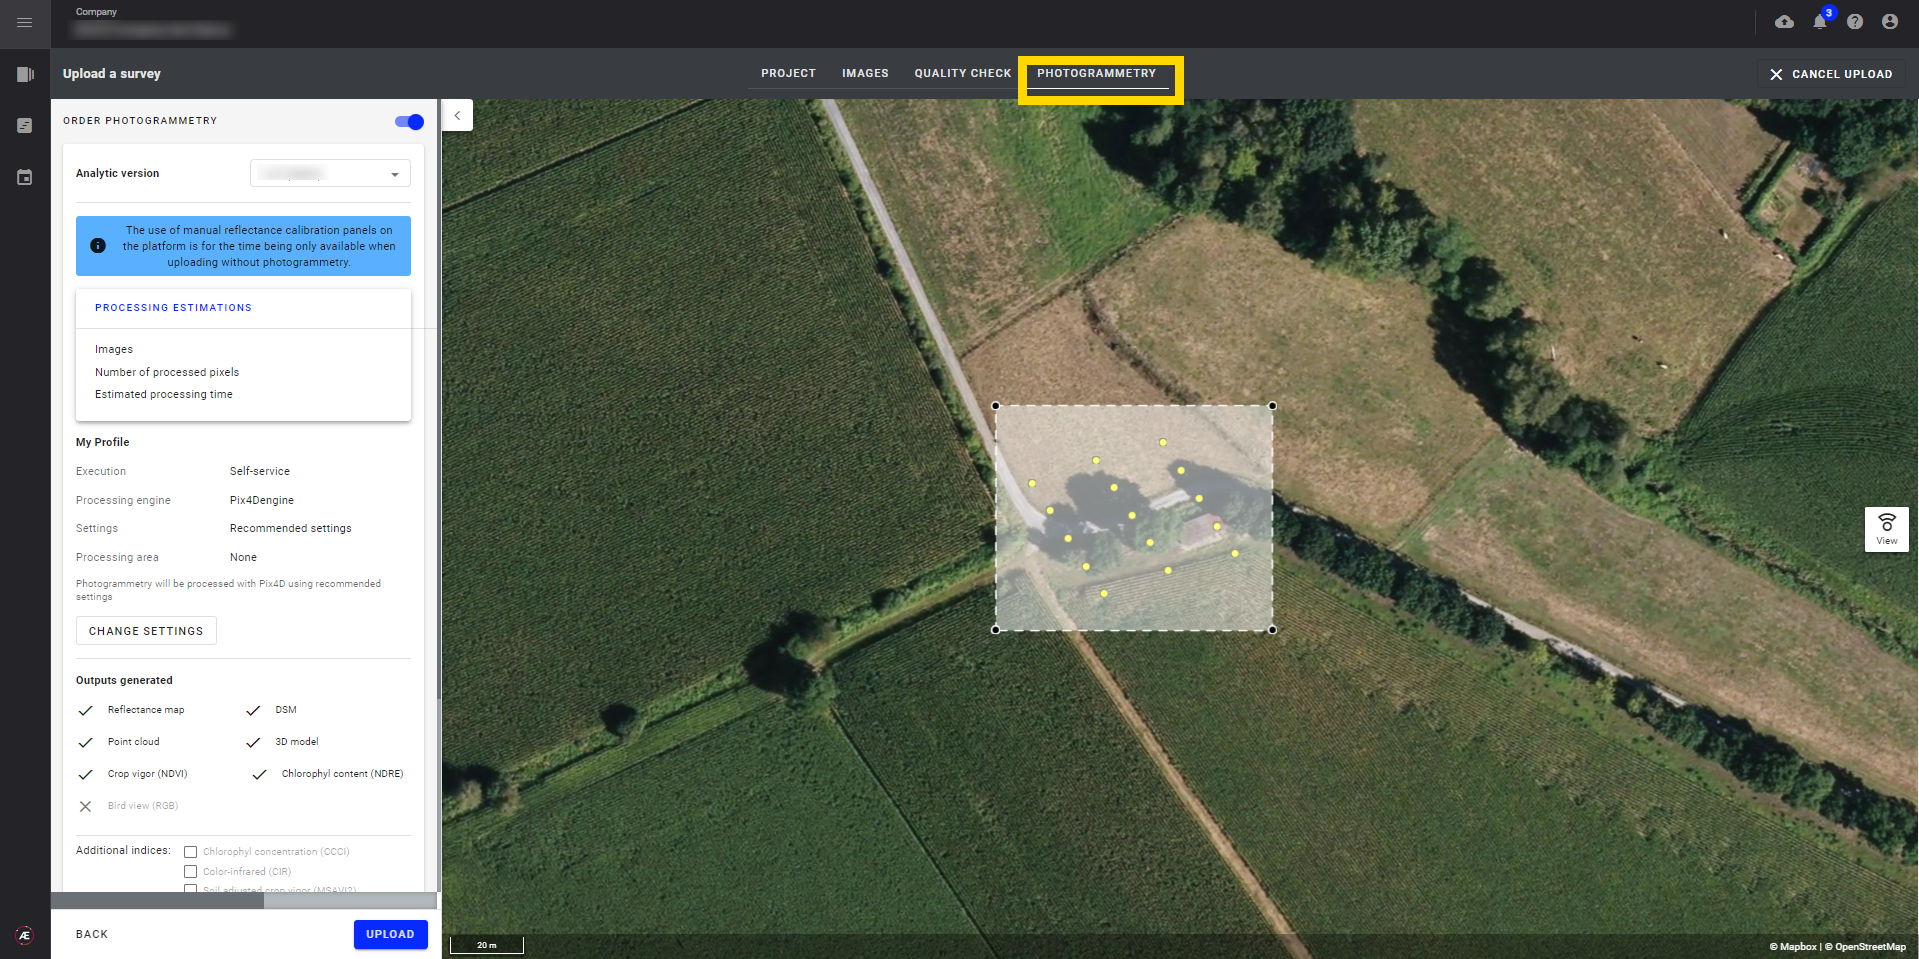
4.1.3 Photogrammetry
Please have a look at the Photogrammetry recommendations.
4.2 Search on the platform
Step 1 - Click on "SEARCH ON PLATFORM" to use existing raw data saved in the platform.
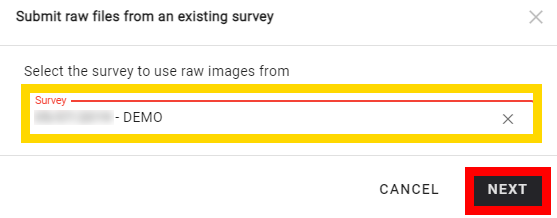
Step 2 - Select a survey and click on "NEXT".
Step 3 - The quality check panel is displayed (see paragraph 4.1.2), click on "OK".
4.3 Submit processed data
- Select an existing survey or click on "+" to create a new one and click on "SAVE" to link data already processed with Aether or to upload other processed data.
- Upload the processed data or search the data within the survey (see the second red rectangle below).
5. View task coverage and metrics
For tasks with attached data sets, it is possible to view their footprint by clicking on "View Coverage".
If a mission area is associated with the task, then some metrics will also be provided (available for all datasets except raw images).

Task coverage and metrics with "linestring or multistring" mission areas:

Task coverage and metrics with "polygon" mission areas:

Description of the styles:
- The covered mission area is displayed in green
- The uncovered missing area is displayed in red
- The data set foot print is displayed in white.
6. Results
- Once the data is uploaded (and completed if any) or once the data is linked to the Data Acquisition task, the tag "Available" is displayed next to the name of the input.
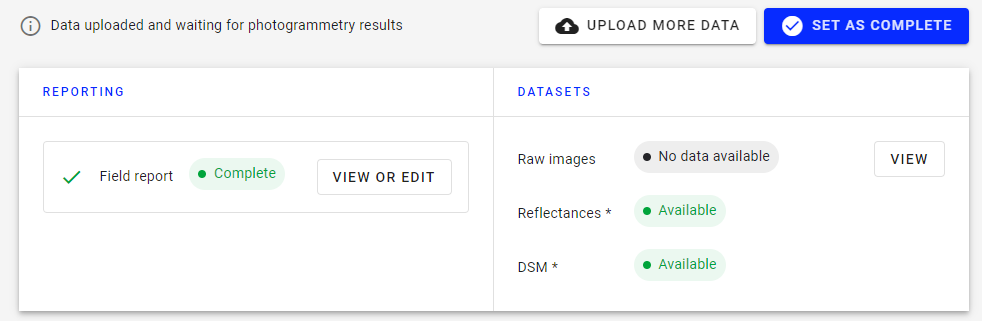
Note : the "SET AS COMPLETE" button is not available for Field operators.
- Learn how to validate tasks here.
