Using Aether and YOLO to Train and Run Detection Models
What is YOLO?
With object detection you can quickly and accurately predict objects along with their classes and bounding boxes. YOLO (you only look once) is a fully convolutional (FCN) object detector that uses learned features to detect an object within an image. The learned features are passed to a classifier/regressor, which then makes the detection prediction. The output is a feature map.
There are multiple iterations of YOLO and it is important to note that Aether specifically relies on YOLOv5, written in PyTorch. All of this is of course, an oversimplification of the process. To learn more about the specifics of how YOLO works, visit the history and description of YOLO from Ultralytics.
YOLOv5 and Aether
Within a site, is possible to upload and annotate images directly, one by one. However, this process is neither scaleable or practical; which is why Aether makes it simple to use YOLOv5, along with the Alteia SDK to implement custom analytics. Yolo is generic, and can be altered to run any state of the art algorithm because the weight file provides the tuning parameters for the specific workflow.
As an example, we will walk through the process of implementing both the run_yolov5 and the train_yolov5 analytic.
Both analytics call one unique docker from Dockerhub. Based on the parameters discovered in the input.json file, the main function will run one of the two scripts: run.py or train.py.
Before you start
Before you can run either analytic, you need a few components, including:
- Existing credentials with a Developer role active.
- A Docker image.
- A new and un-annotated survey within Aether.
- A fully annotated survey within Aether
Training YOLOv5
The first step is to train the YOLOv5 model, using labeled data, so that it can learn classes of objects within that data. This can be done in two ways:
- Use images similar to the ones you intend to capture in the future. Ideally, from the same camera configuration you will deploy on future surveys.
- Use a public dataset to train your initial model, and iterate and improve your dataset and model as you go.
Either way, all annotations need to be in box format and it is recommended that you follow the below parameters for the best outcome:
- The more annotations the better.
- Image variety. Must be representative of deployed environment.
- Label consistency. All instances of all classes in all images must be labelled. Partial labelling will not work.
- Label accuracy. Labels must closely enclose each object. No space should exist between an object and it's bounding box. No objects should be missing a label.
- Background images. Background images are images with no objects that are added to a dataset to reduce False Positives (FP). We recommend about 0-10% background images to help reduce FPs. No labels are required for background images.
Demo: Implementing YOLOv5 on Aether
Upload a dataset
The first step is to upload a dataset as a survey within a site. If you haven't done so already, log into Aether, select the company, and create the site you want your dataset to be tied to. All site data must be geo-referenced, so although this demo dataset is not representative of a specific location, we will tie it to one anyways.
Then, provide the survey data with a name, for this example, "chess_train", and select next.
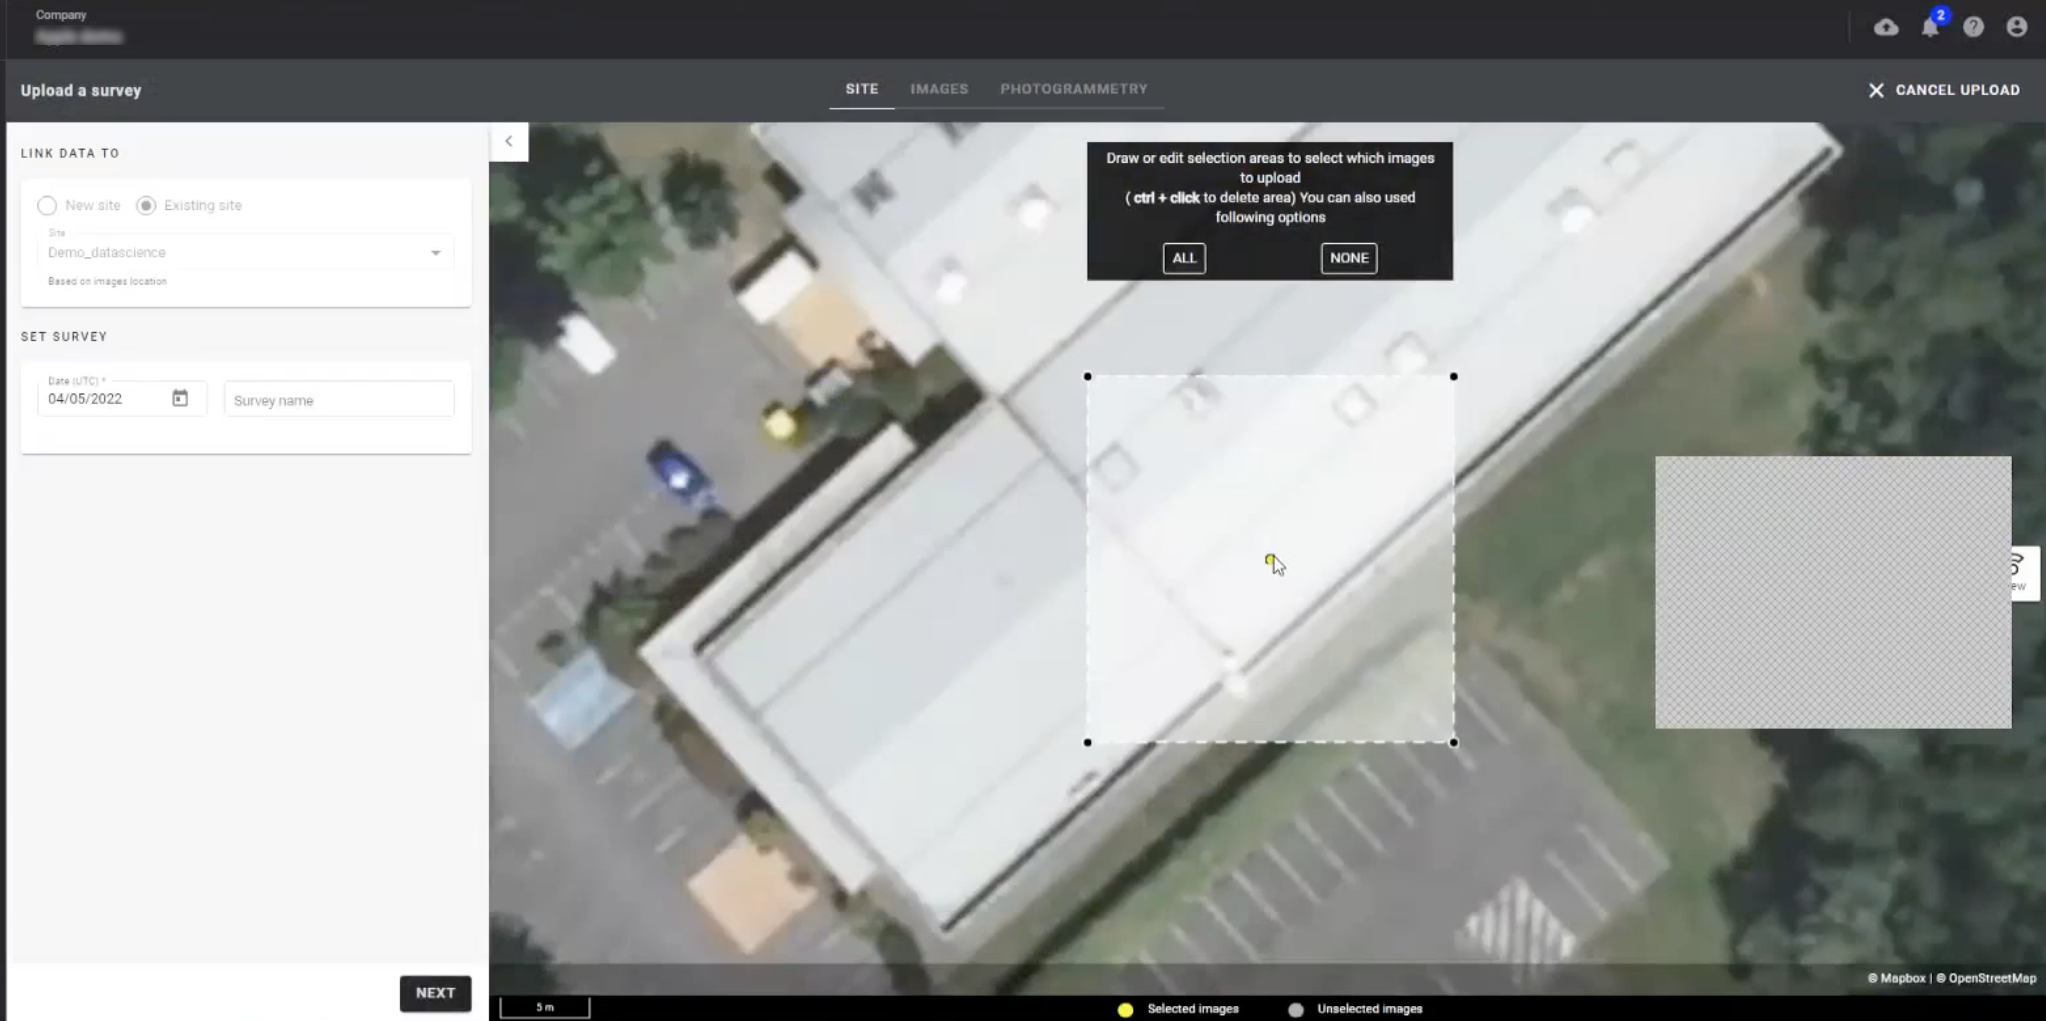
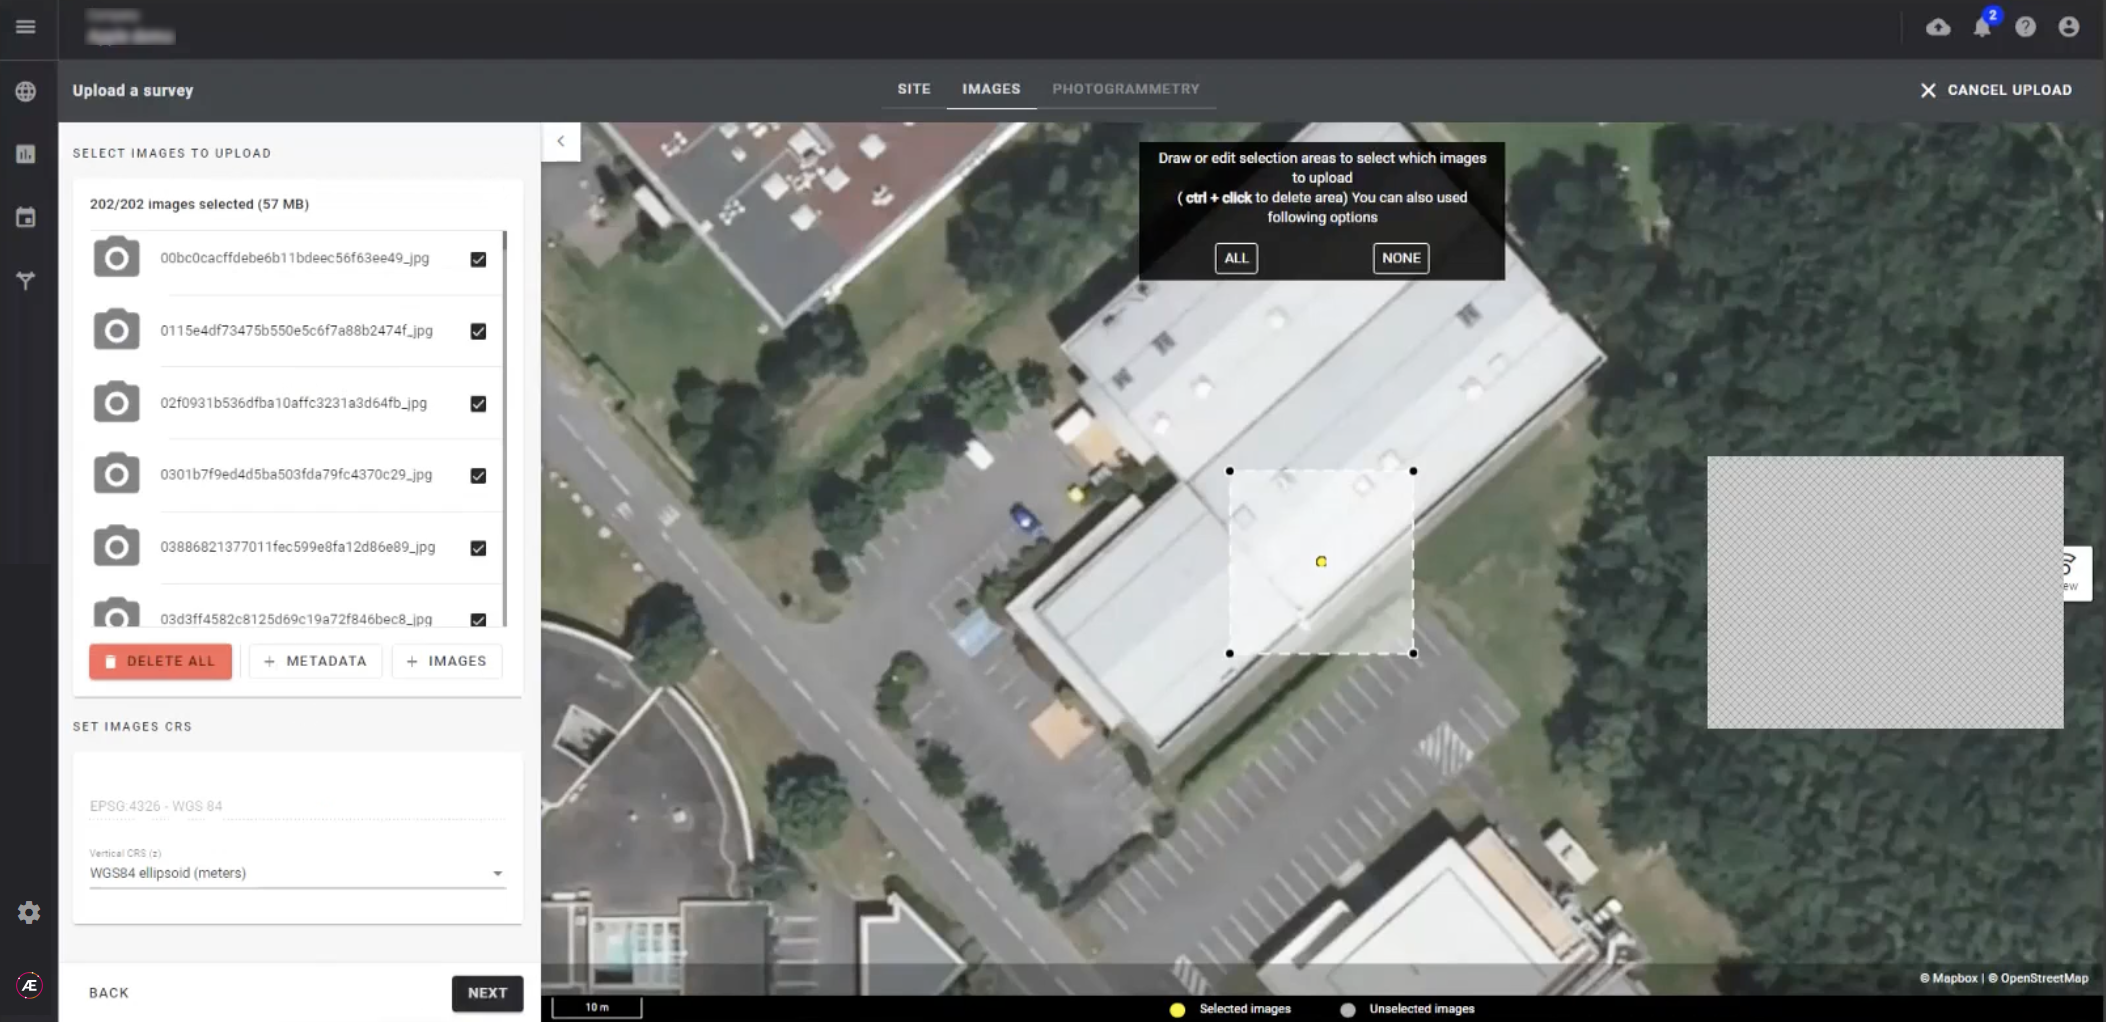
By default, all the uploaded images appear selected, but if you want to deselect certain ones prior to uploading, this is where you do it. All other settings remain unchanged and you select next.
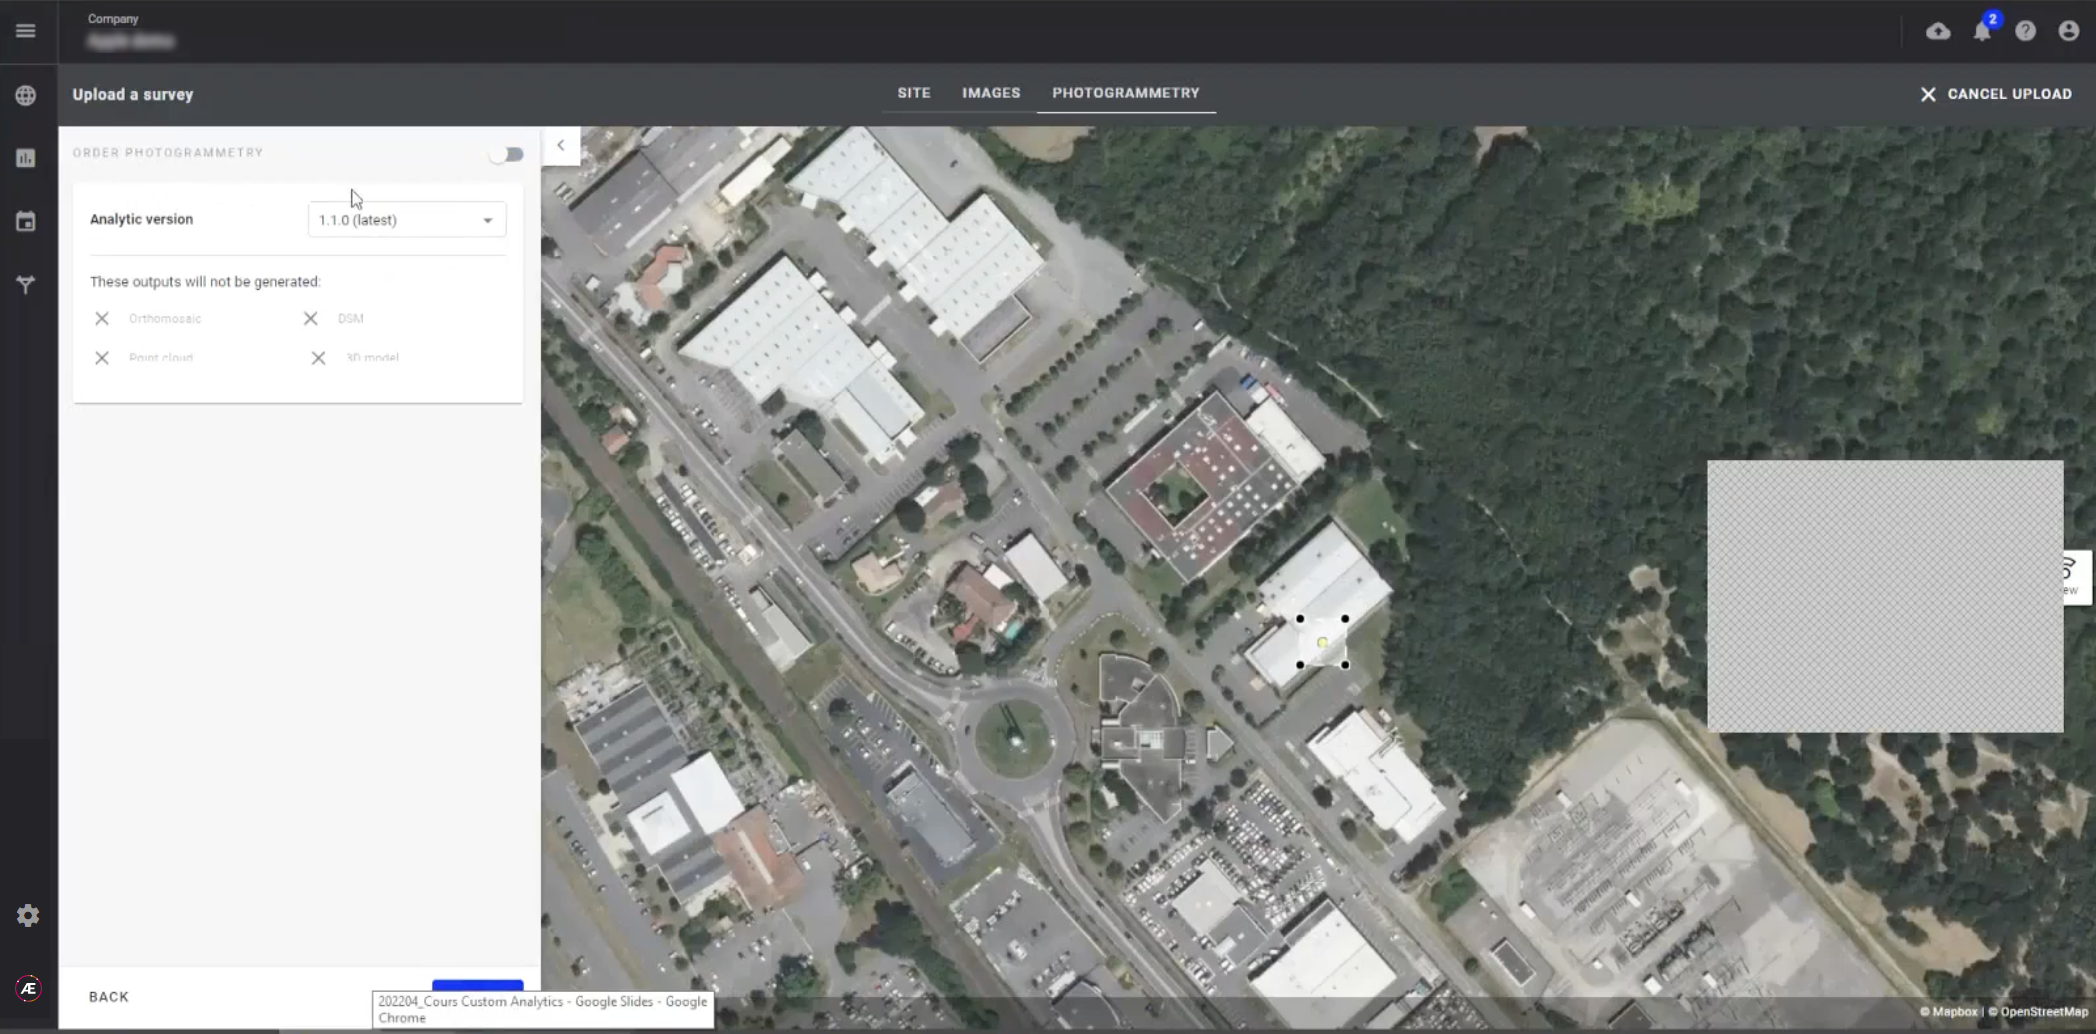
We will not use photogrammetry on this dataset, so deselect the option by toggling the green slider icon at the top of the menu, and select next.
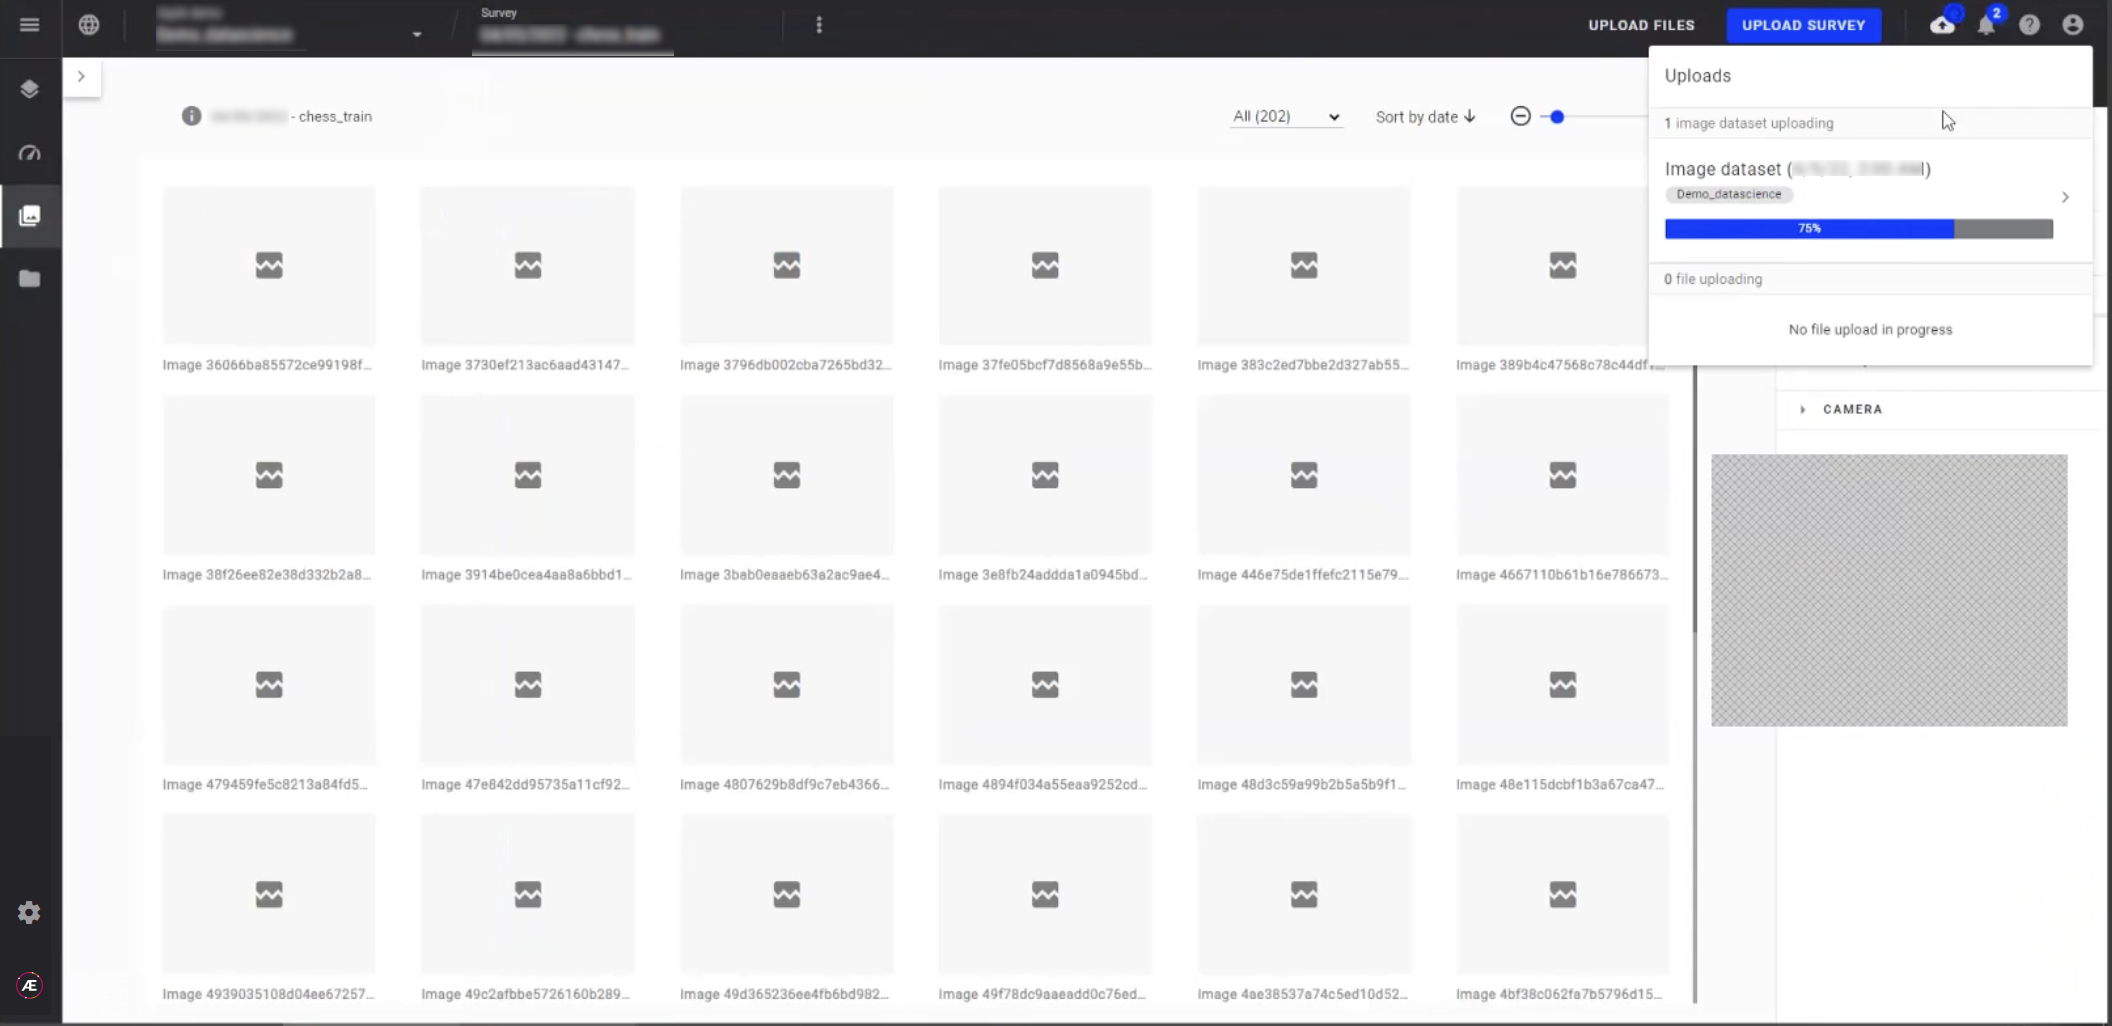
The images will now upload. To follow the progress, select the cloud icon from the menu at the top of the screen.
Create the annotations
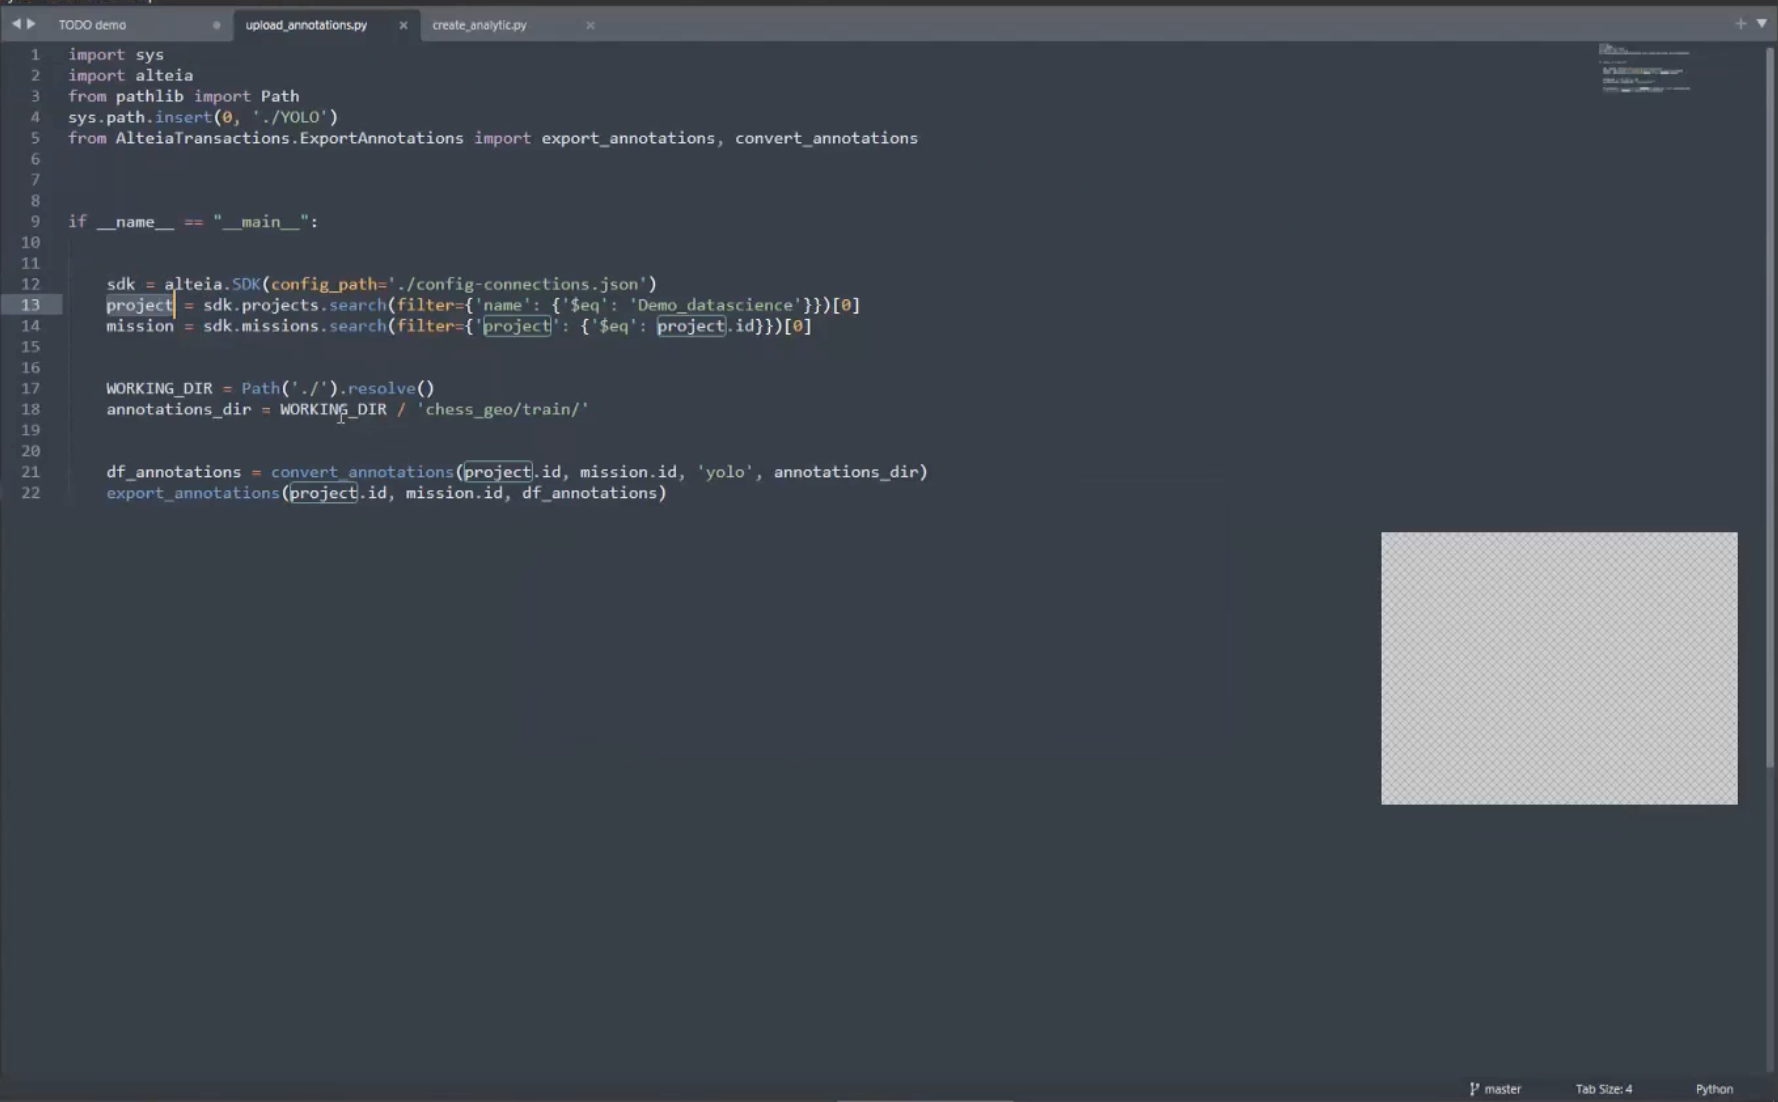
After the images upload, the next step is to create their annotations. While this can be done by hand, we will use a demo dataset and the Aether SDK to expedite the process. This demo dataset takes care of two important tasks. It converts a notation to Aether format from YOLO format, and exports those annotations to the platform.
To begin, open an instance of the SDK, enter the demo dataset, and run it.
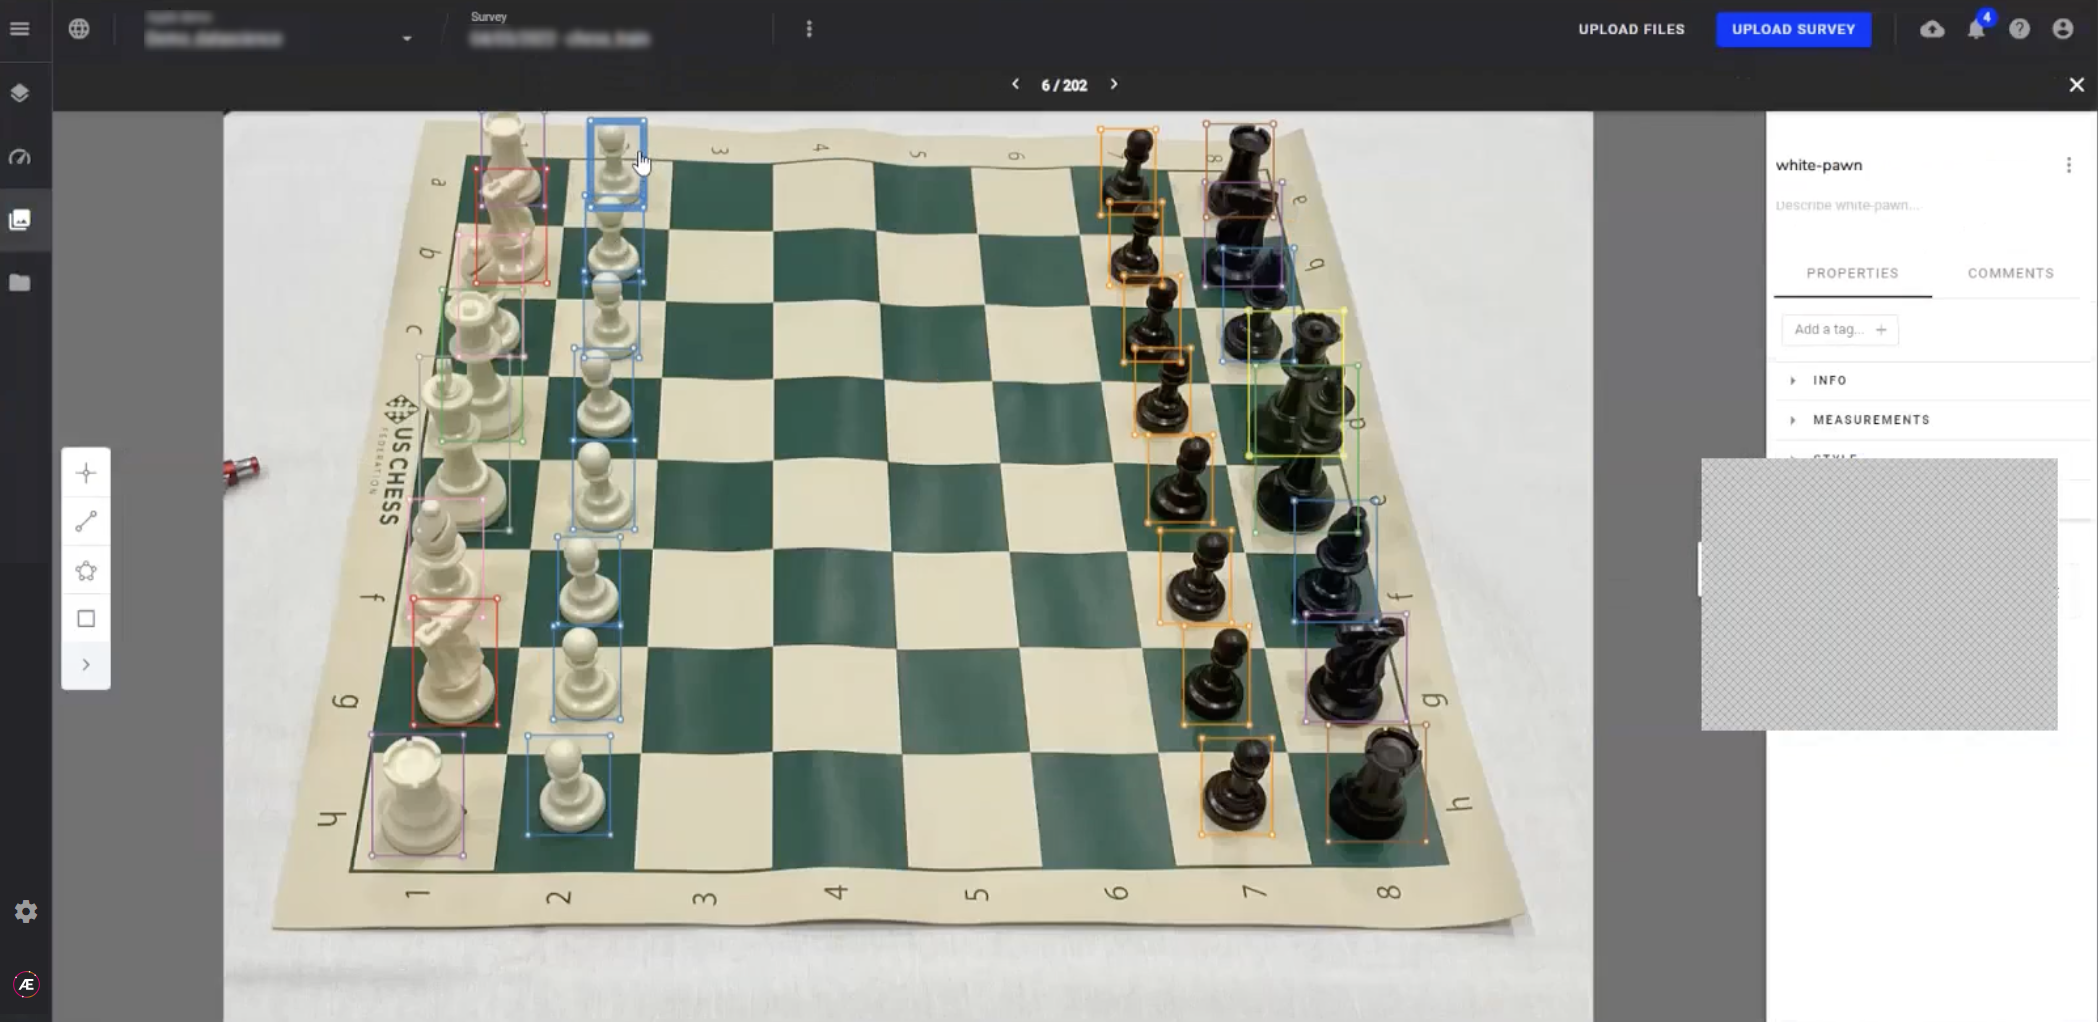
Back in the platform, the annotations appear.
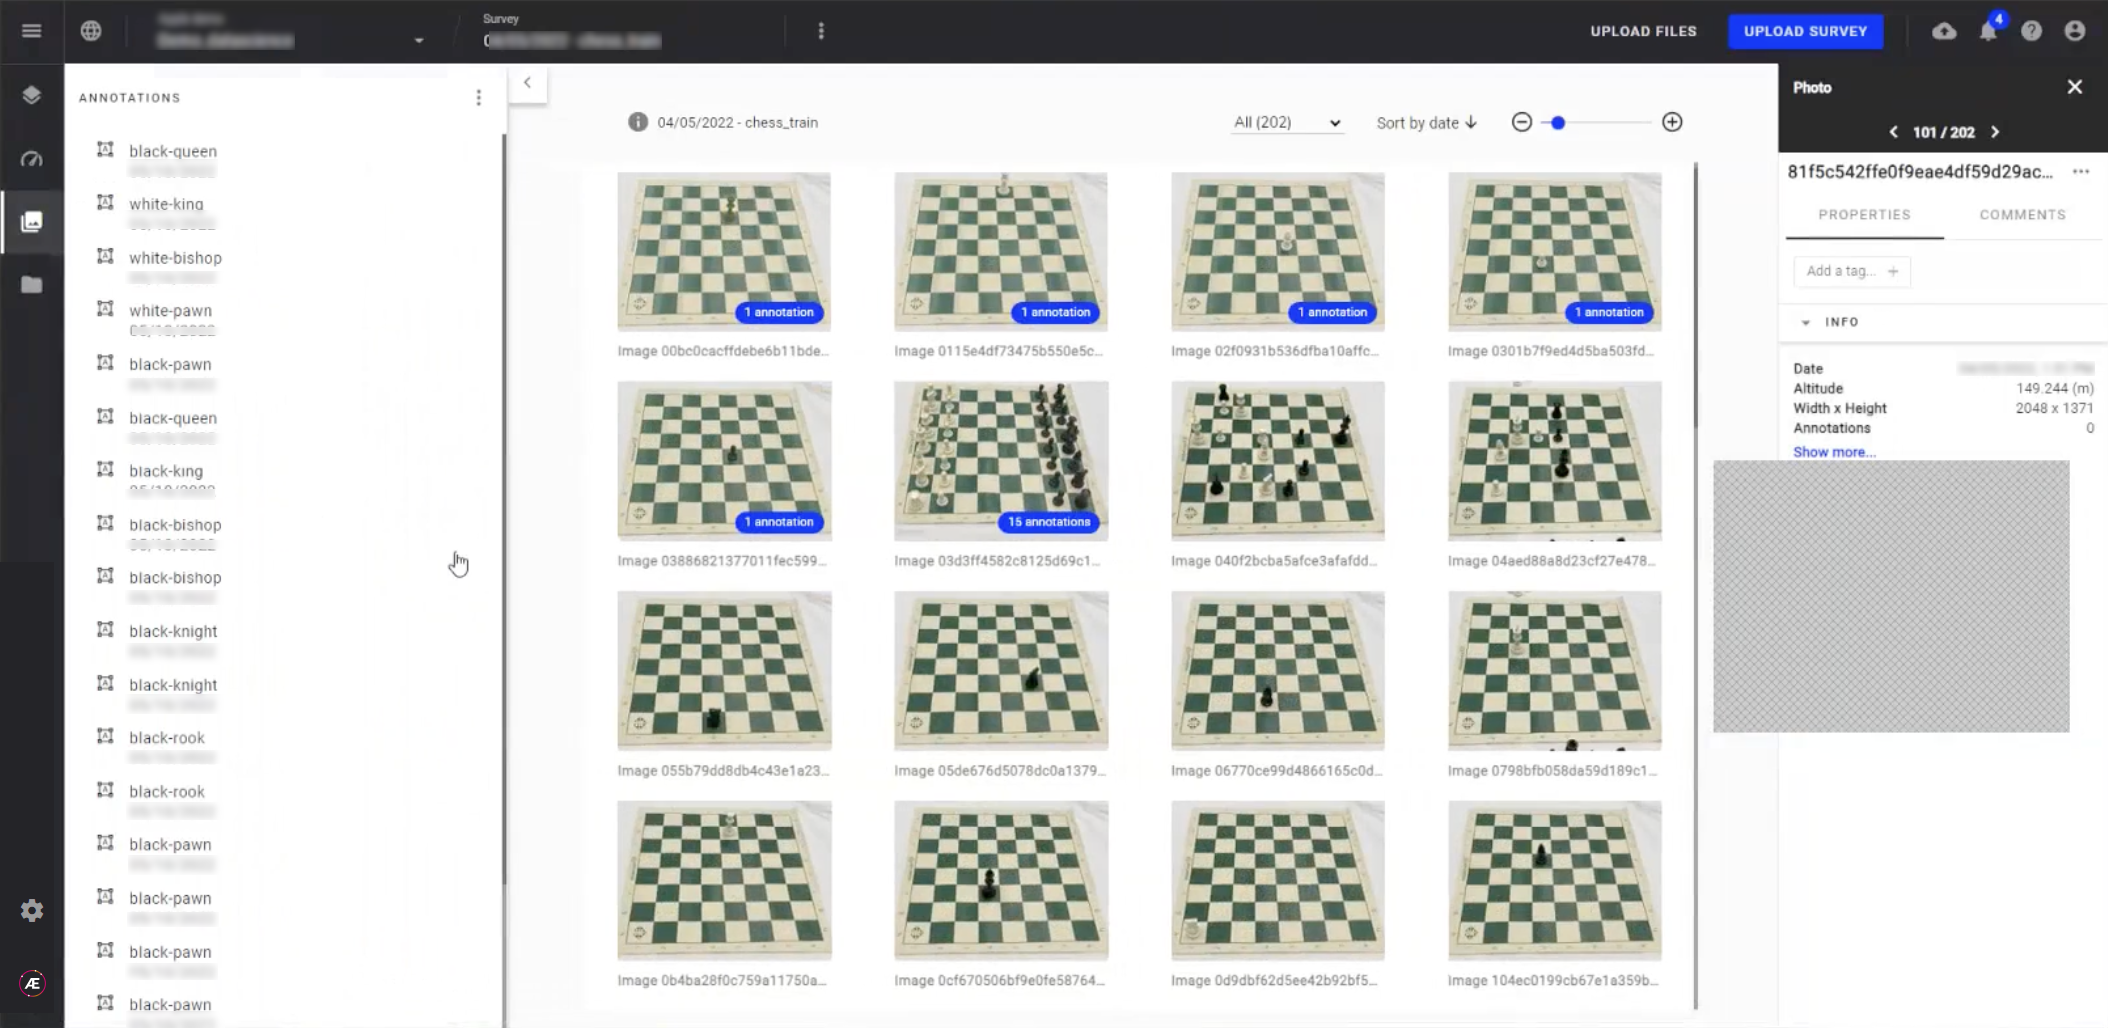
To view them closely, select an image. A highlight will appear when you hover over an object and the name provided with the annotation will appear in the menu on the right-hand side.
We now have a trained dataset.
Create the analytics
To find the analytics for your dataset, select the analytics icon from the menu on the left-hand side. We find that we currently have no analytics for this dataset. To create them we will use the provided demo script.
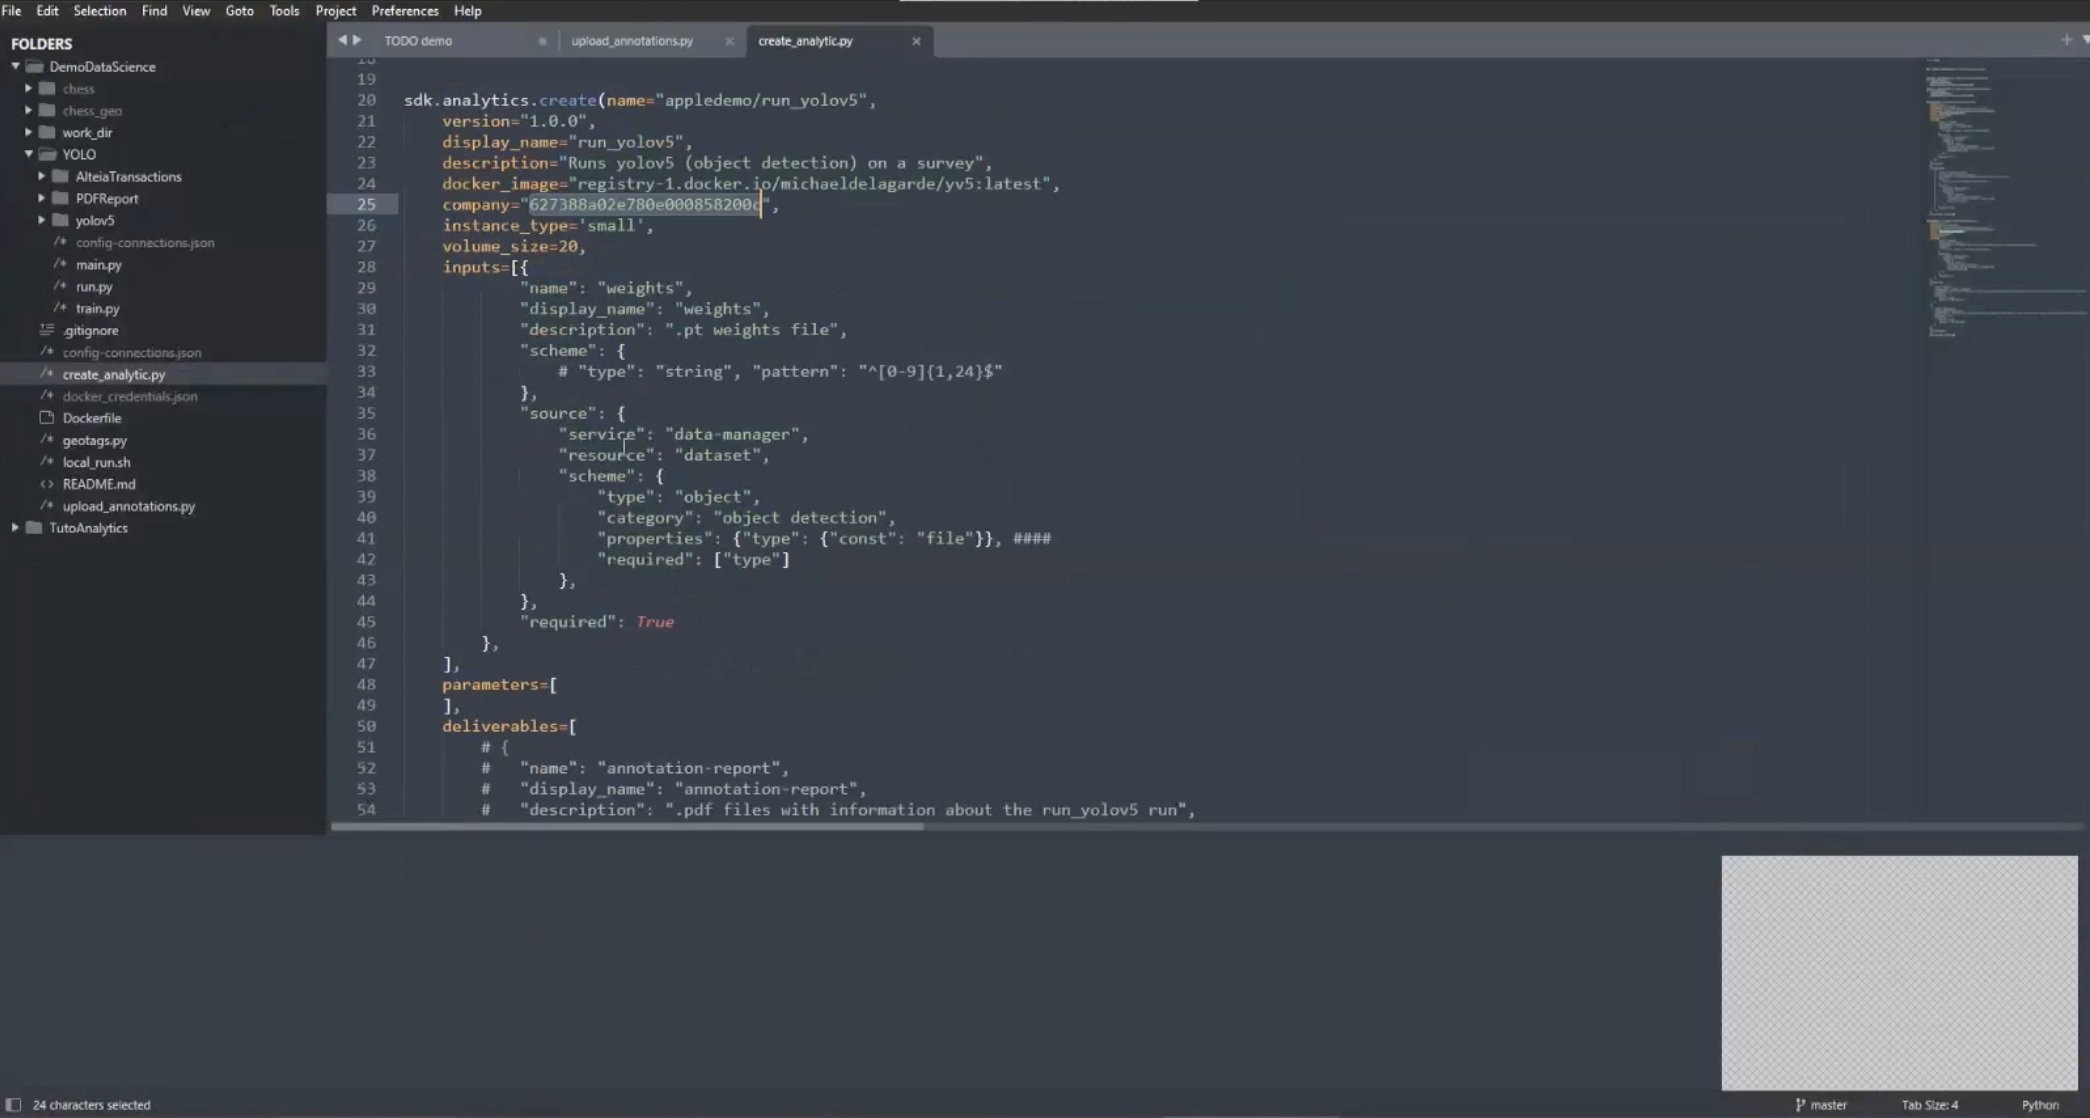
Open the SDK and enter the provided script. Adjust the below parameters to reflect your information:
    docker_image="registry-1.docker.io/michaeldelagarde/yv5:latest",
    company="627388a02e780e000858200c",
Within the script you can specify inputs, parameters, and outputs. For this demonstration leave the script as it is.
Finally, execute the script.
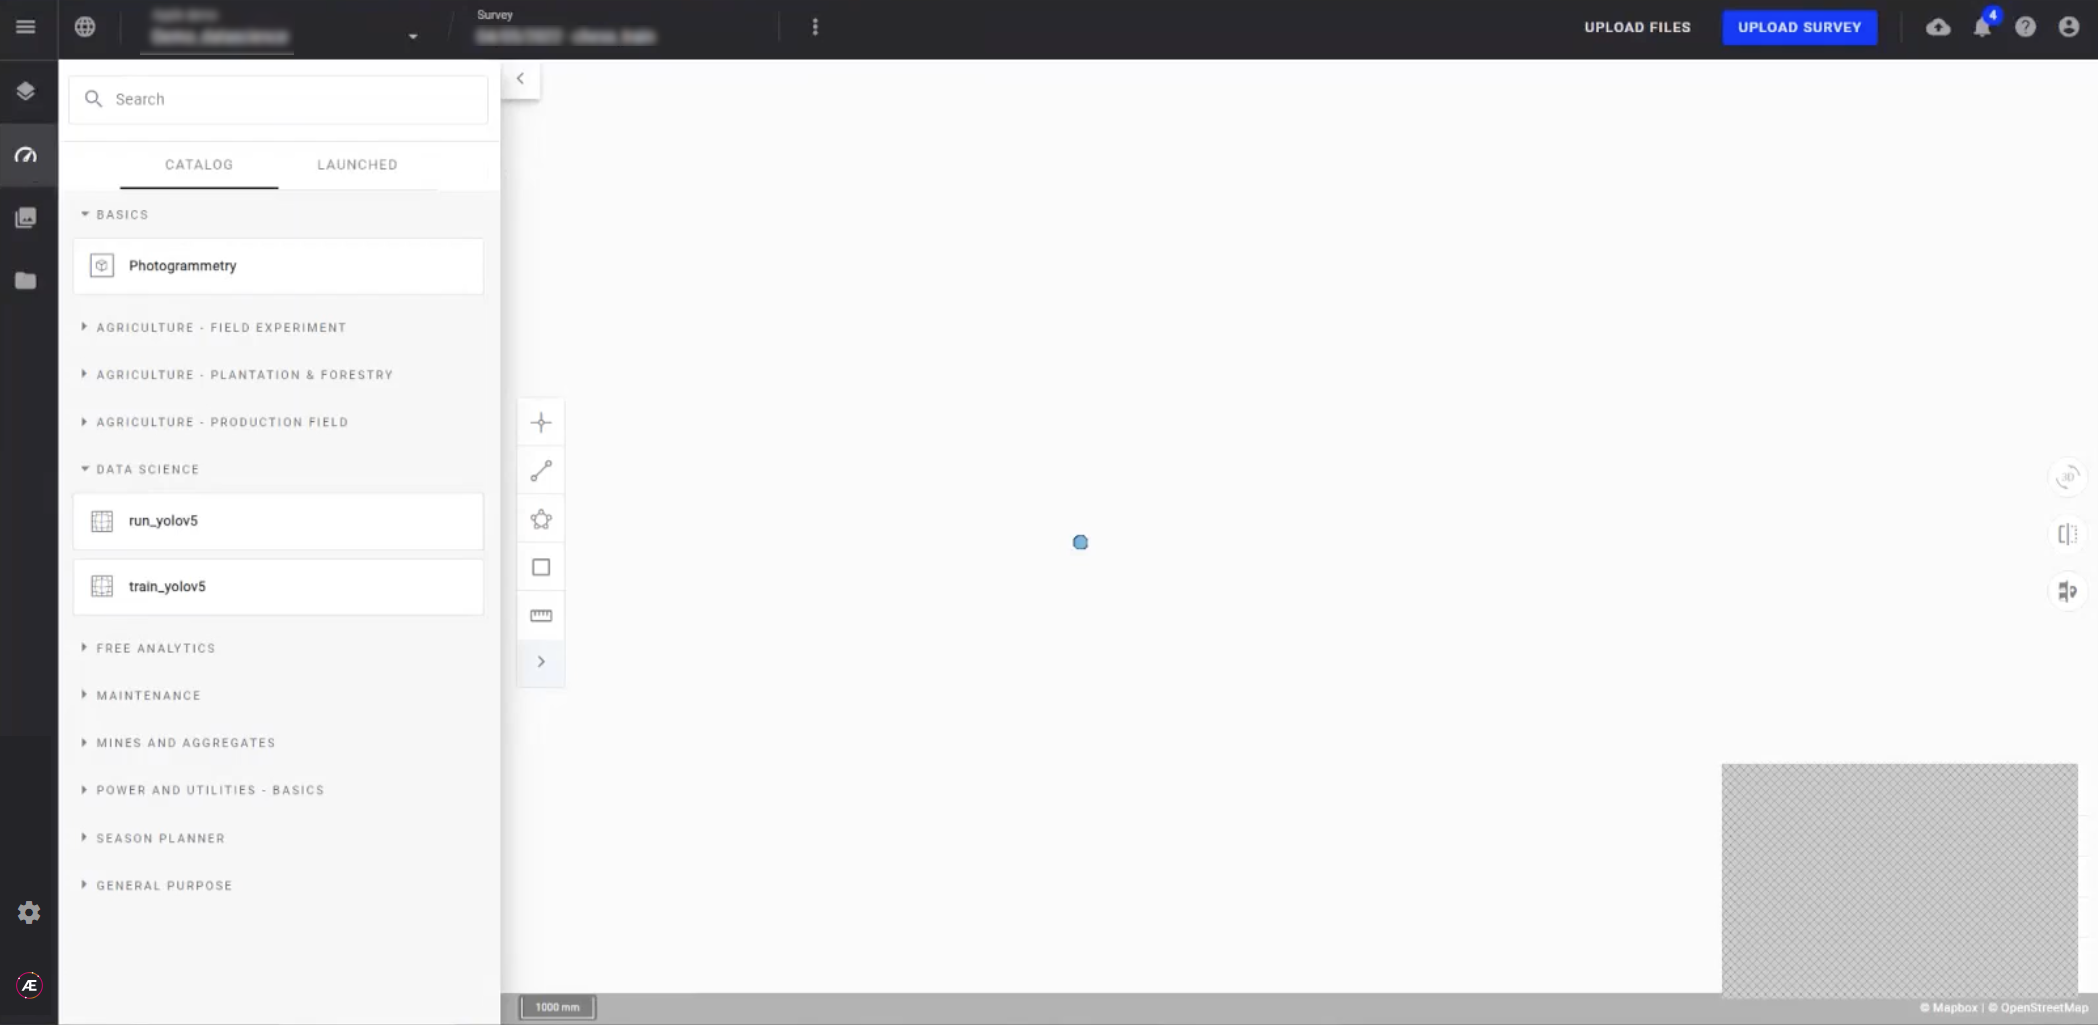
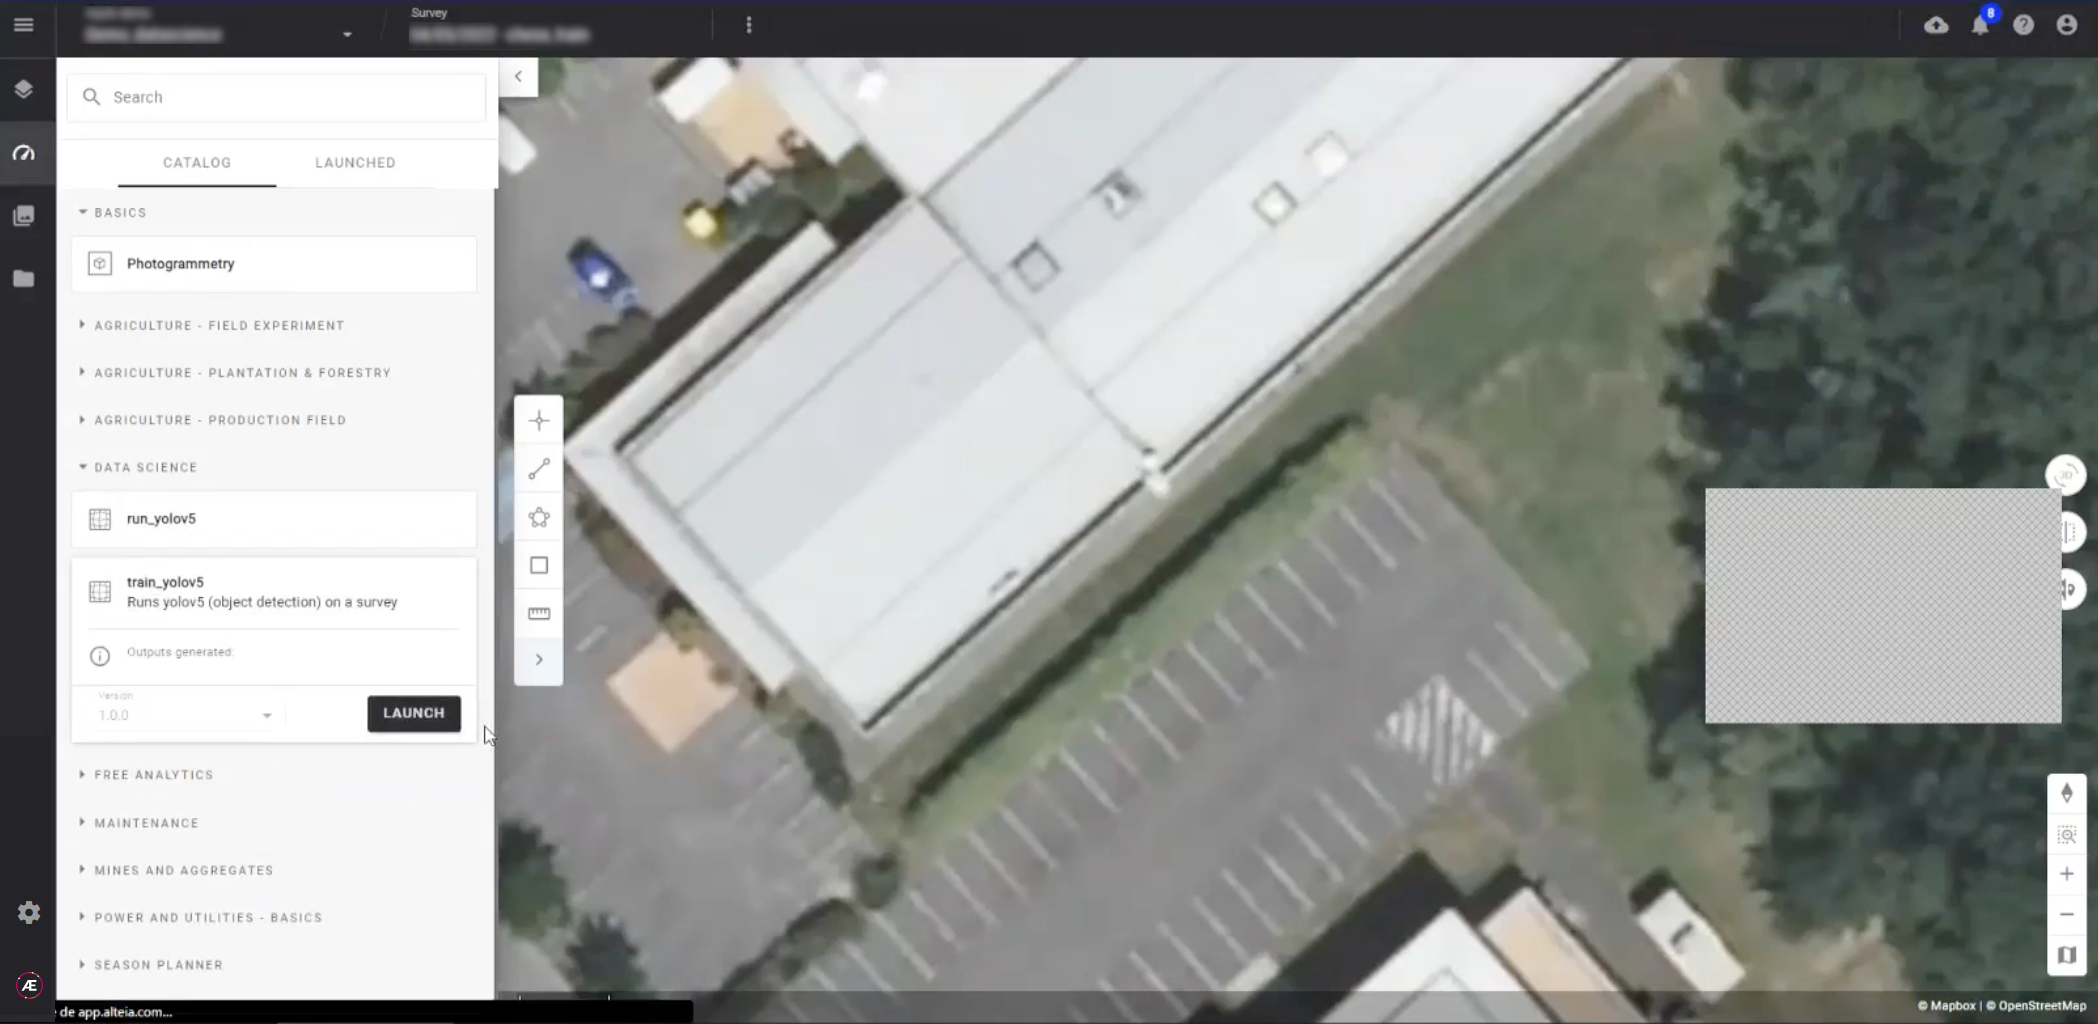
Once complete, return to the platform, select the site you are working in, select the analytics icon, and the group "Data Science" from the menu. Now you find the run_yolov5 and train_yolov5 analytics that you just created.
Open the Aether CLI
Open the Aether CLI, and, if you haven't yet done so, create your credentials.
The next step is to Dockerize the application and push it to the Docker registry. We provide a short script based on ubuntu to help you do this.
In the CLI, enter the command "docker build yourcredentials/yv5"
Run the Algorithms
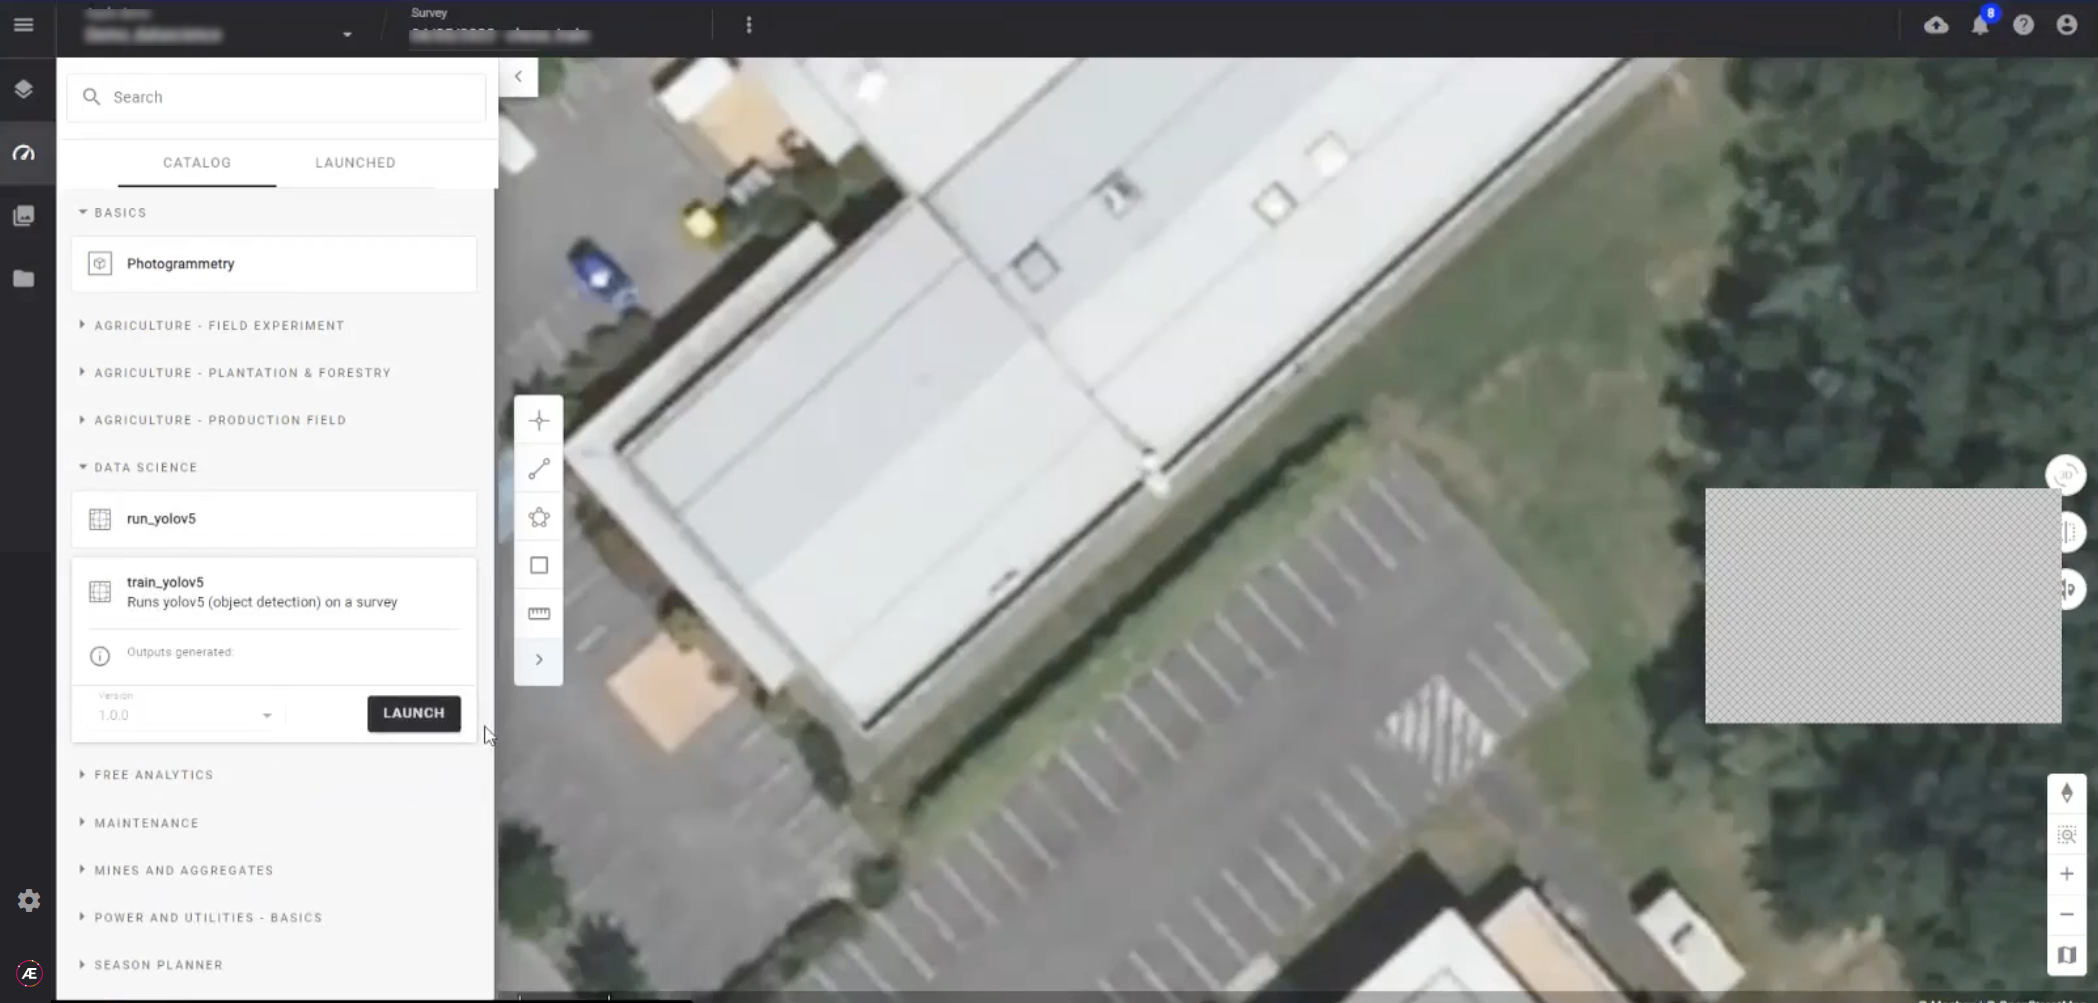
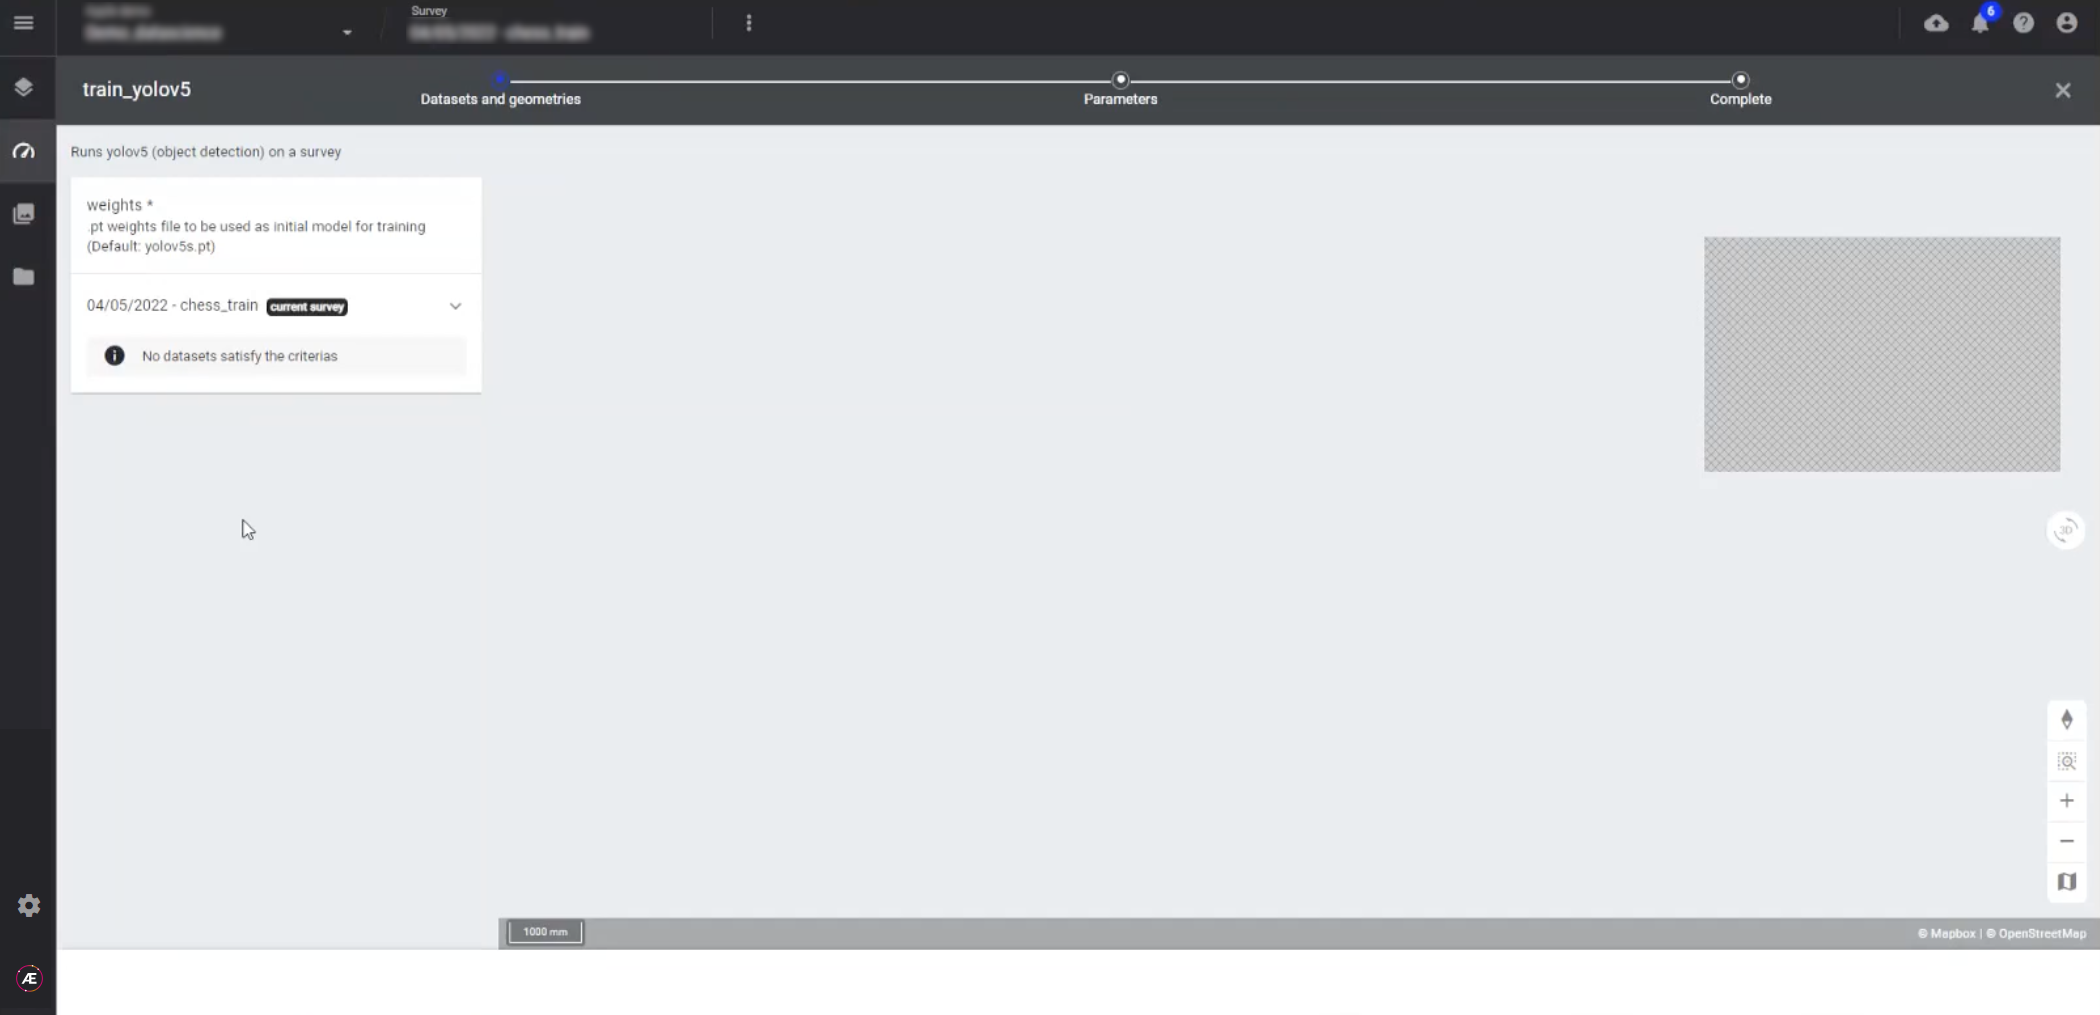
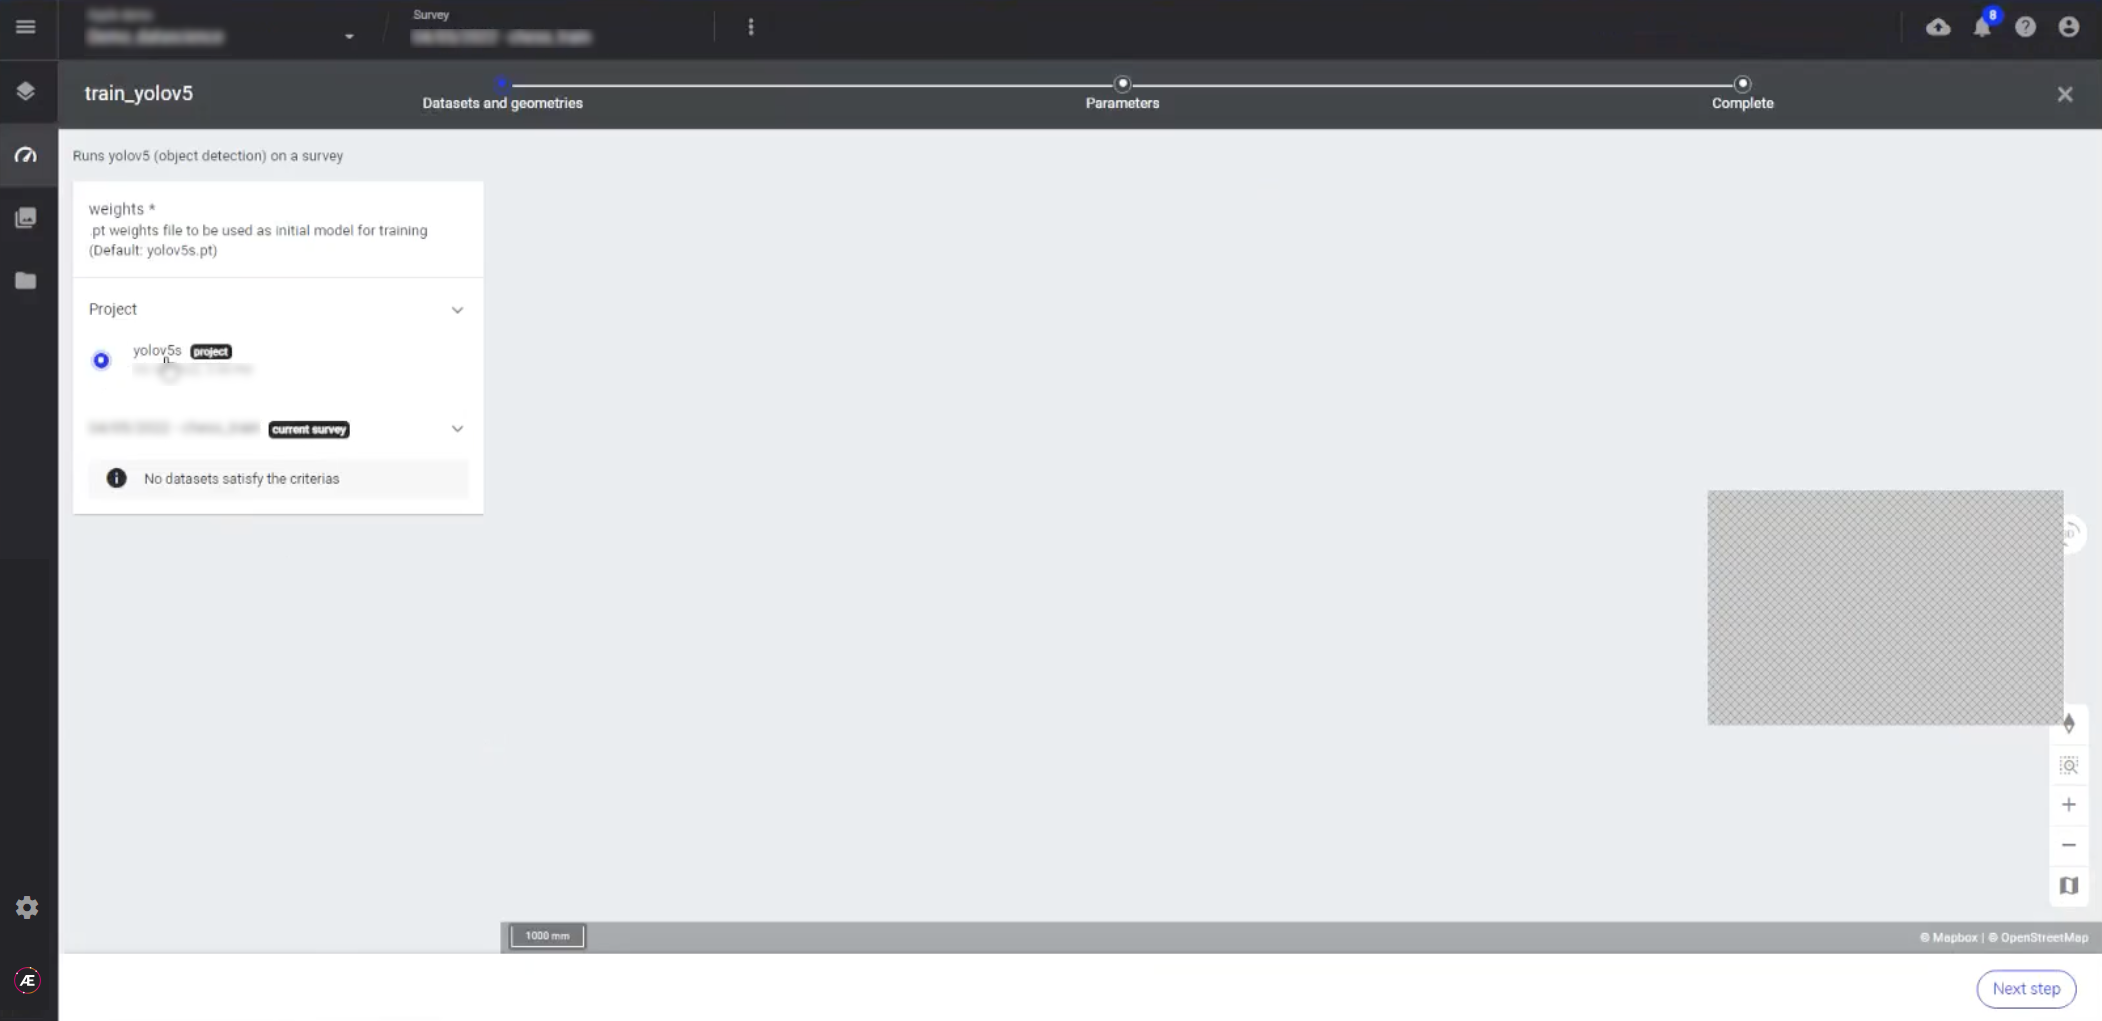
Now, return the platform, select the group "Data Science", and the algorithm you wish to run against the images in your dataset first. We will select "train_yolov5" and "Launch".
The platform will request a weights file to use as the initial model for training the algorithm. The default suggestion is the yolovs.pt file provided by YOLO.
On the platform, select "Upload Files", "browse", and select the provided file.
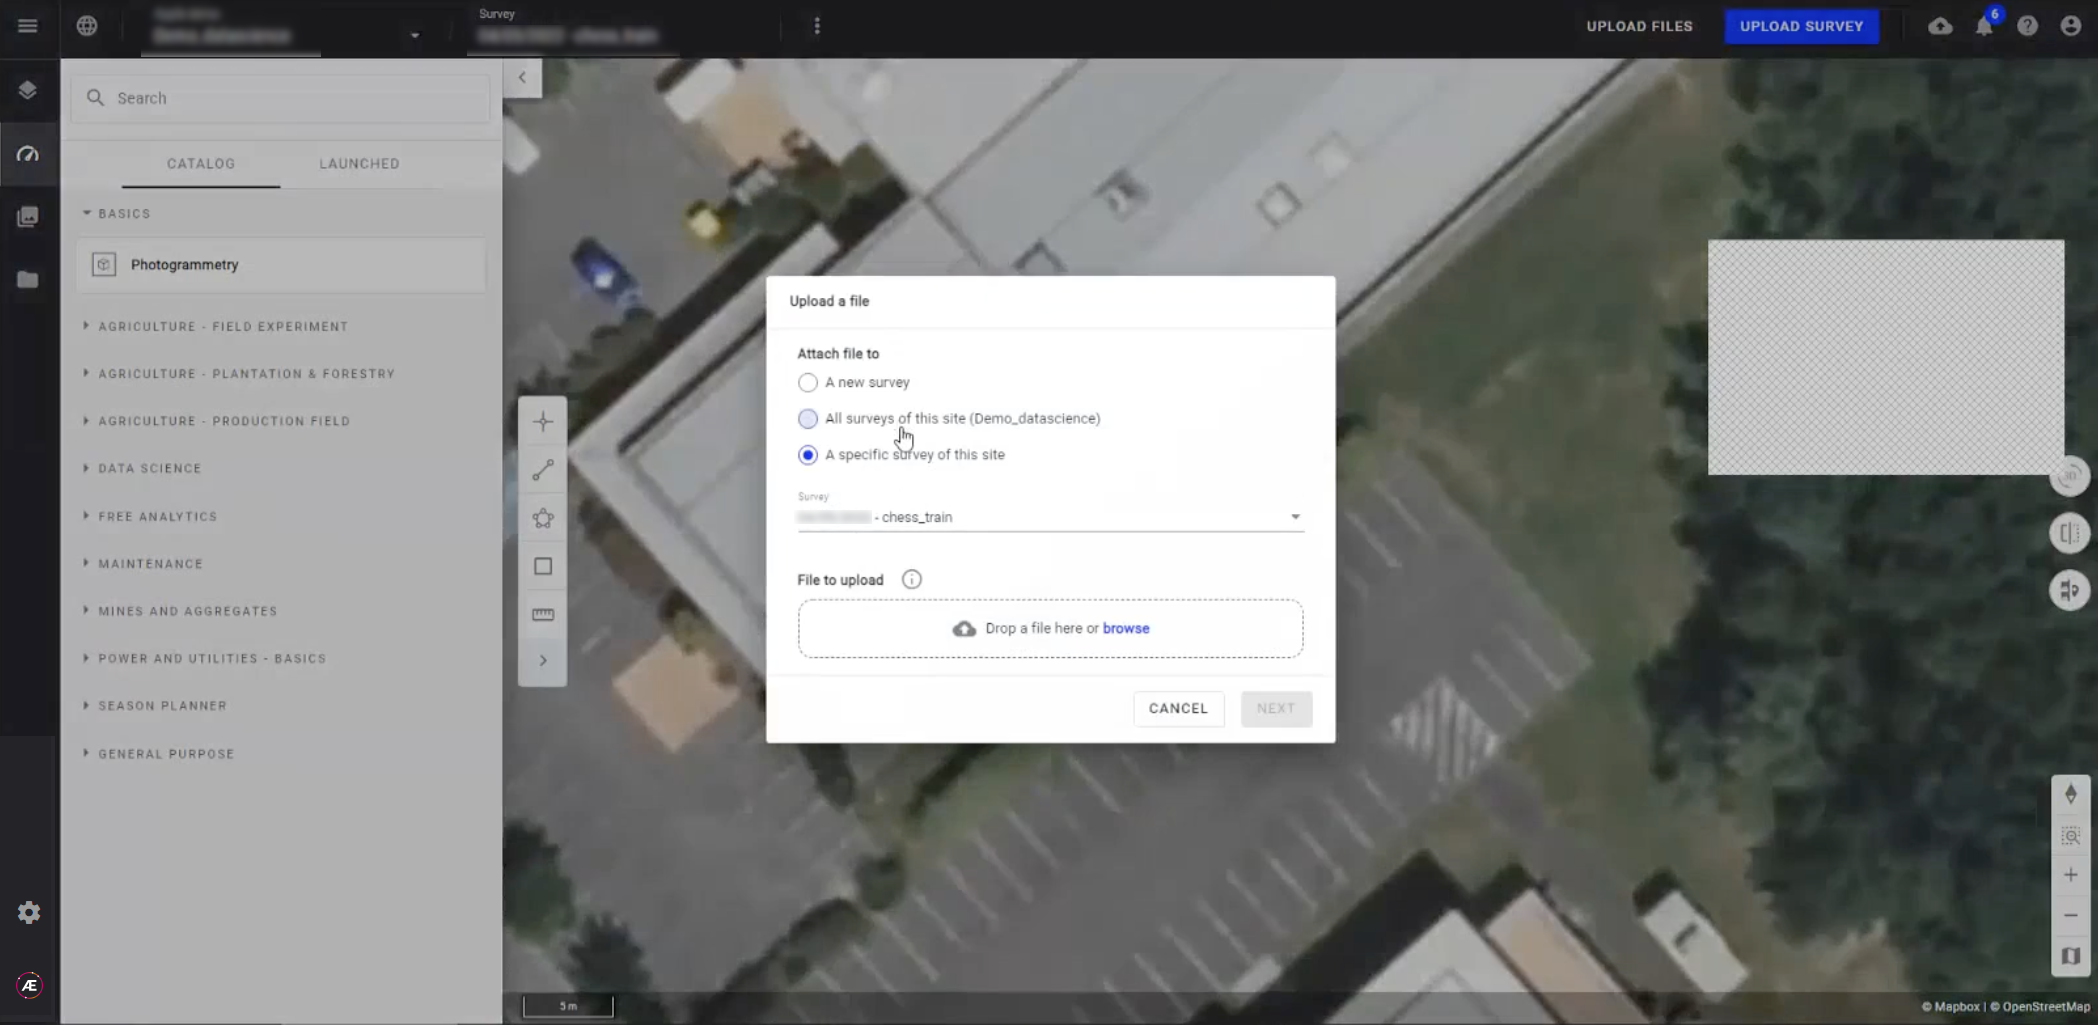
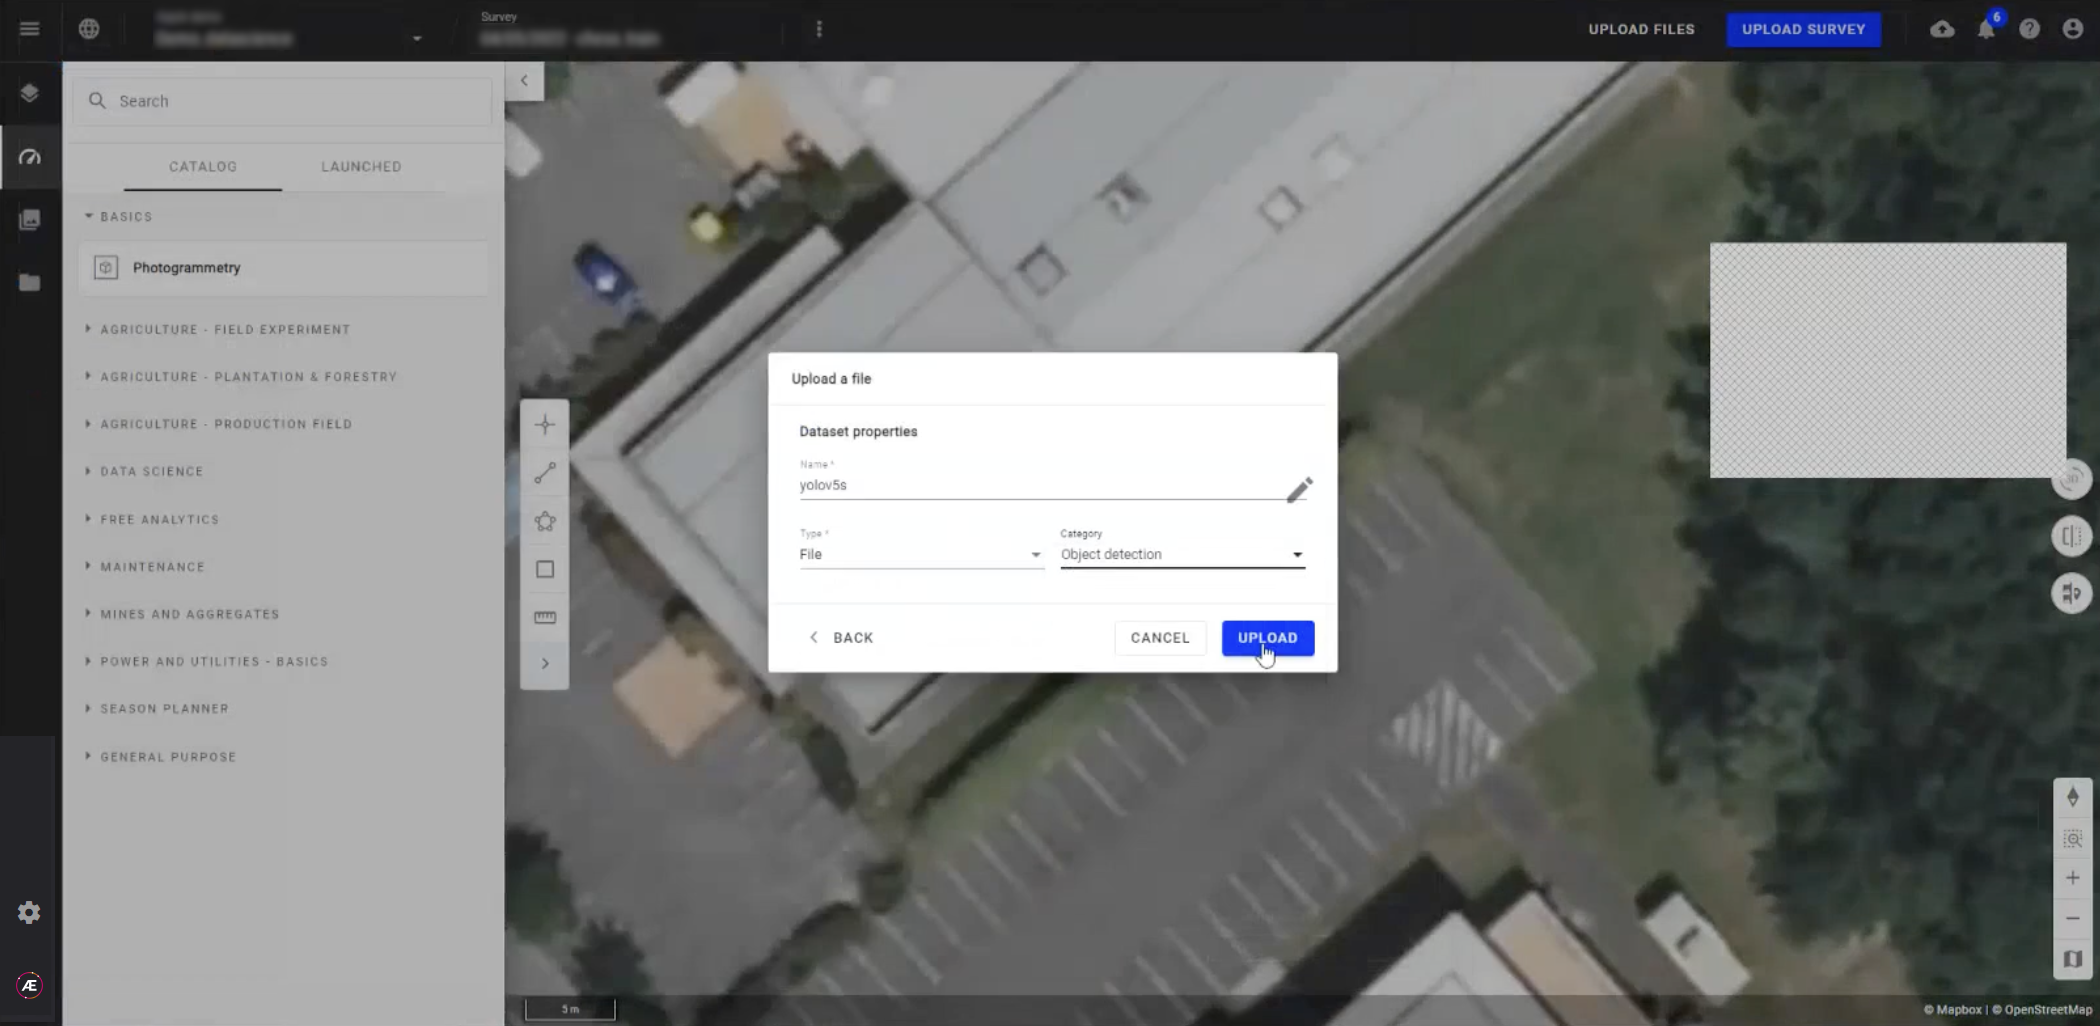
For the category select "Object detection" and "Upload".
Return to the analytics tab and again select "train_yolov5" from the menu.
Now, with the yolovs.pt file as an inital input for training, you have weights to run the file.
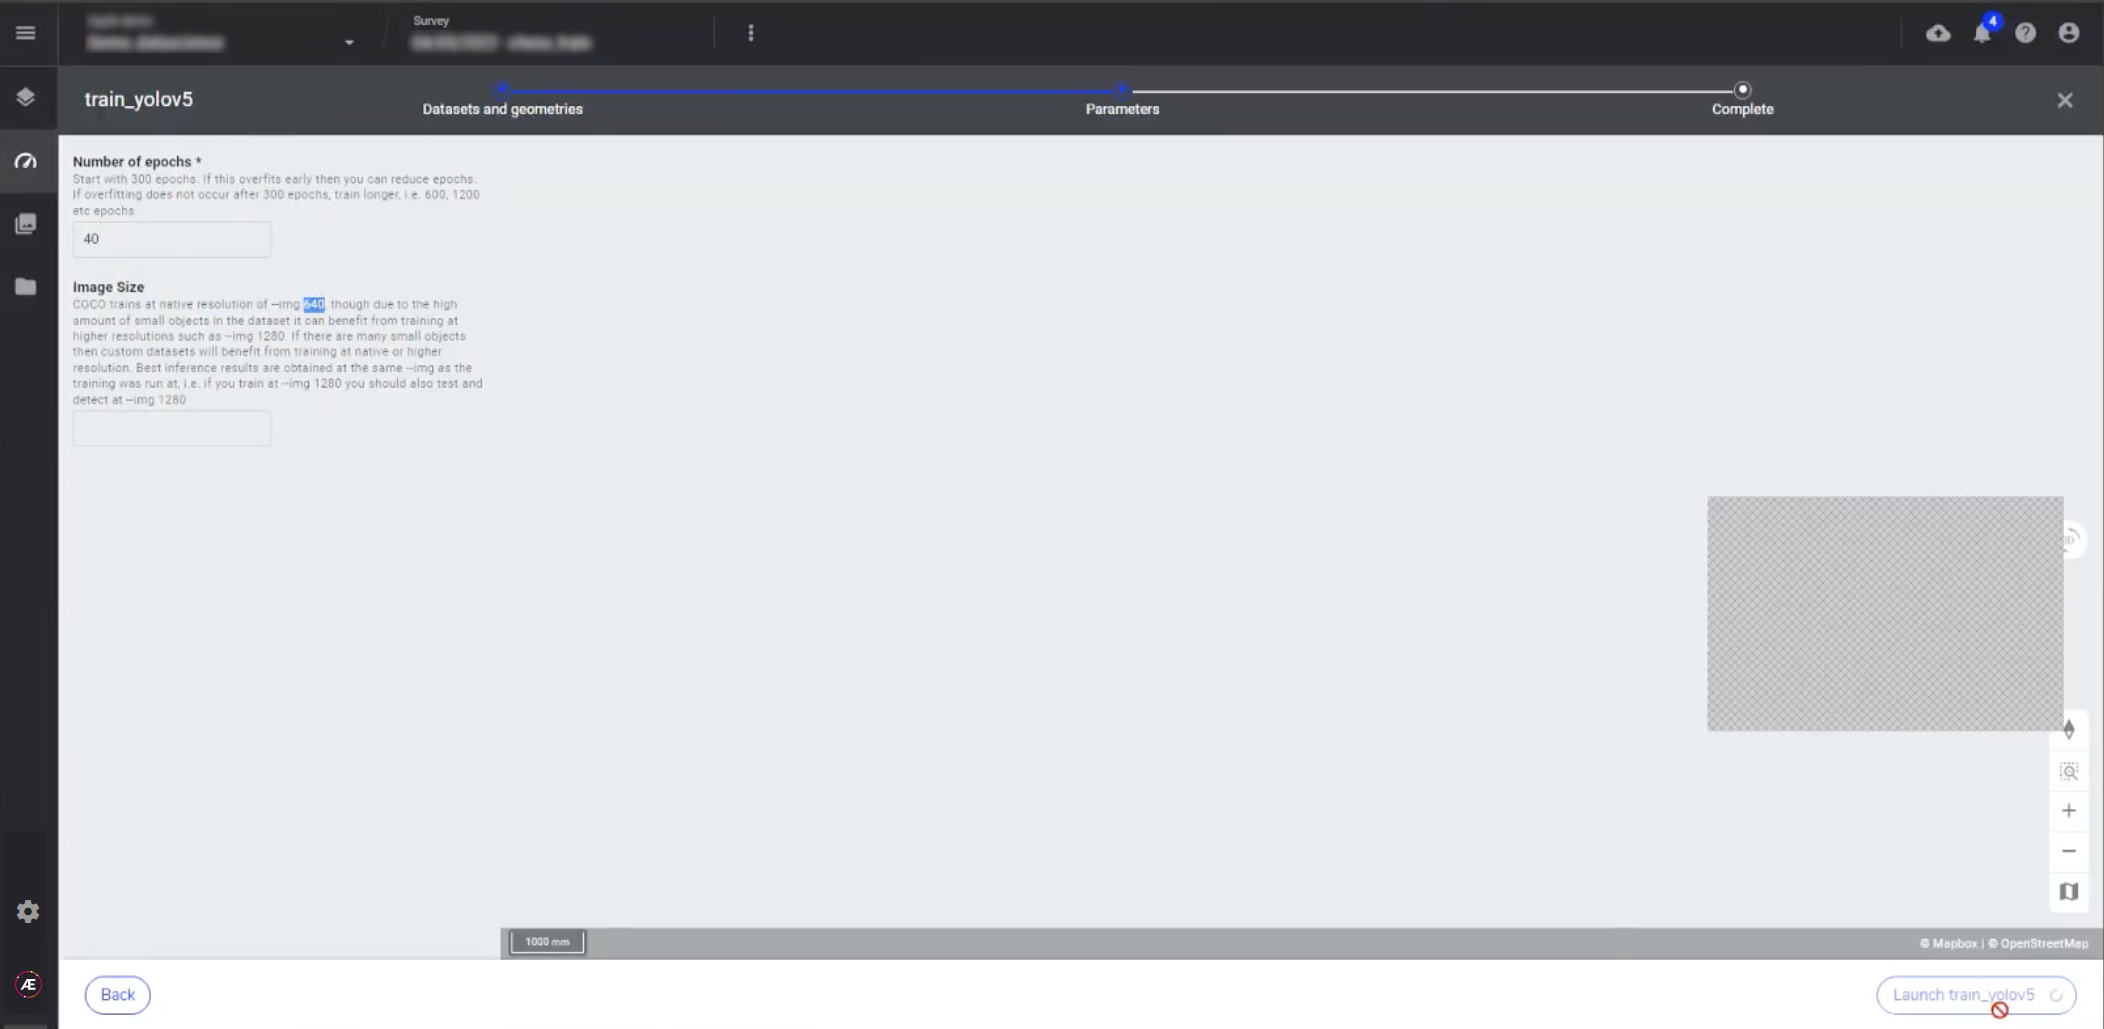
On the next screen, you find parameters which were specified during the creation of the train_yolov5 and run_yolov5 algorithms. For this example, enter "40" in the "Number of epochs" and leave the "Image Size" set to default. Select "Launch".
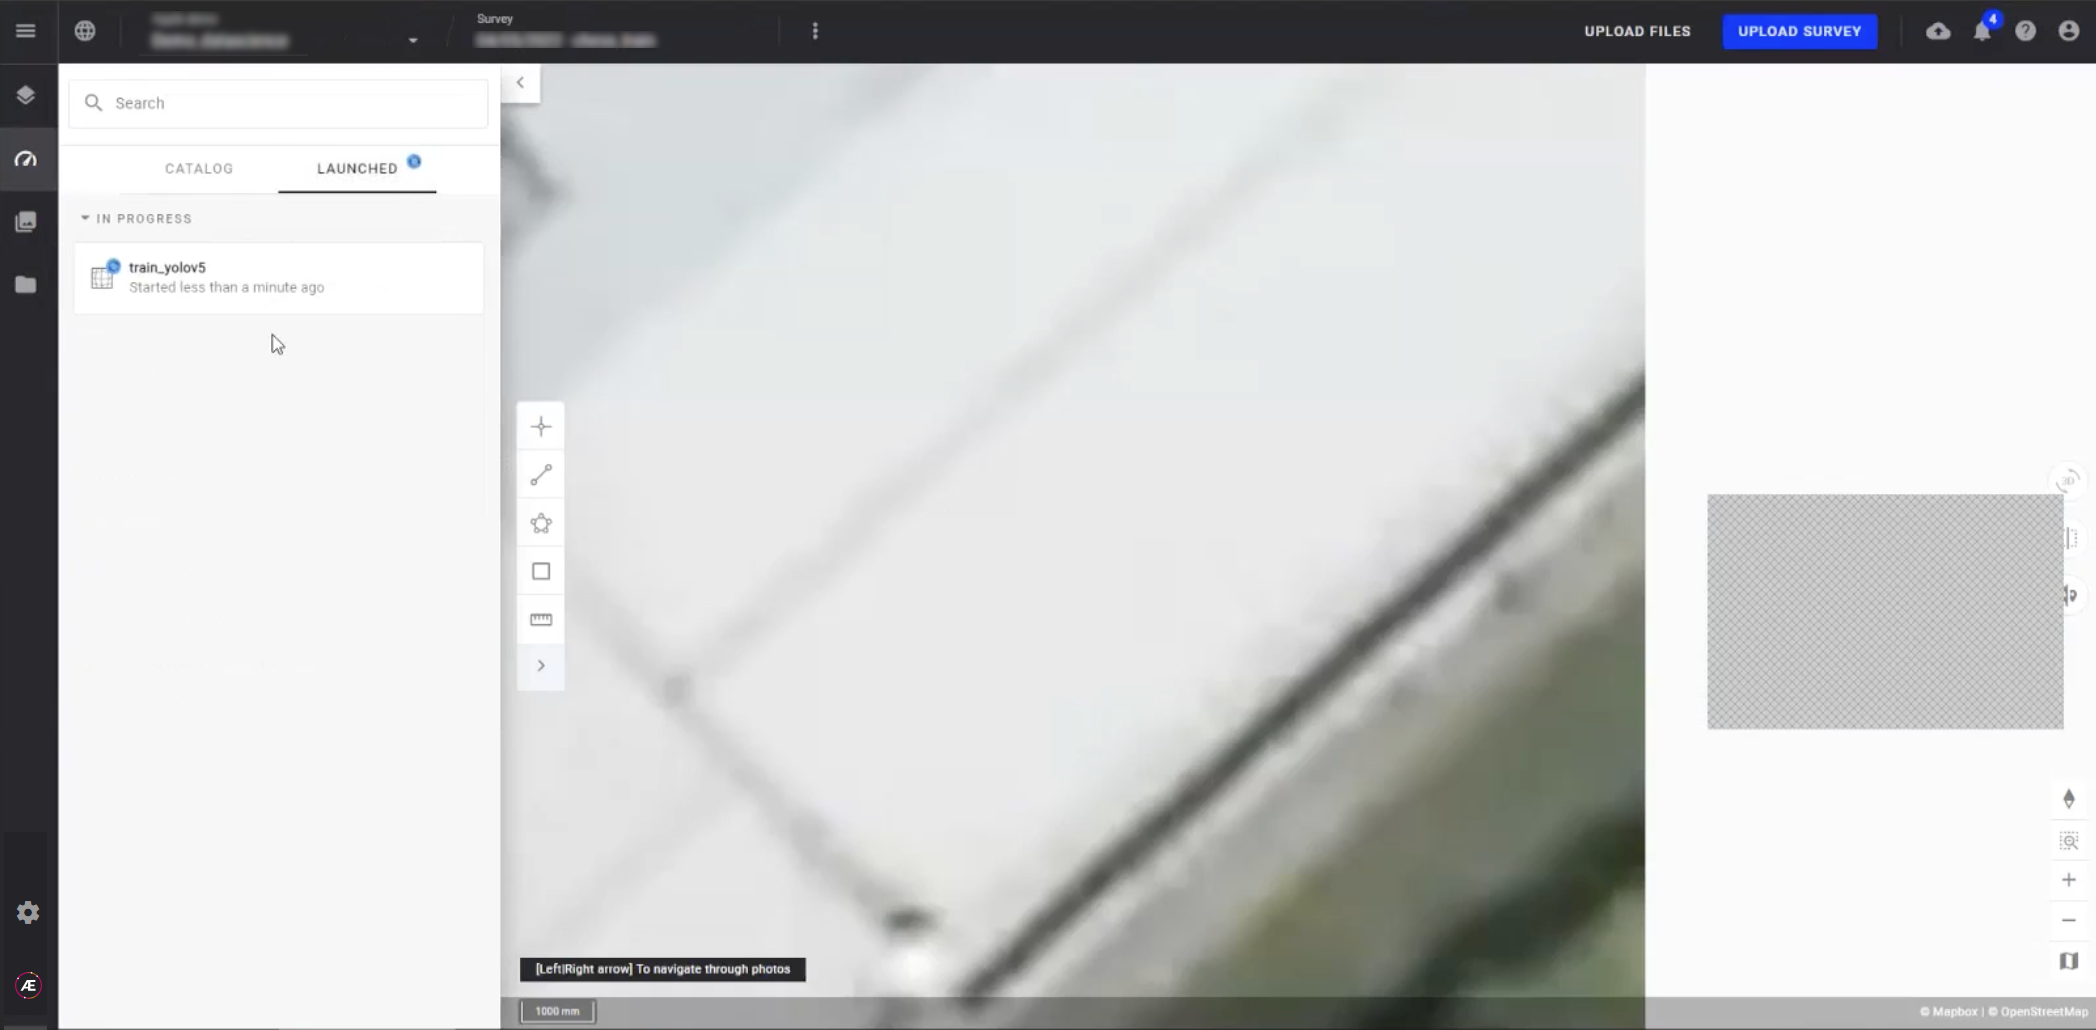
Now, the train_yolov5 algorithm is listed under the tab "Launched".