Stockpiles module
1. Description
The Stockpile Module allows the realization of an inventory of the materials stored on a site and also the calculation of their surface, volume, weight or price.
All this information can be exported in the form of a report allowing to precisely monitor the extraction or storage of materials.
Stockpiles can be generated by calling "Automated stockpile calculation" analytics, or by drawing the stockpiles oneself (Self-Service stockpile management).
If "Automated stockpile calculation" analytics (see dedicated article) has been performed beforehand and its results delivered to the platform, the module will be automatically activated. Once the module is activated, no need to activate it again.
Otherwise, the Stockpiles Module needs to be activated the first time it is used.
Info
Only a user with a Manager role or by default a User role can access the stockpiles module. For more information on Aether's role permissions, see Account and User Roles Management
IMPORTANT INFORMATION
Paragraph 2. explains how to use/view the stockpiles within the Stockpile module.
Paragraph 3. explains how to view the Stockpile general metrics outside the Stockpile module.
2. Stockpiles Module
2.1 Activate the Stockpile Module and possibility import self-service stockpiles from another survey
IMPORTANT INFORMATION
Importing stockpiles only acts on self-service stockpiles from another survey
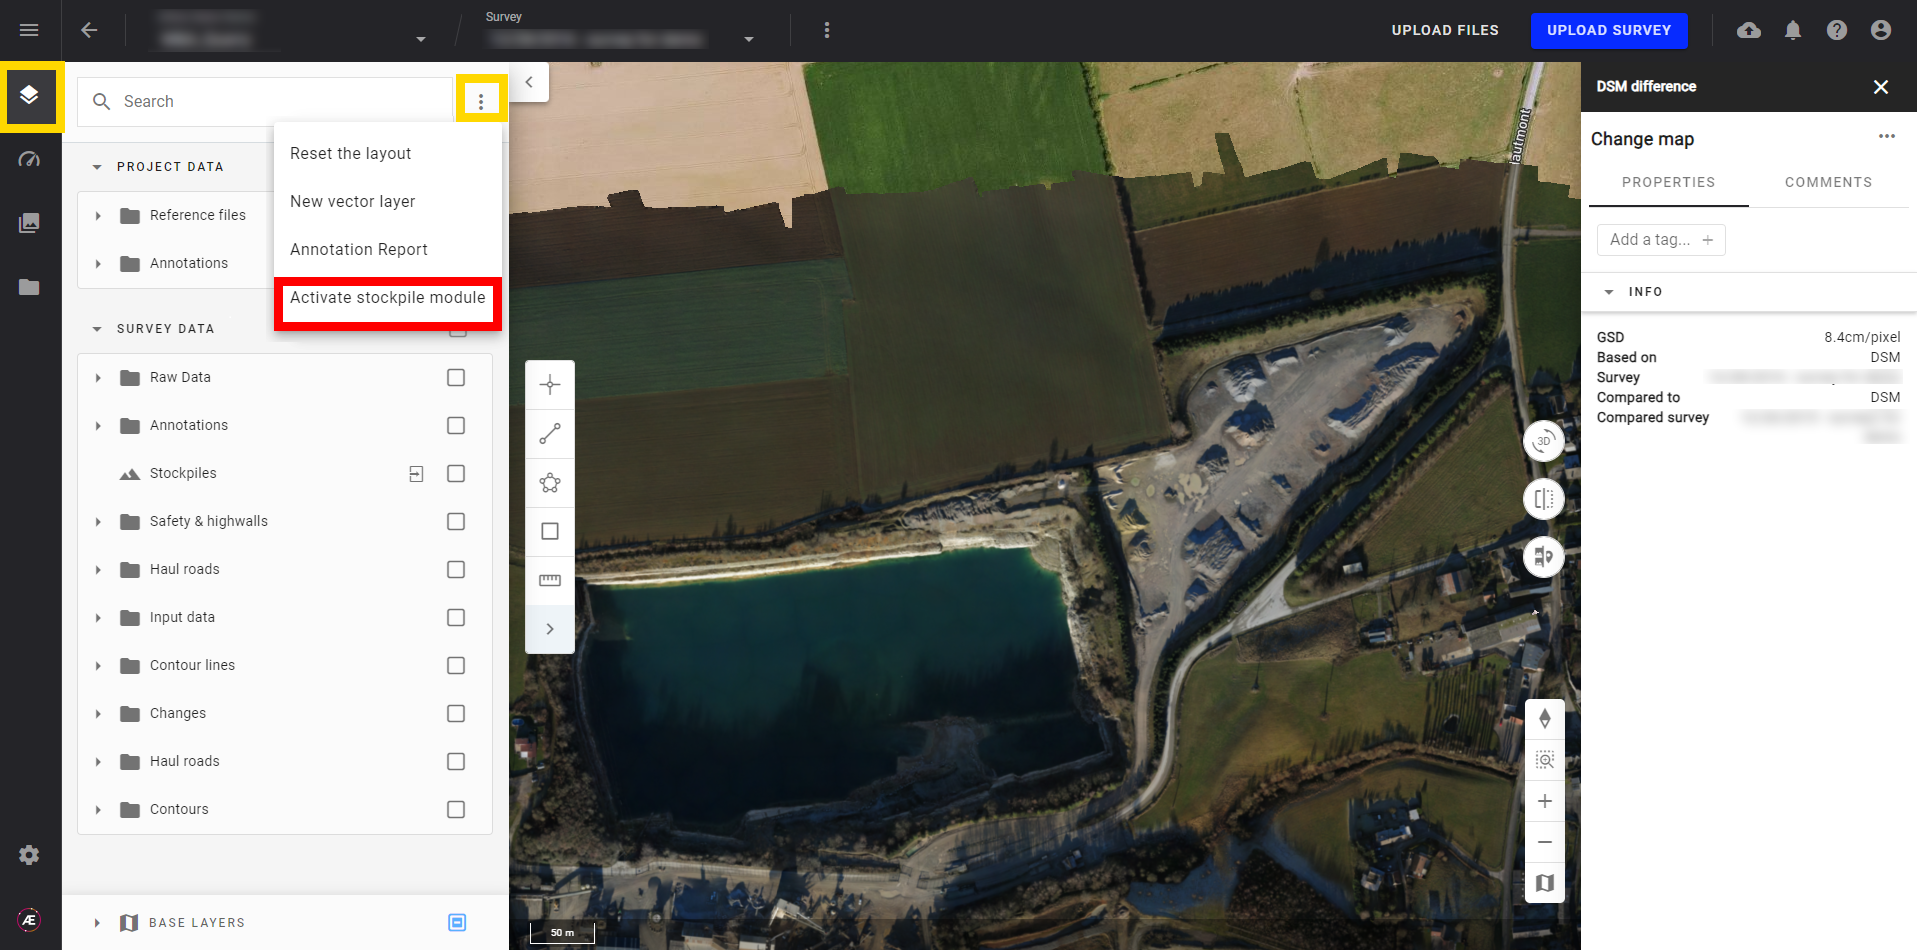
Step 1 - Activate the stockpile module by clicking on the 3 dots as seen in the image below, and click on "Activate stockpile module".
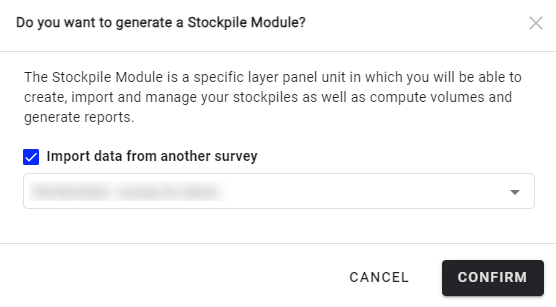
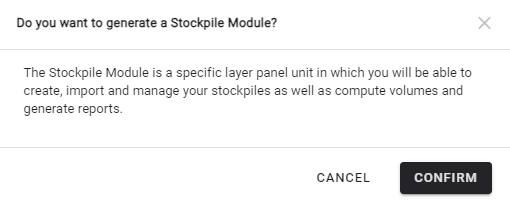
If another survey contain some self-service stockpiles and if there is a DSM on the current survey, then the following window will be displayed:
Otherwise:
Step 2 - If you wish to import self-service stockpiles from a previous survey, let the checkbox “Import data from a previous survey” ticked, then select the survey. Click on CONFIRM
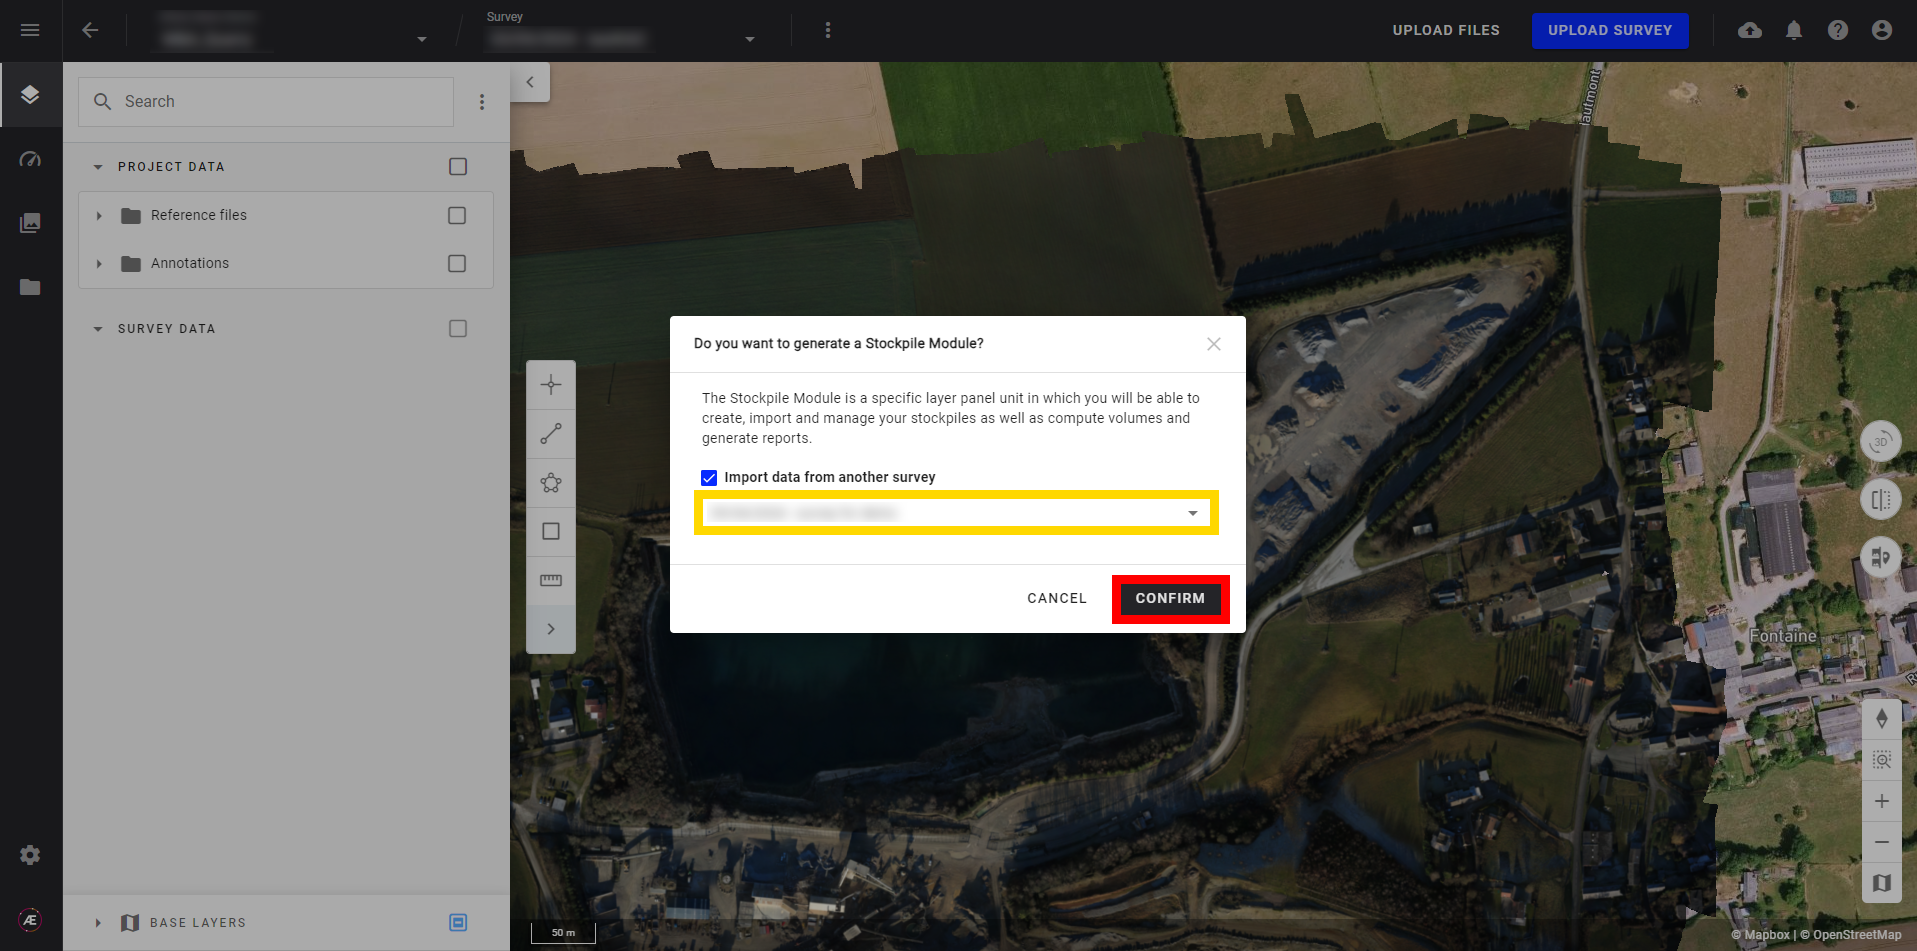
Otherwise, untick the checkbox “Import data from a previous survey” , then click on CONFIRM.
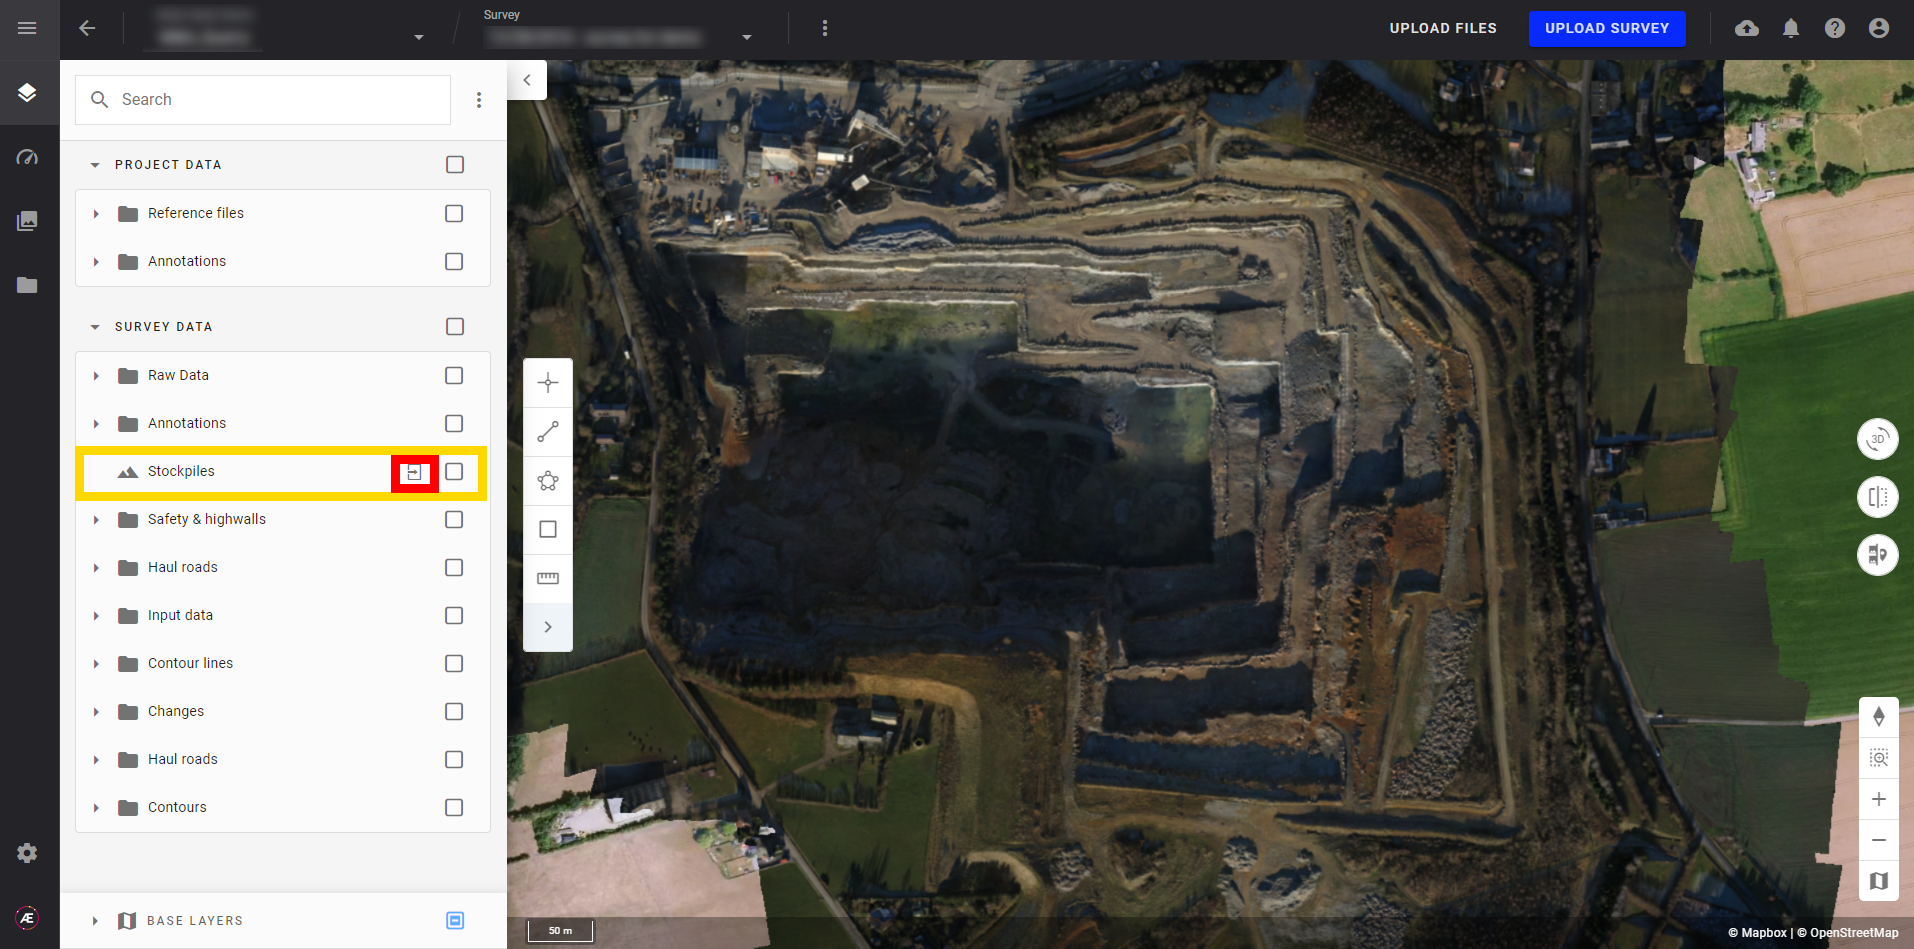
The module will appear in the left panel as seen below.

2.2 Access to the module
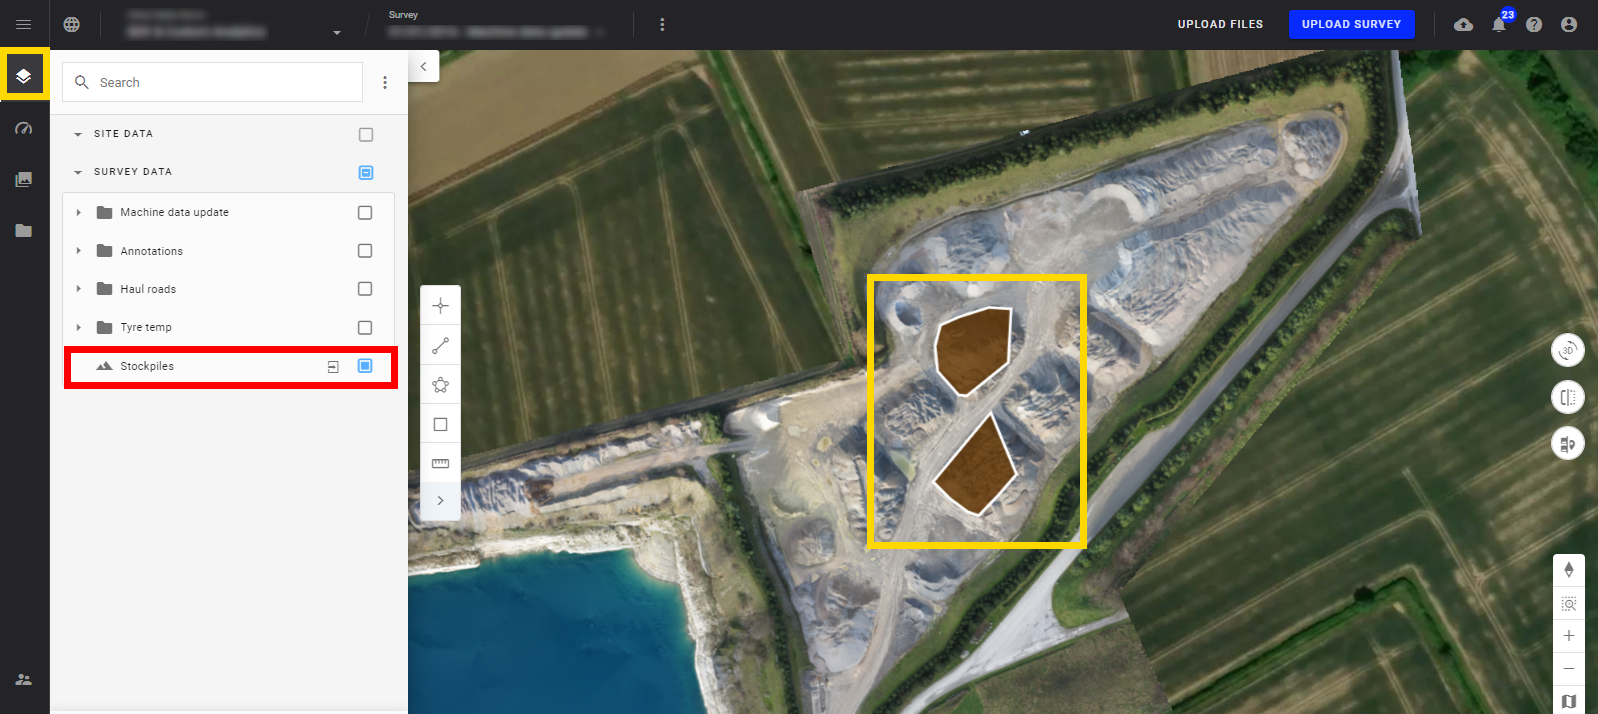
Click on the arrow button (boxed in red below) of the Stockpiles layer to access the module.
2.3 Module description
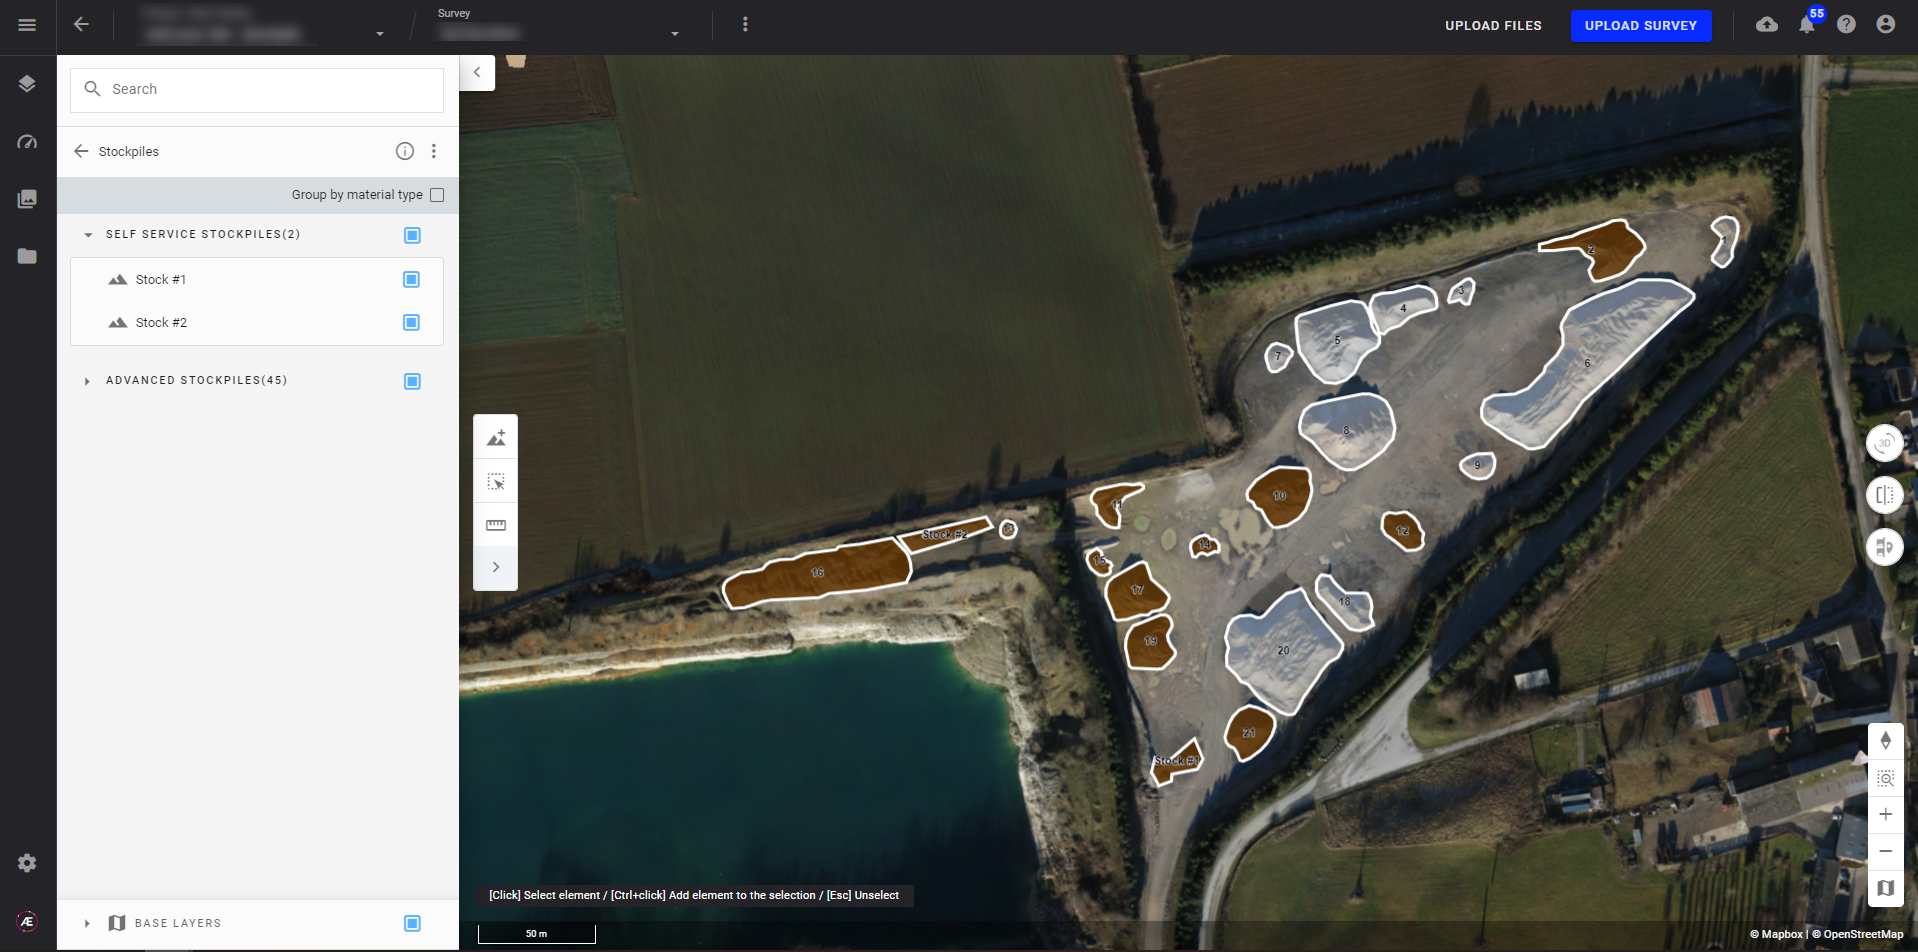
- After accessing the module, a list of all the stockpiles identified by Advanced Stockpiles analytics or the Self-Service stockpiles of the site is displayed.
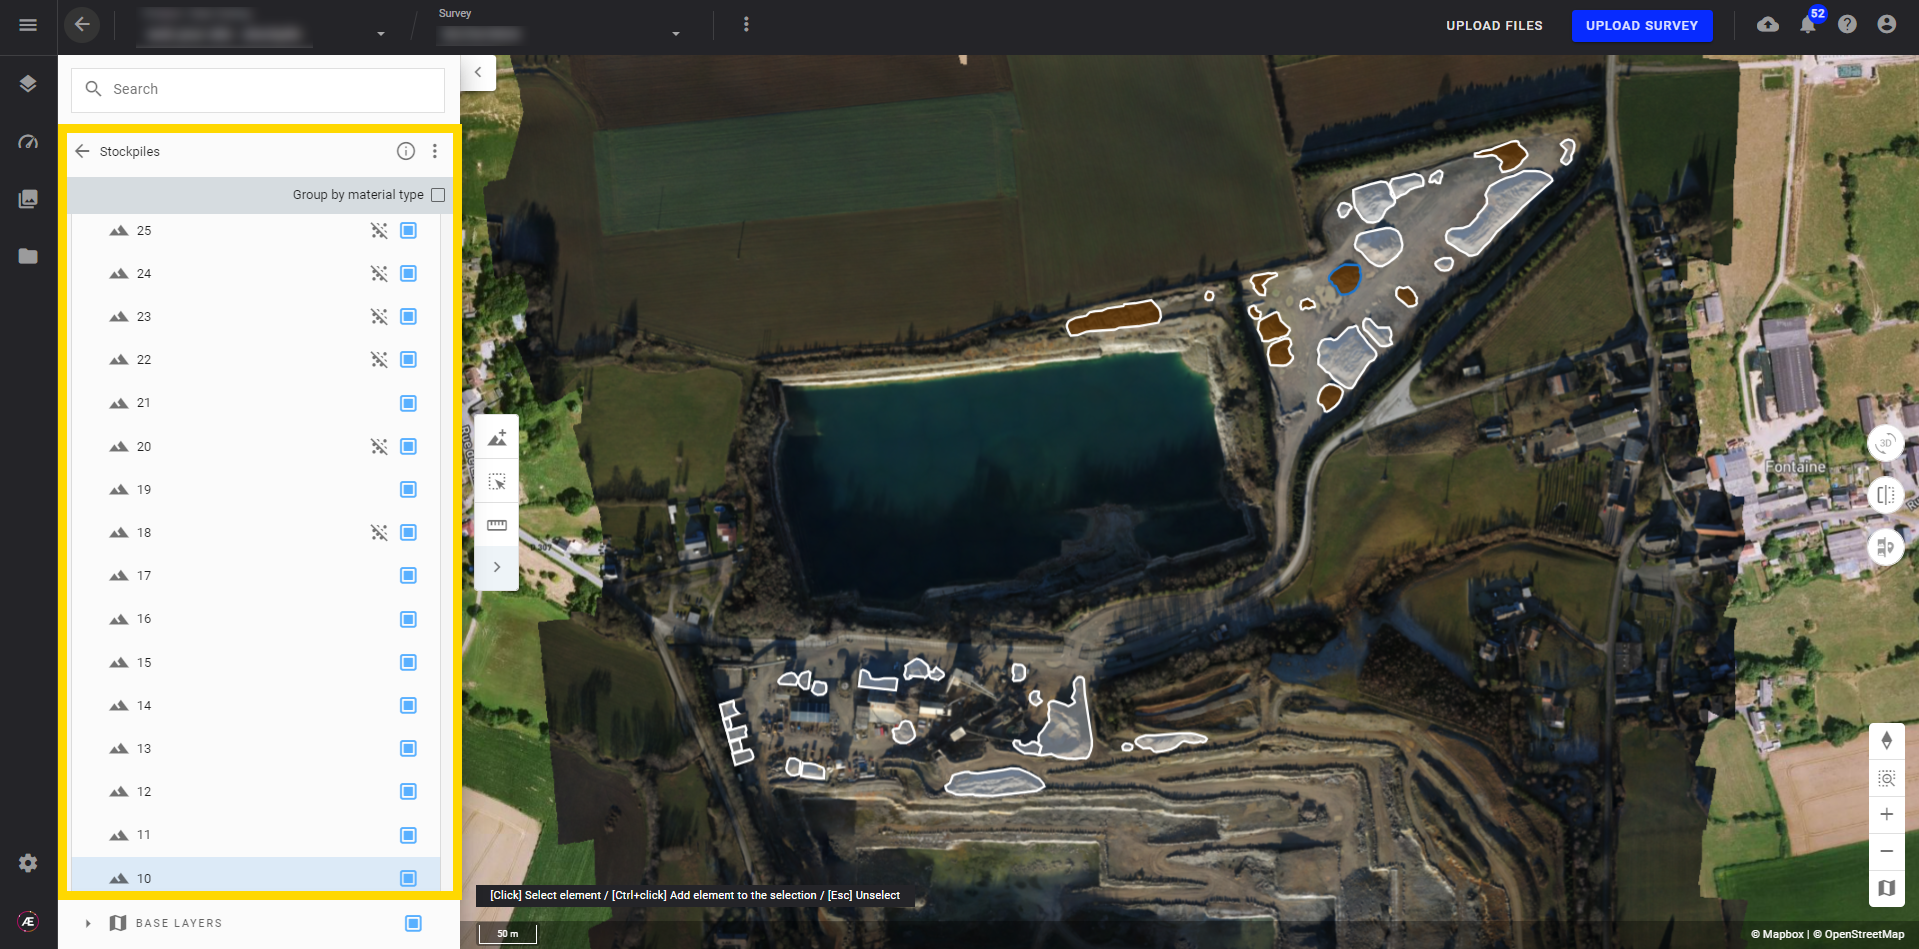
- Choose to display or hide any stockpile(s) by clicking on the checkbox that corresponds to that pile.
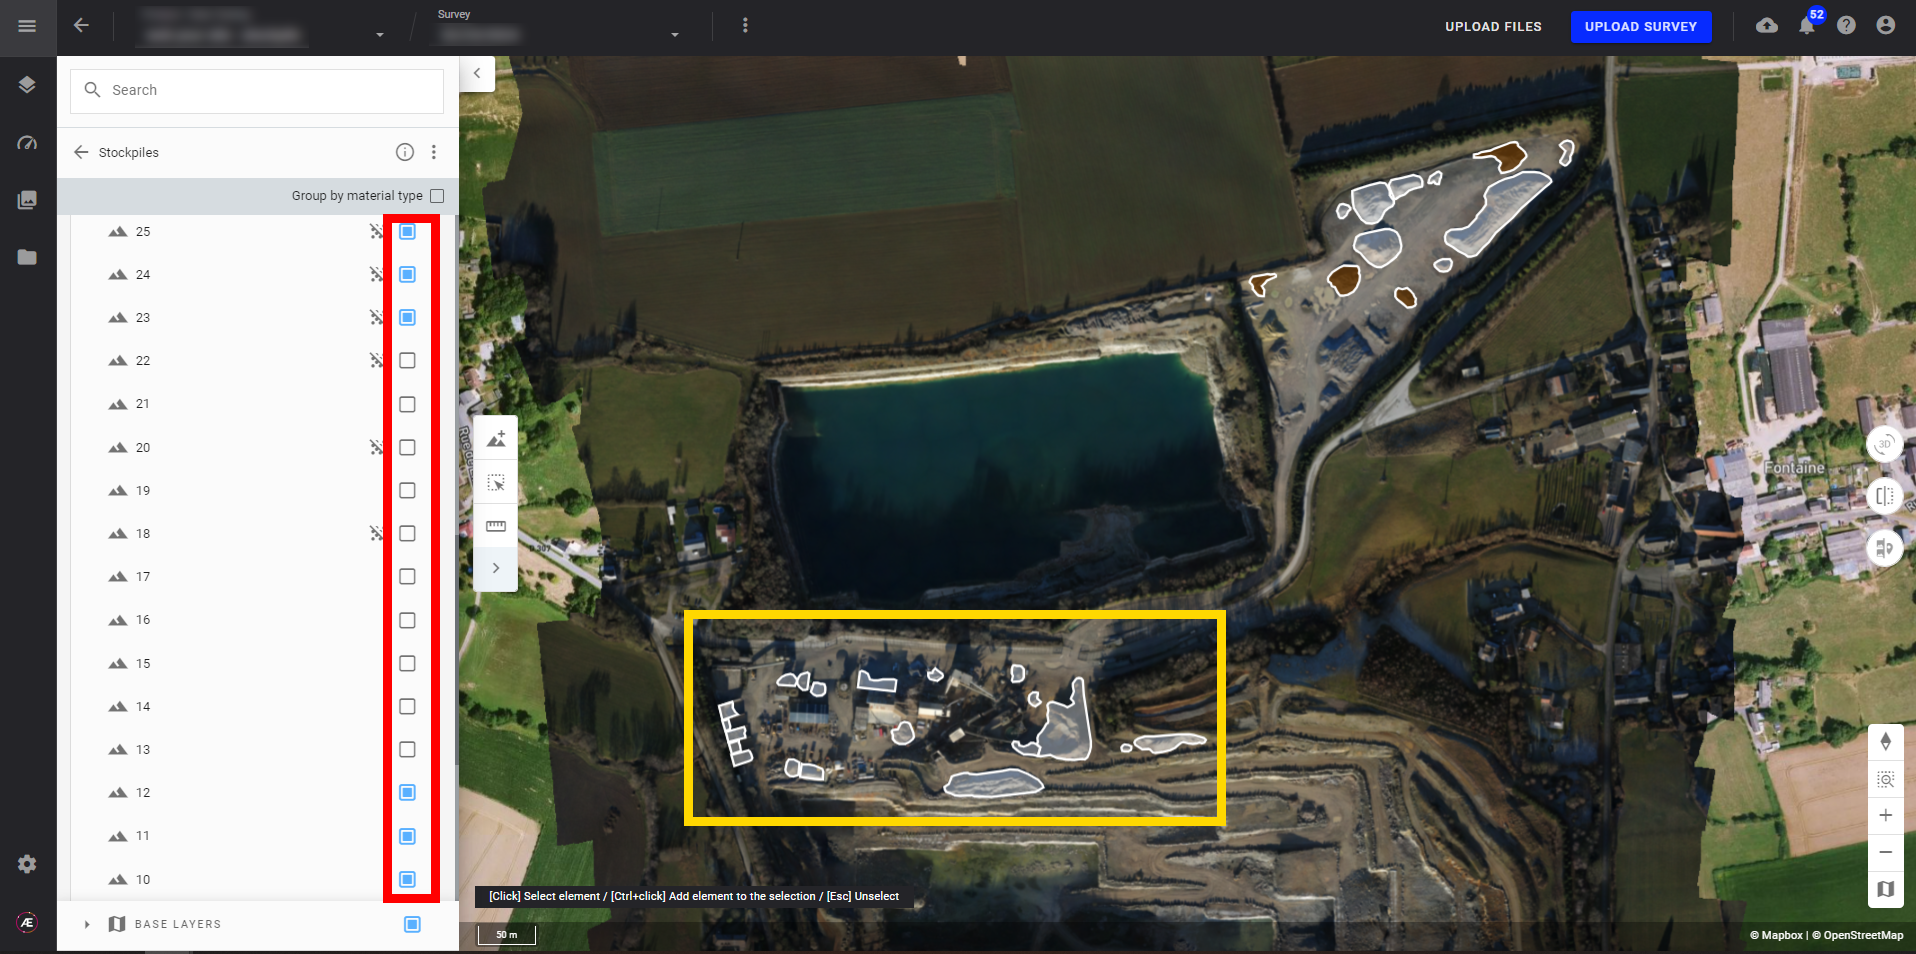
- Locate any pile on the map by double-clicking on the number that corresponds to that pile.
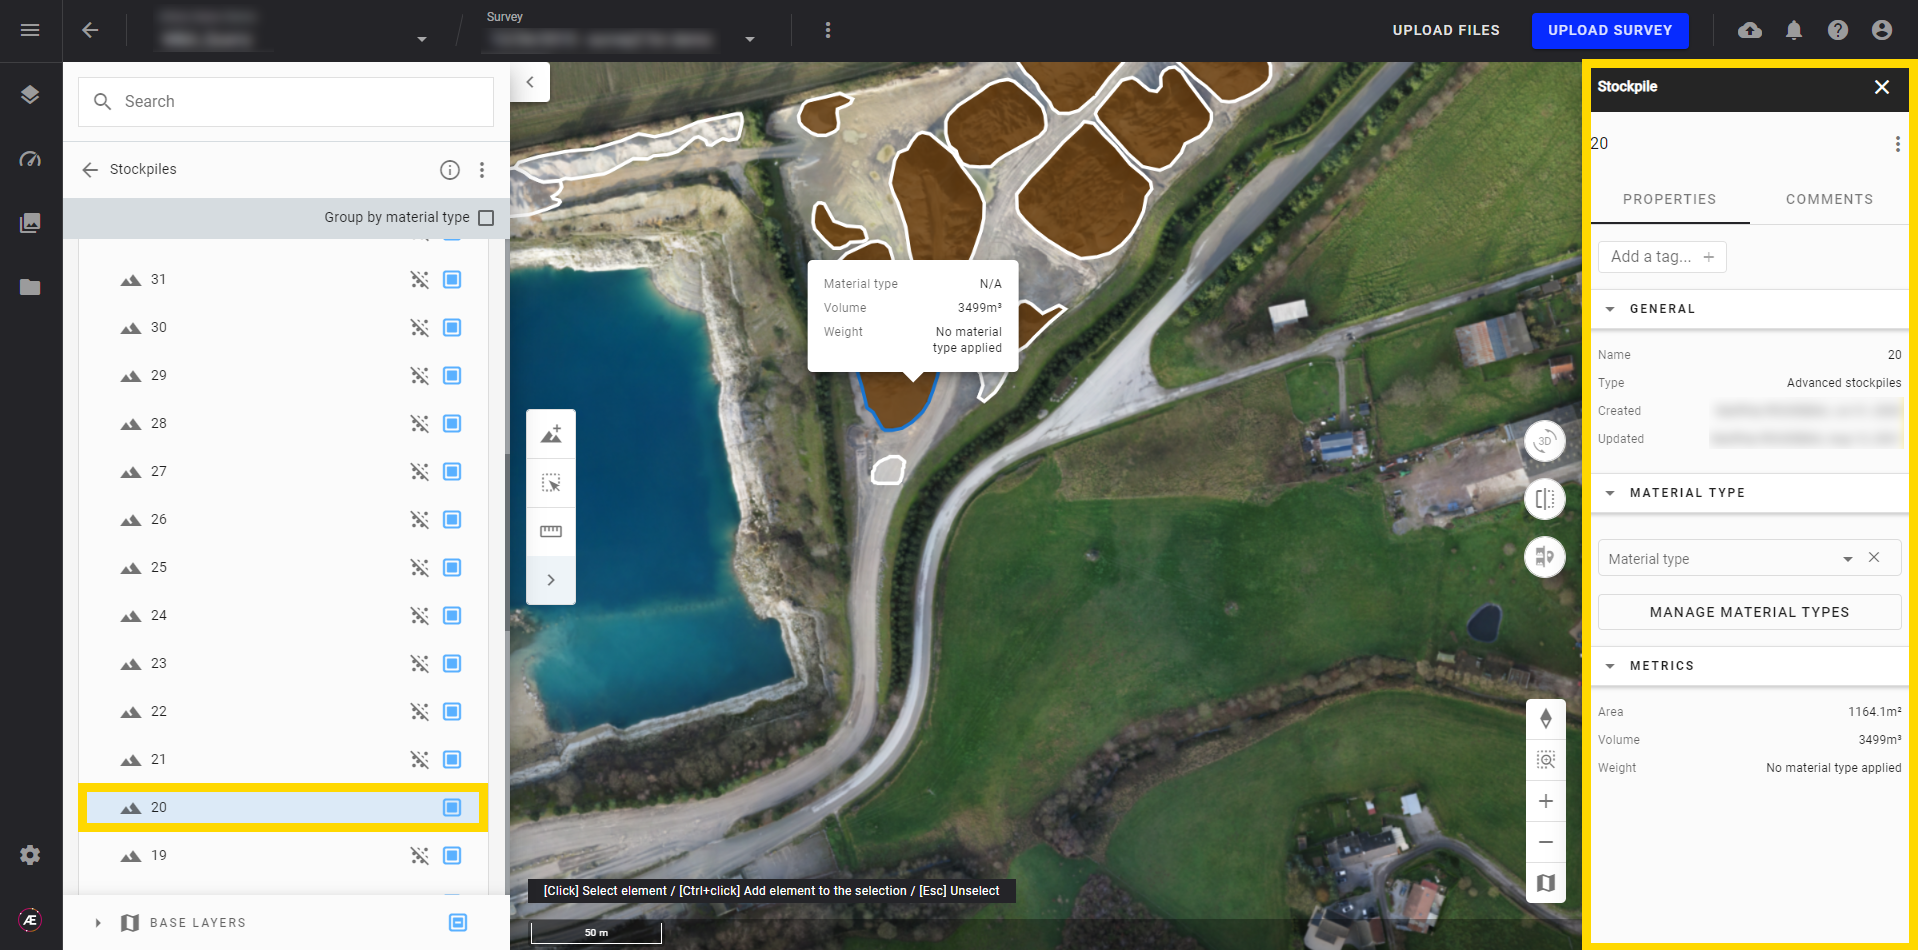
- Stockpiles that don’t have a material type assigned to them are identified as a white polygon on the map and will have the following pictogram next to the checkbox in the left panel.

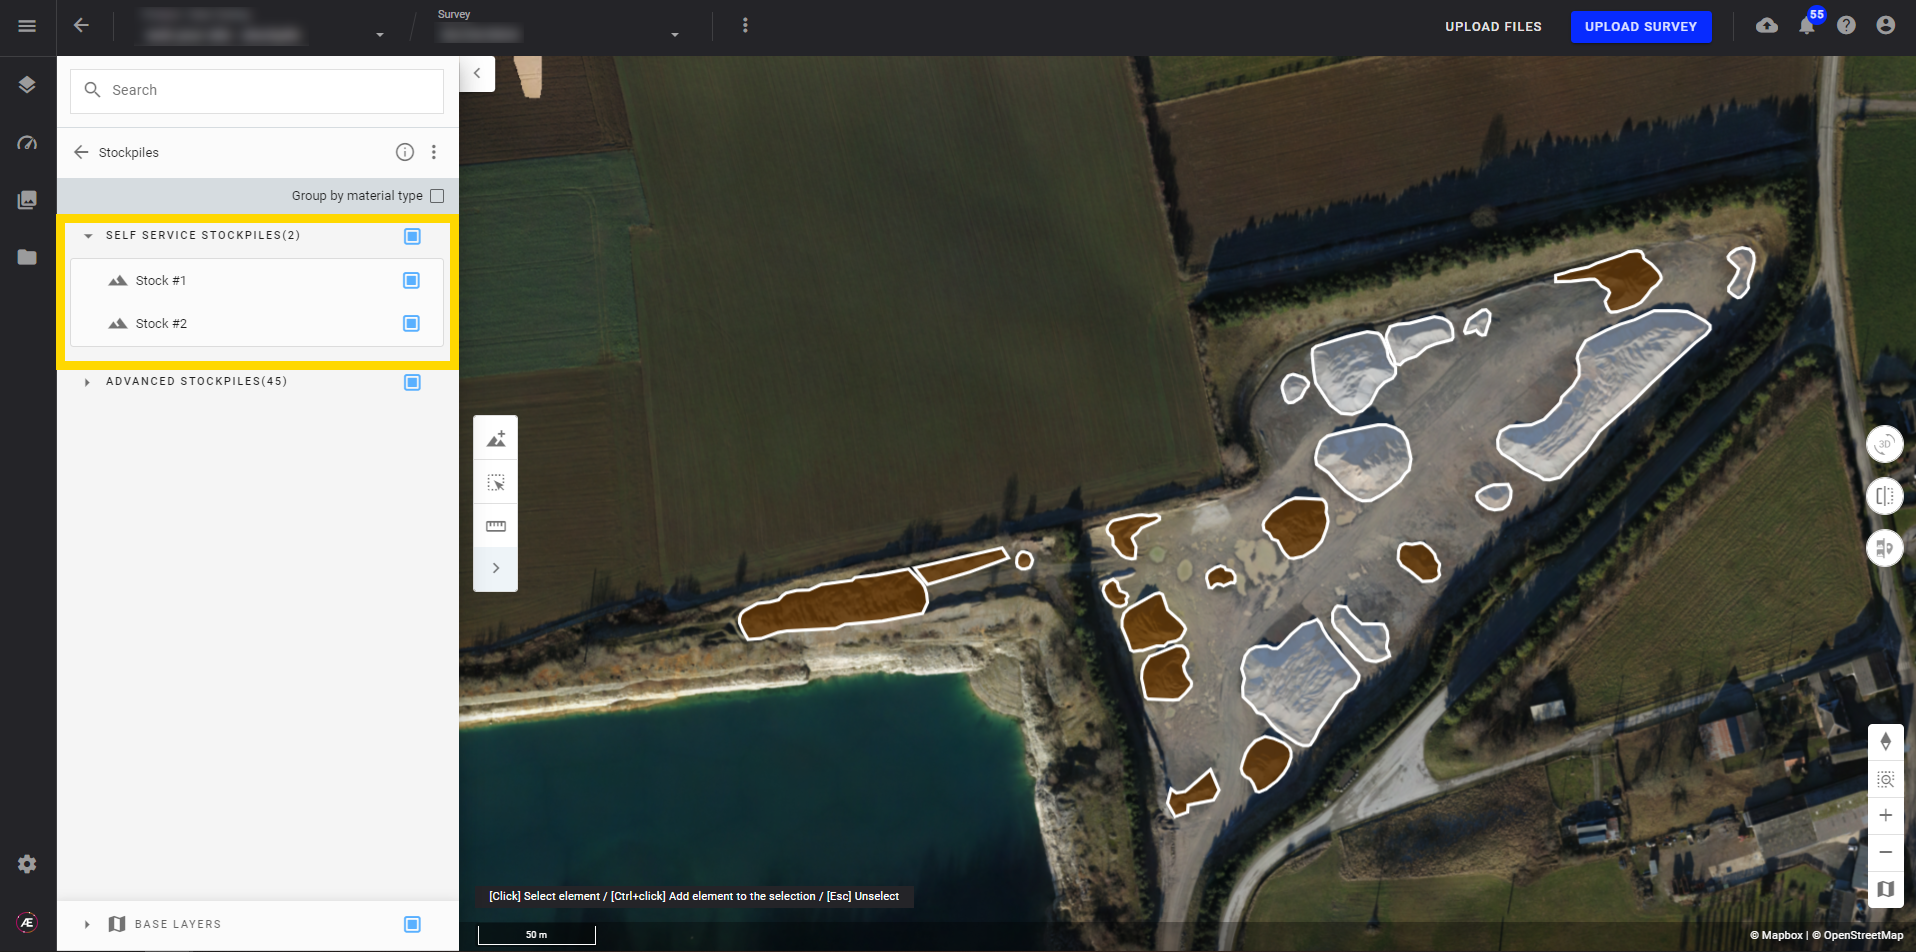
- Stockpiles generated by using the analytics “Automated stockpile calculation” will be separated from user-created stockpiles and will be made available as two different groups in the left panel:
- Advanced Stockpiles
- Self-Service Stockpiles
2.4 Add material to a stockpile
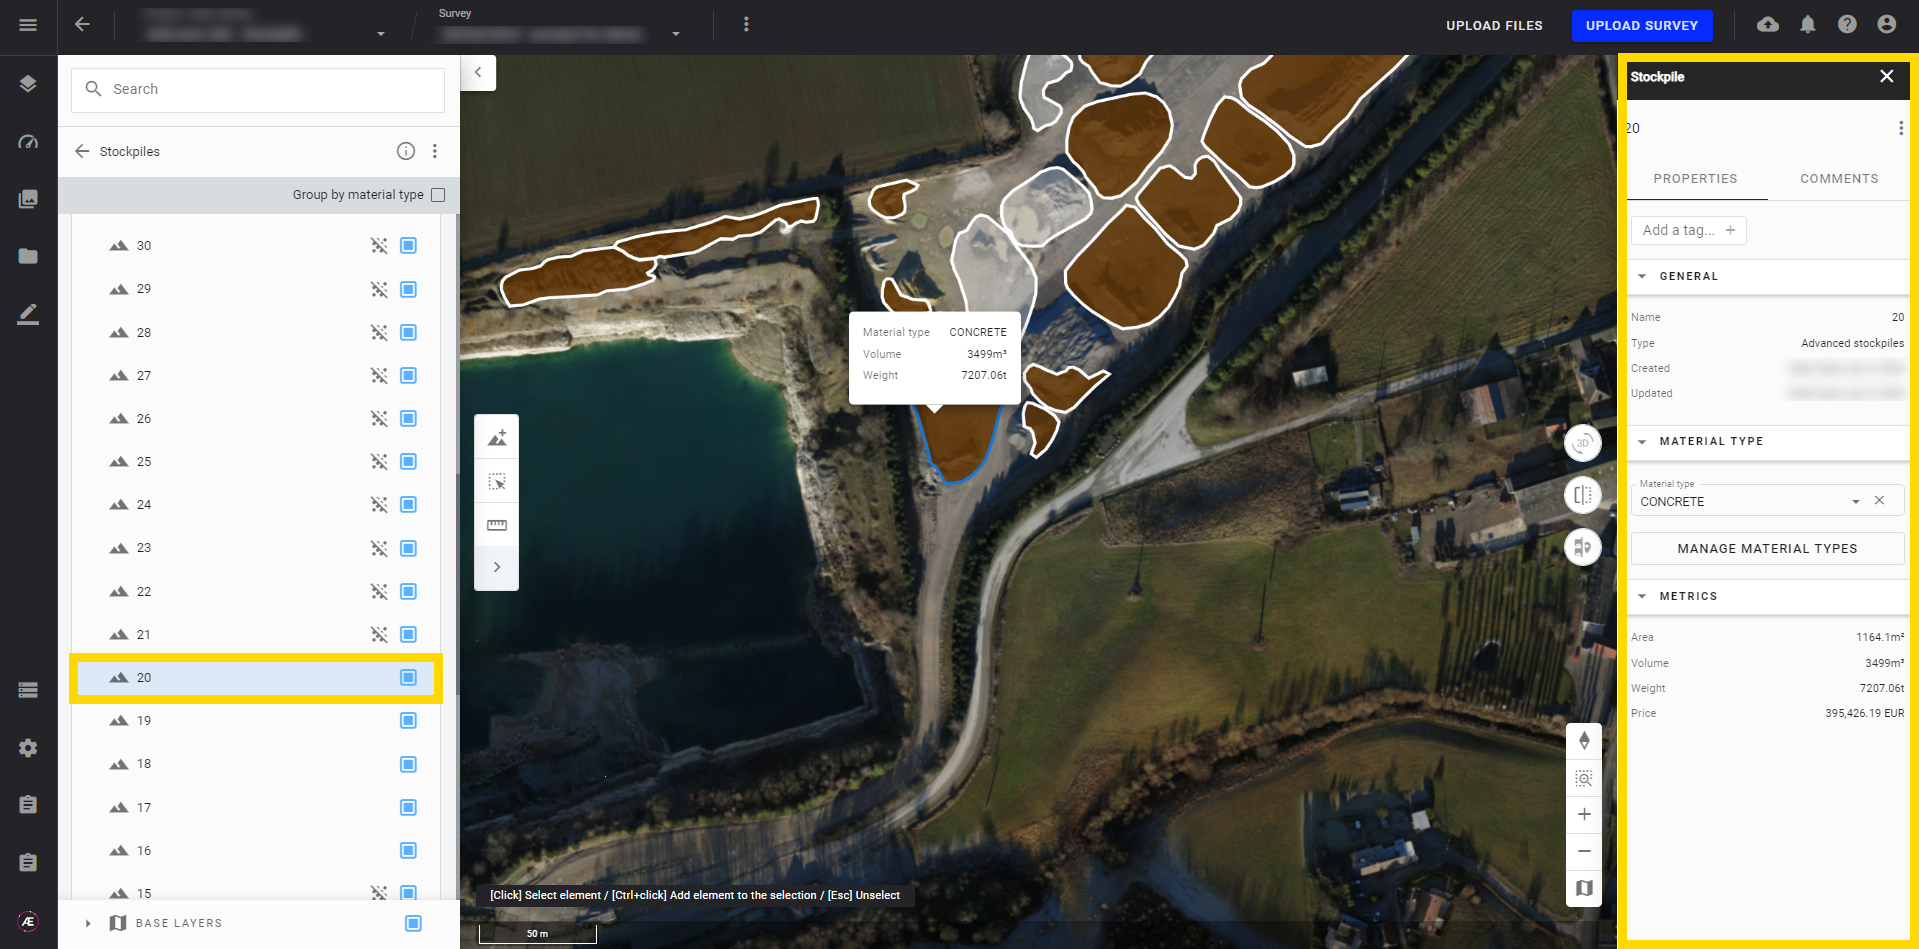
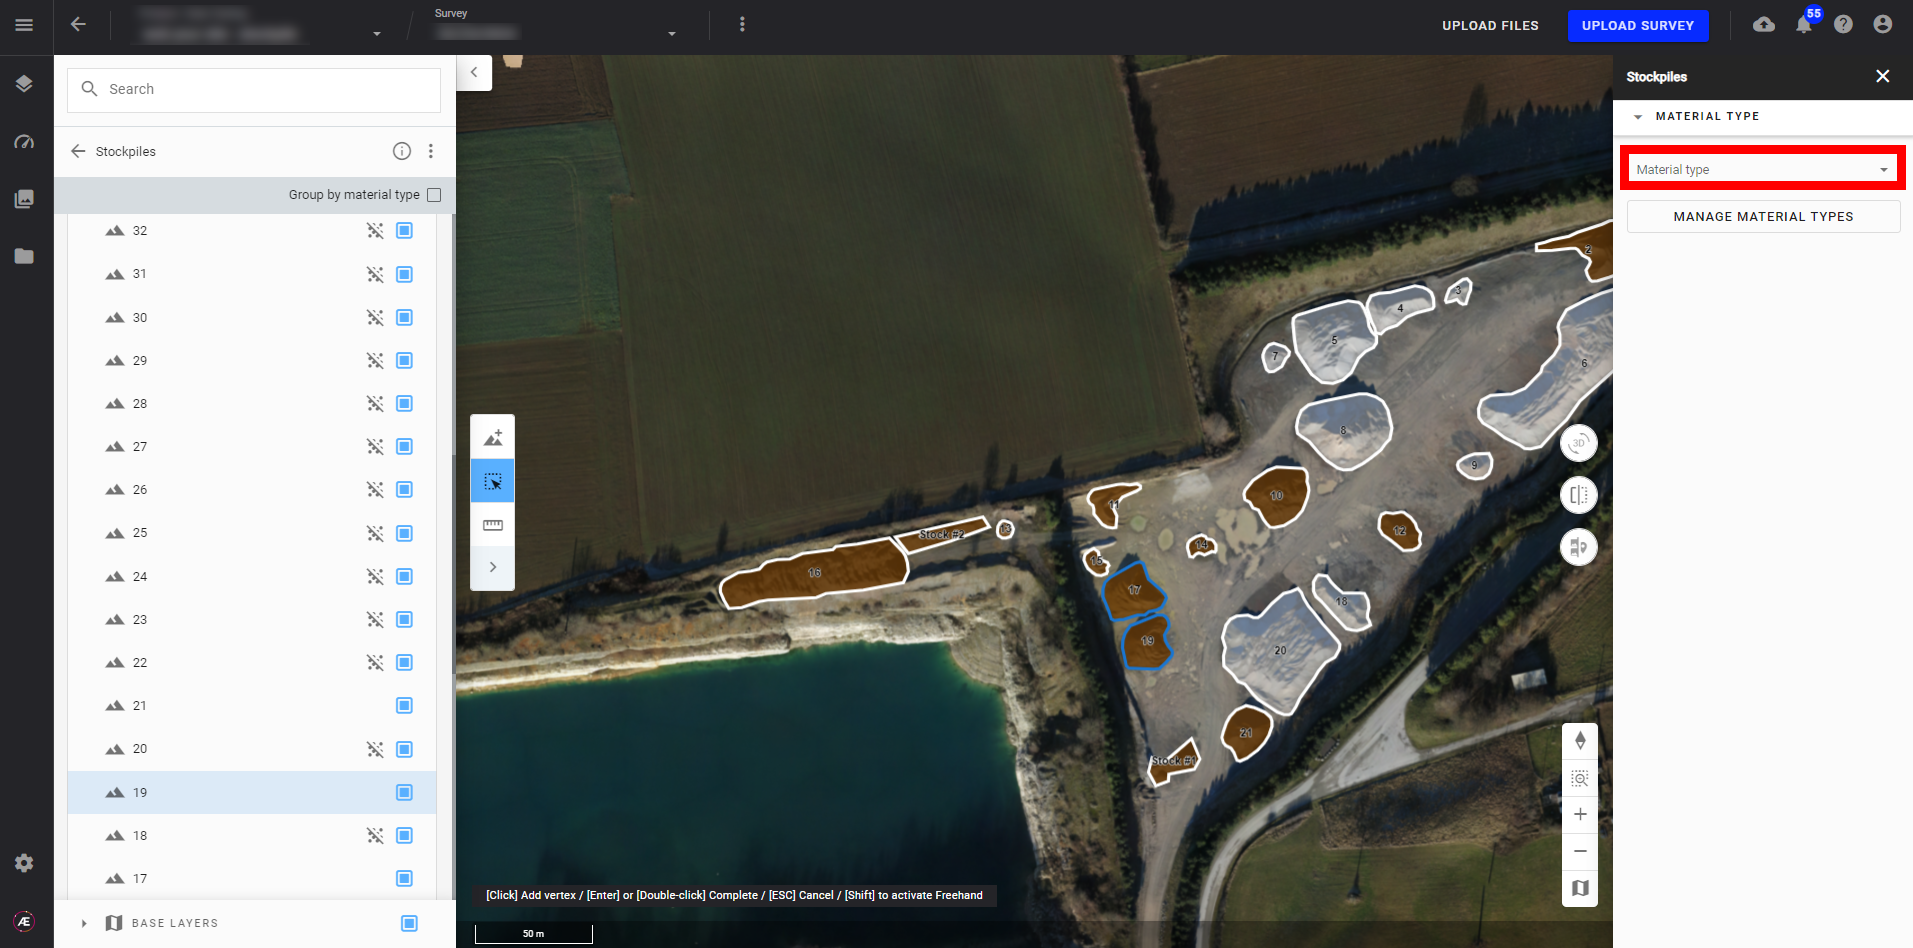
- Click on the stockpile to open its information panel, and in the "Material Type" section, choose a material to add to the selected stockpile.
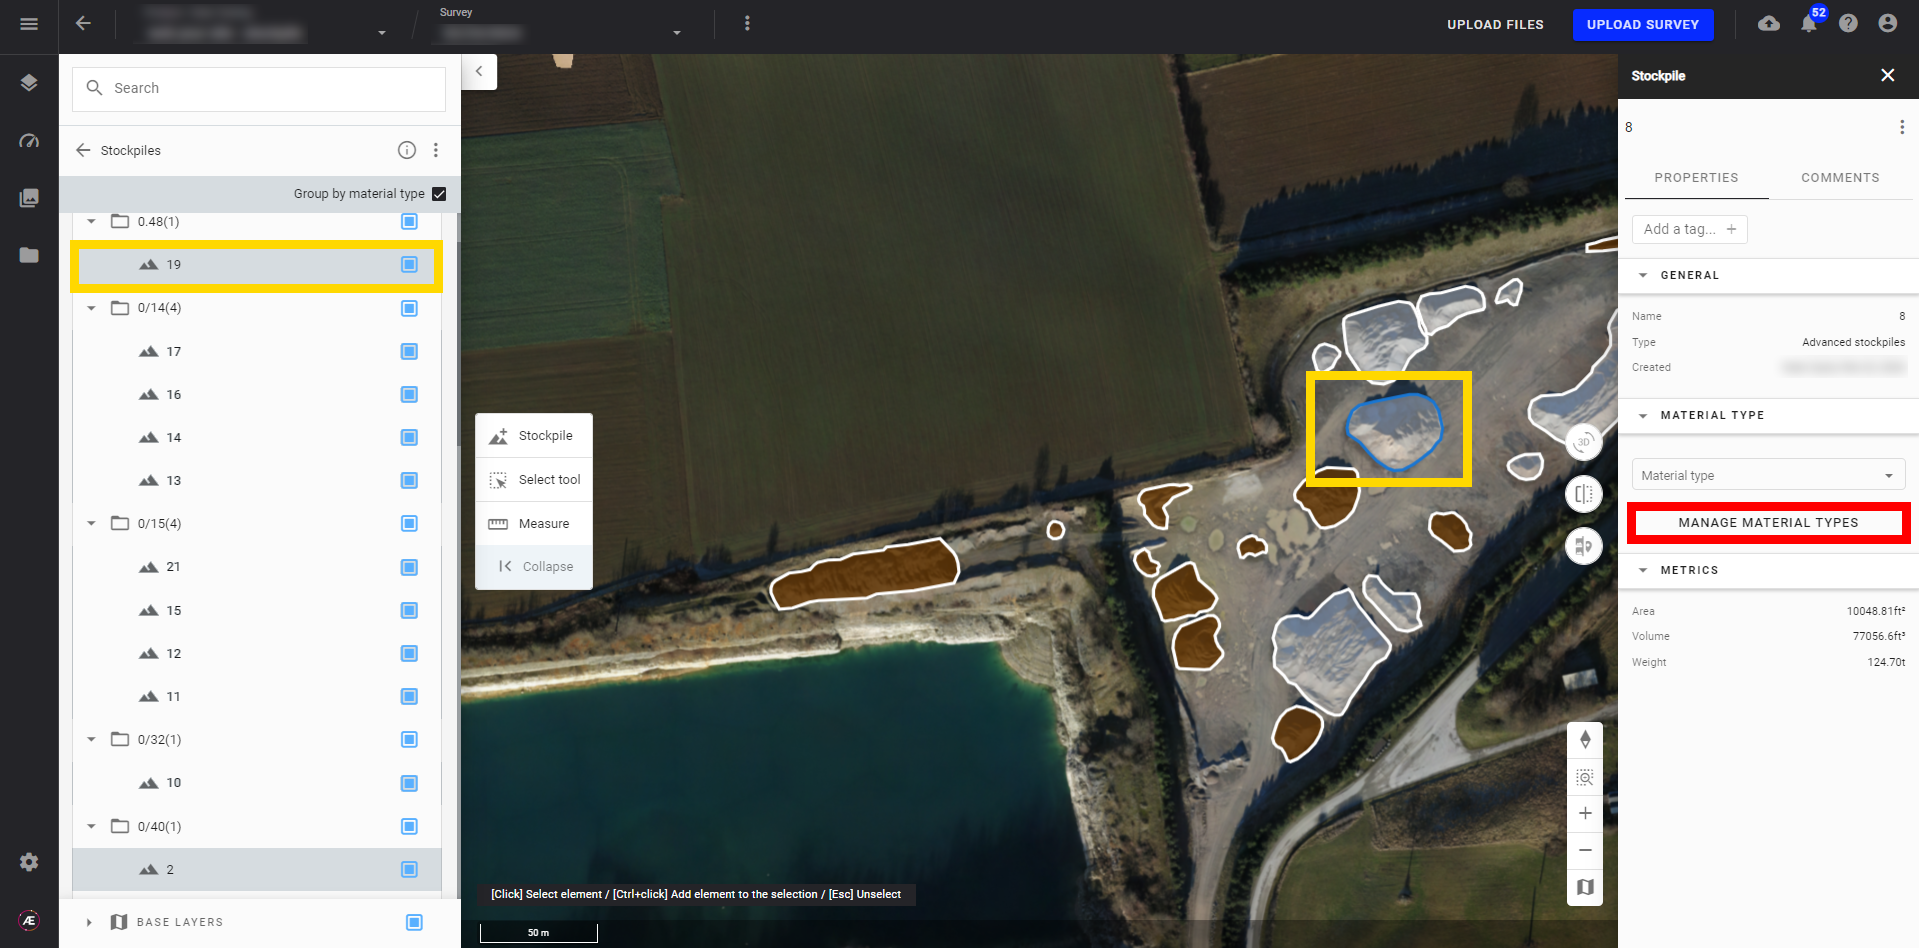
- Click on "MANAGE MATERIAL TYPES" to add one or multiple material types if there is not a material type list already uploaded. Only users with a Manager role can upload material types files or create new ones. For more information, see Material Management.
2.5 Group by material
Tick the box near "Group by material type" to group all stockpiles together that have the same material assigned at the top of the list. Stockpiles without materials assigned will be grouped at the bottom of the list.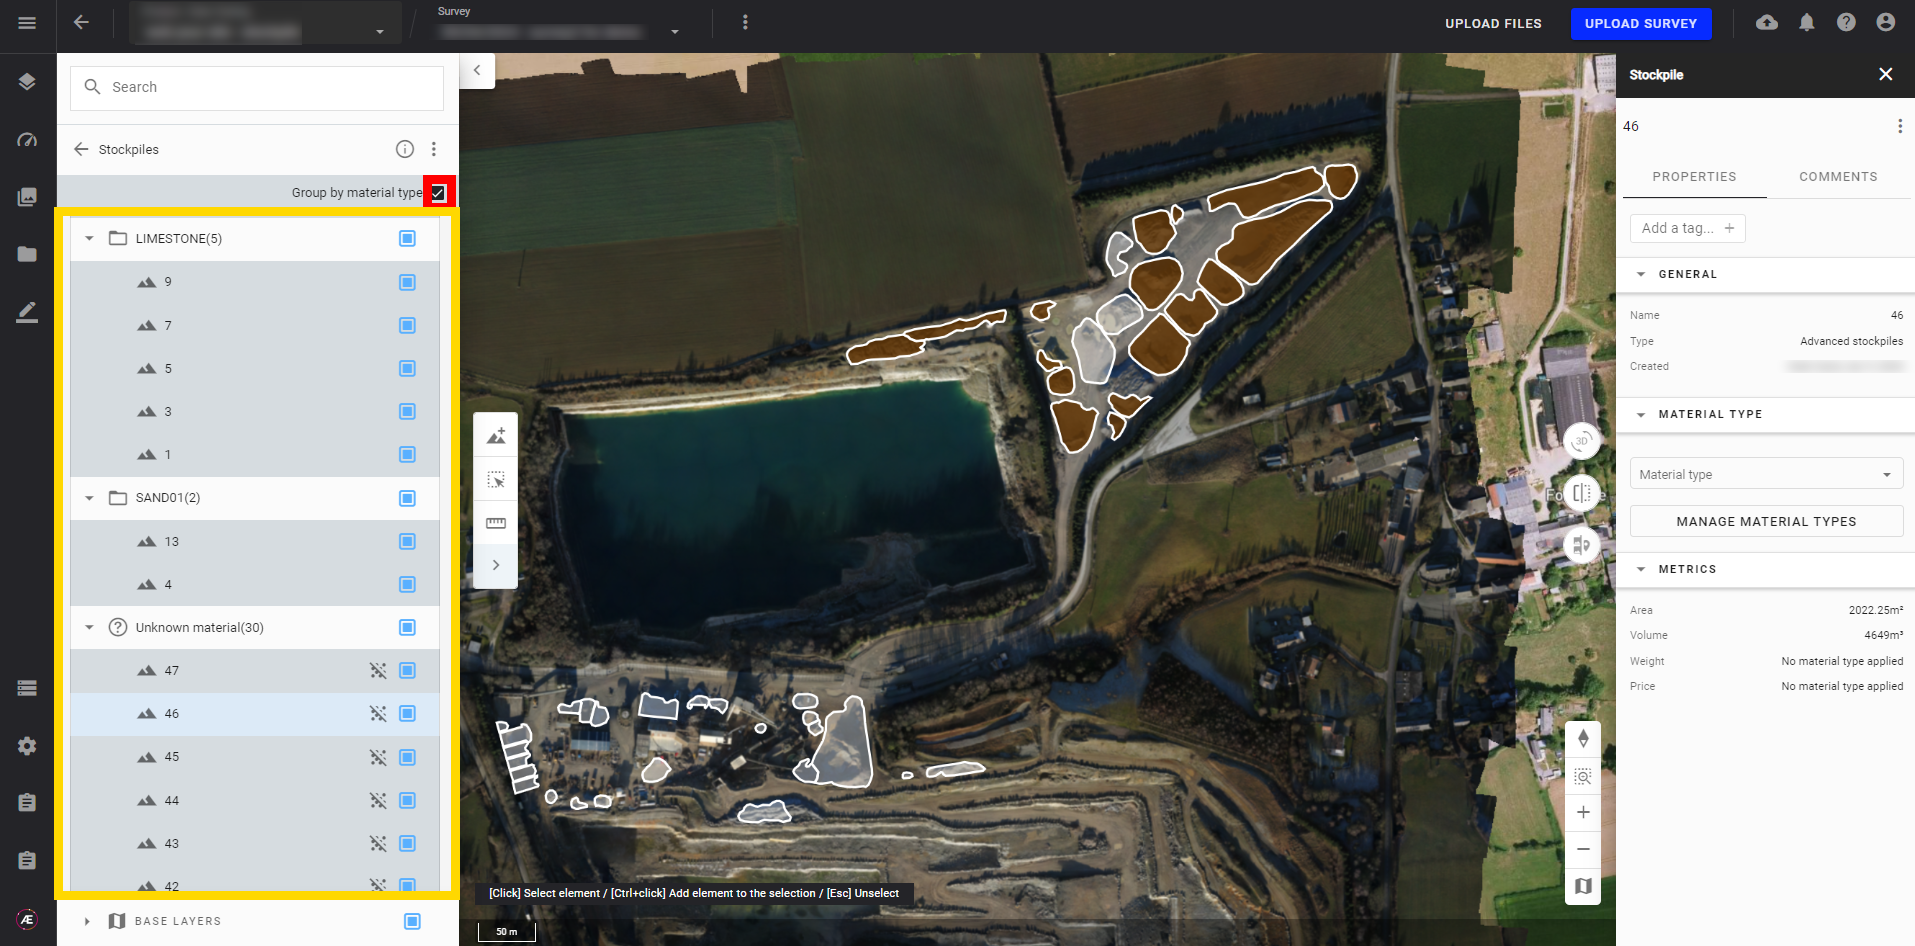
2.6 Add a new stockpile
Self-Service Stockpiles can be created by using your own manually generated polygons.
- Click on "+ Stockpile" to create a new stockpile and calculate its volume.
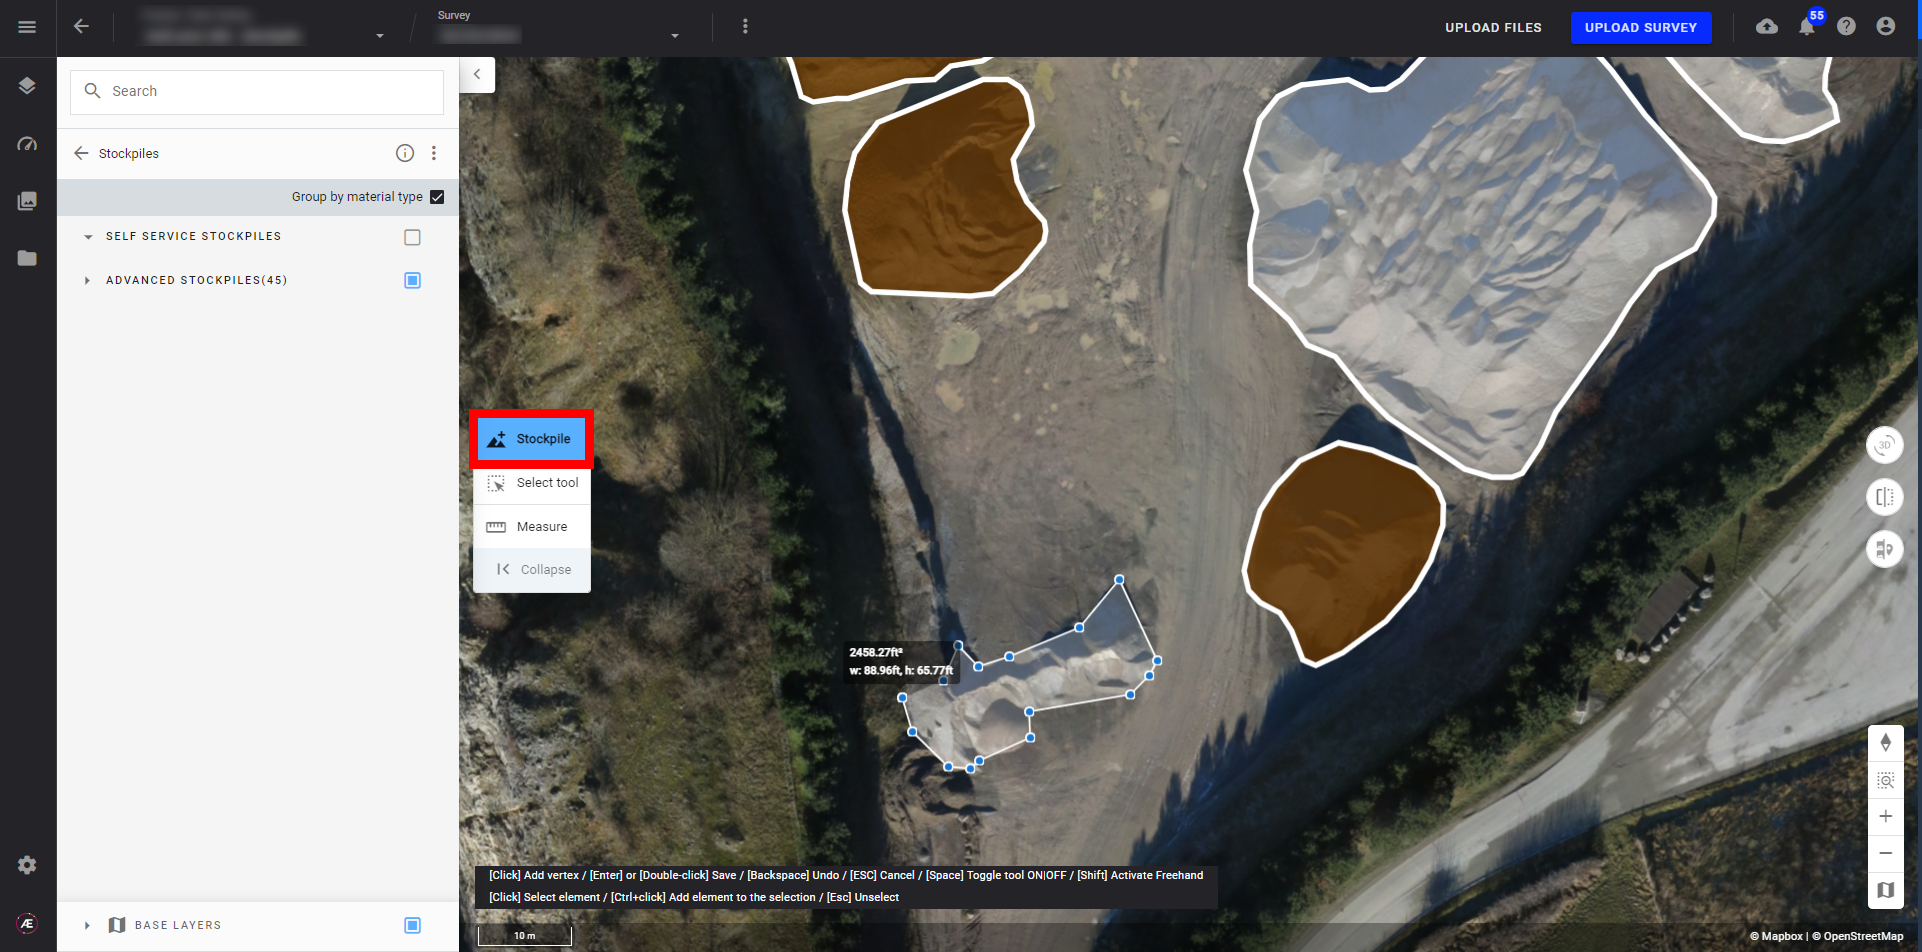
- Draw a polygon around the new stockpile and double-click to finish.
- A pop-up window will open.
- Give this new stockpile a name.
- Select which source data you wish to calculate the volume - Digital Surface Model (DSM) or Digital Terrain Model (DTM).
- Select the methods to calculate the volume.
- If known, you can also select the material type.
- Click on "Save" to add this new stockpile.
- All the self-created stockpiles will be grouped under "Self-Service Stockpiles".
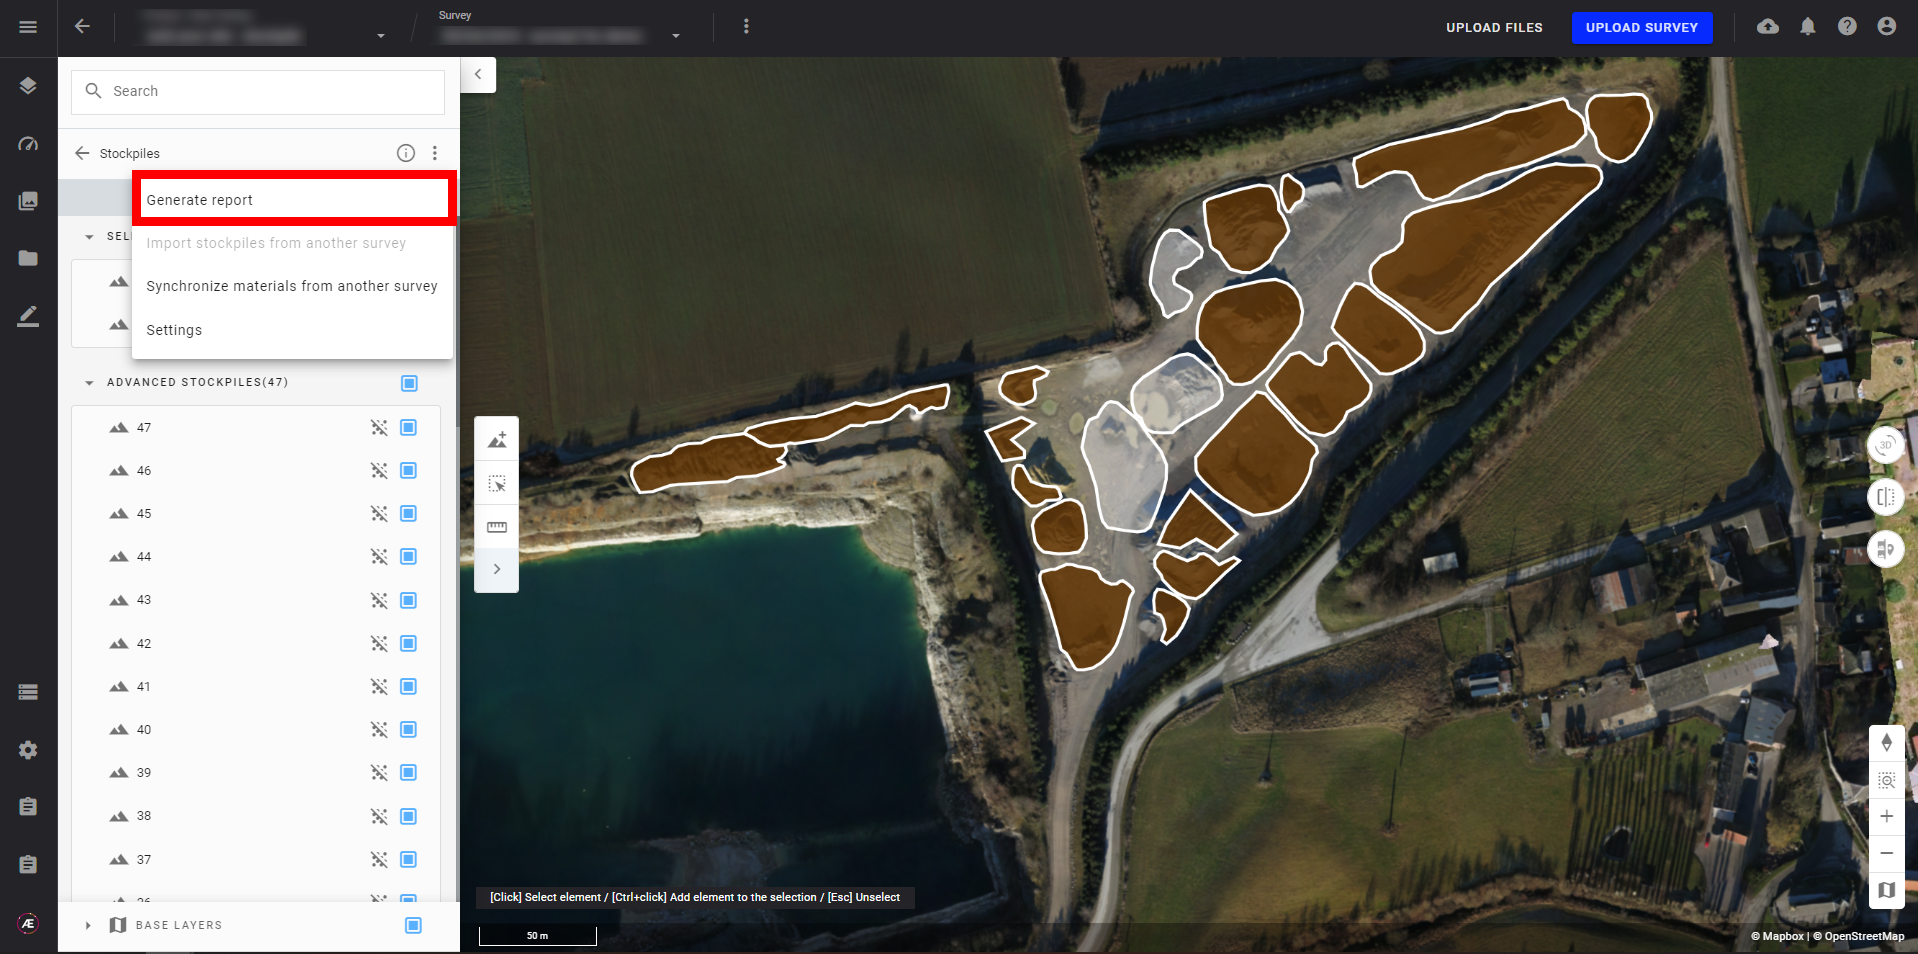
2.7 Generating Stockpile Inventory Reports
It is possible to generate a report of all the stockpiles in different formats (PDF or CSV).
Info
In CSV format, the report contains the following columns:
- “Location”: the project name
- “Survey”: the survey name
- "Type": "self service stockpiles or “advanced stockpiles”
- “ID”: the stockpile name
- “Area (square-meters)” : the stockpile area in square-meters
- “Volume (cubic-meters)” : the stockpile volume in cubic-meters. It is based on the “cut” volume
- “Cut Volume (cubic-meters)” : the stockpile cut volume in cubic-meters
- “Fill Volume (cubic-meters)” : the stockpile fill volume in cubic-meters
- “Net Volume (cubic-meters)” : the stockpile net volume in cubic-meters
- “Material type” : the stockpile material type
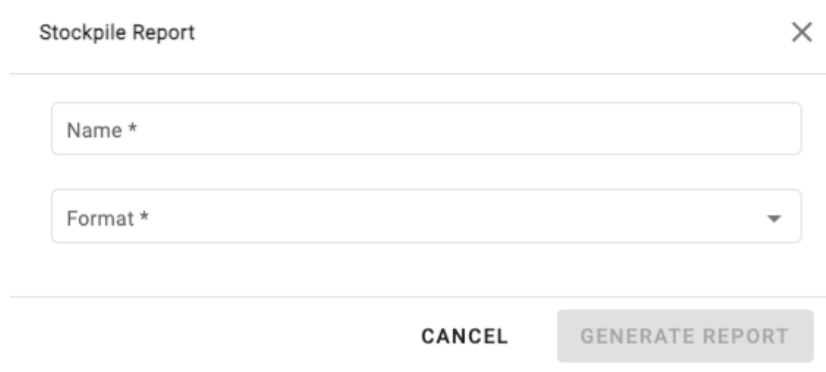
Step 1 - To do so, click on the 3-dots button, then click on “Generate report”.
Step 2 - Give a name to this report and choose its format.
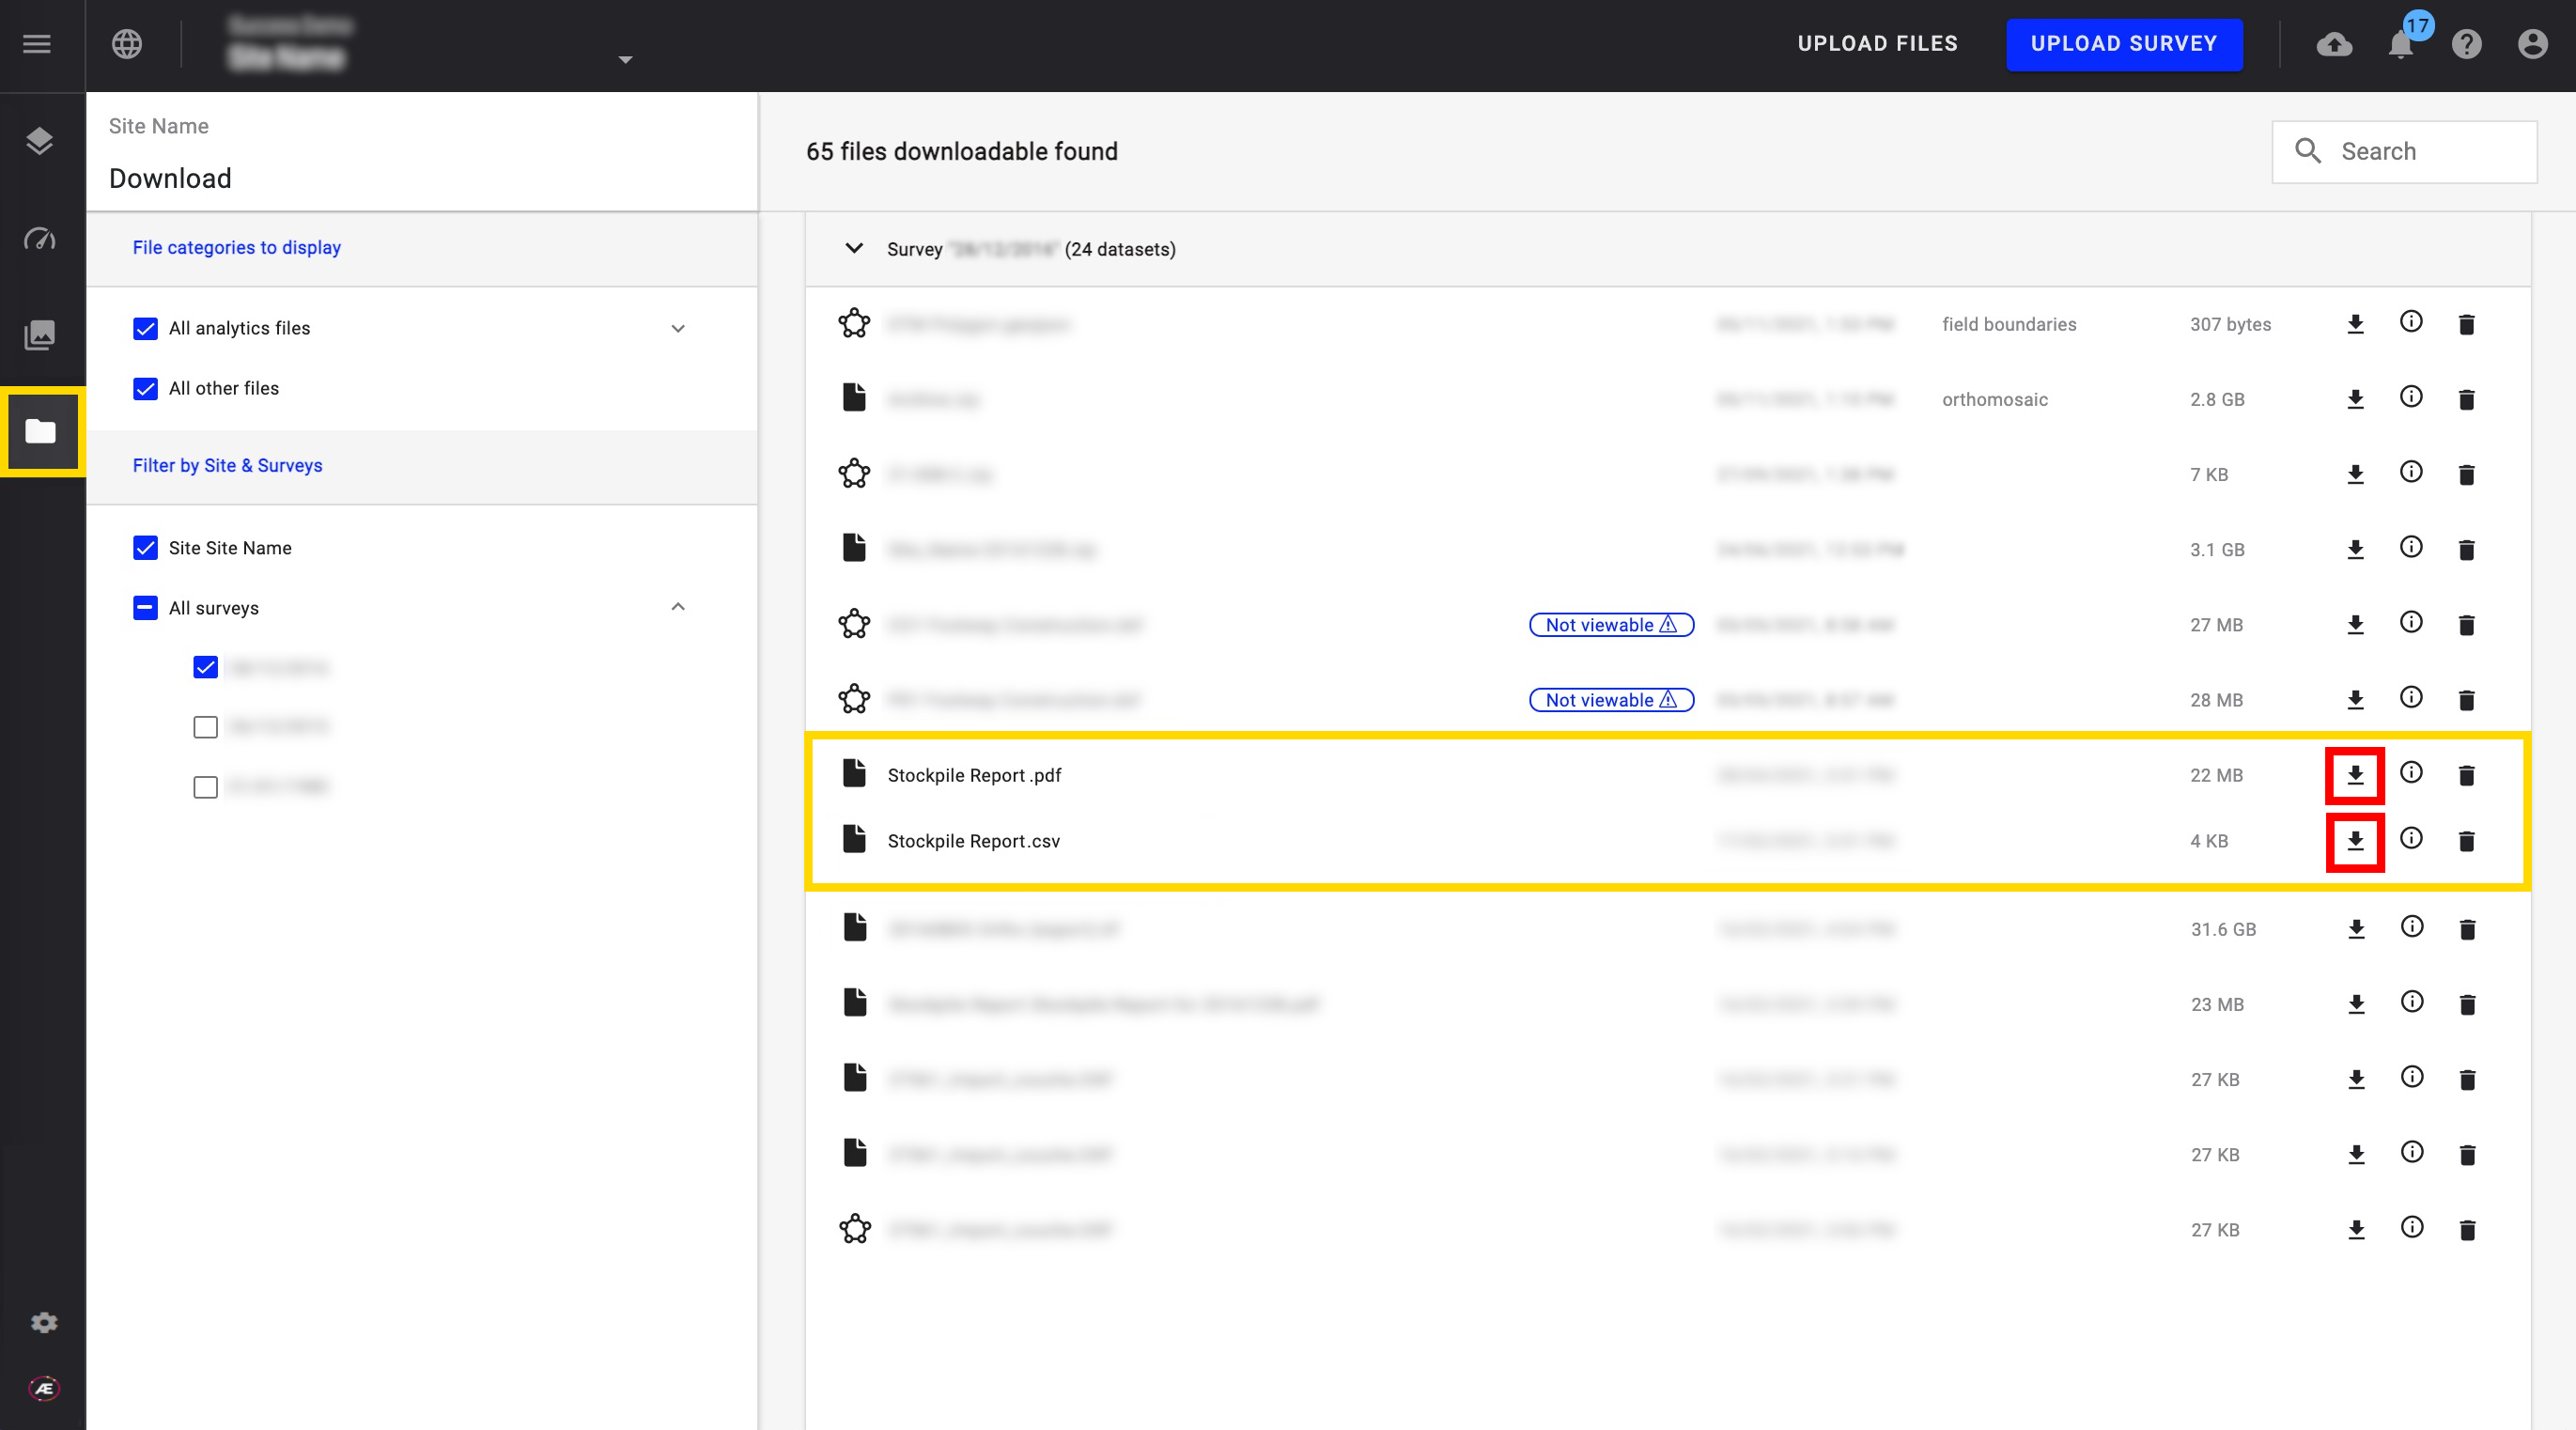
Step 3 - The report will be available in the download section under the same survey it was generated for.
Info
To learn more: Download and Export Data
2.8 Display information within the stockpiles
It is possible to display the stockpile names or the material types in the stockpiles.
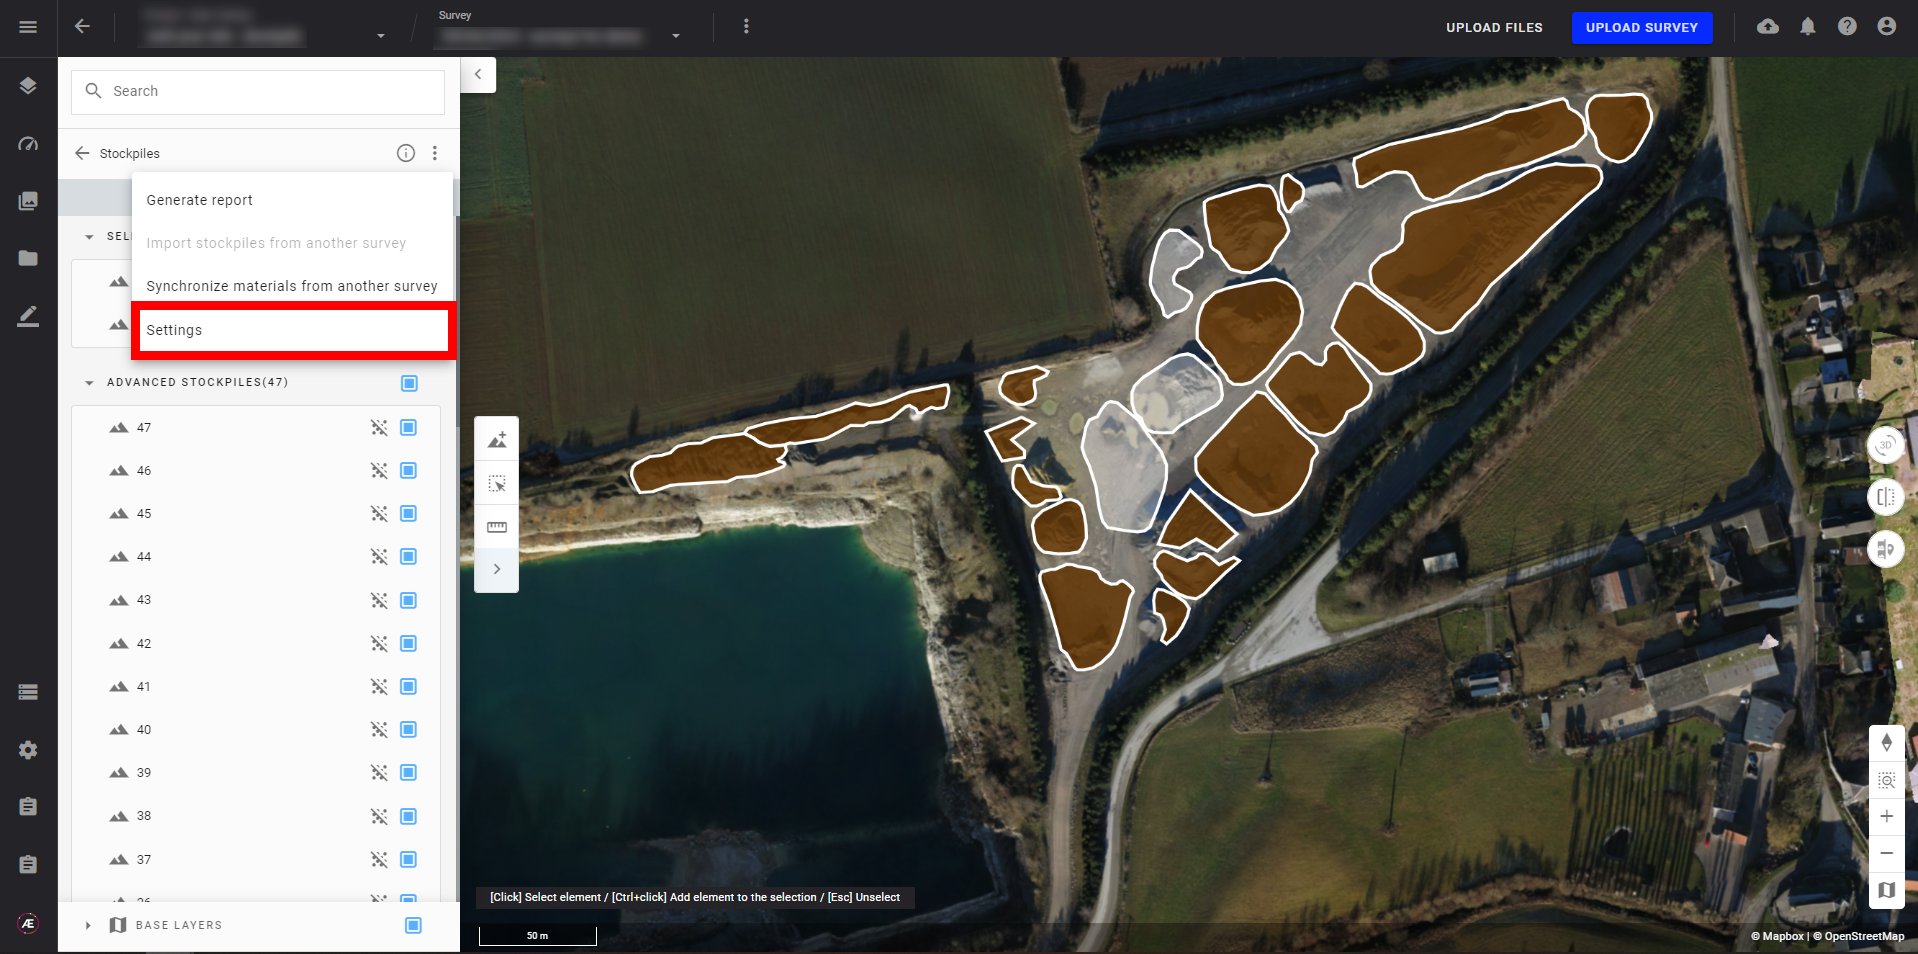
Step 1 - To do so, click on the 3-dots button, then click on “Settings”.
Step 2 - Select “Name” to display the stockpiles names, or ”Material type" to display the material types.
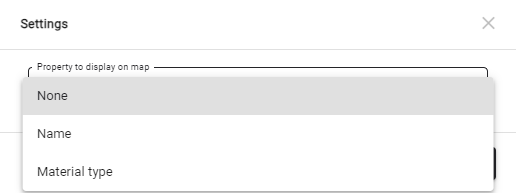
Step 3 - Click on “SAVE”.
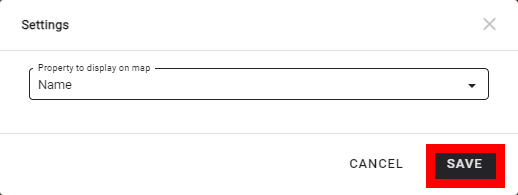
The information is displayed in the stockpiles.
2.9 Set a material type on several stockpiles
Step 1 - Select the lasso tool then draw a polygon around the stockpiles to be selected, or select them by pressing CTRL and clicking at the same time.
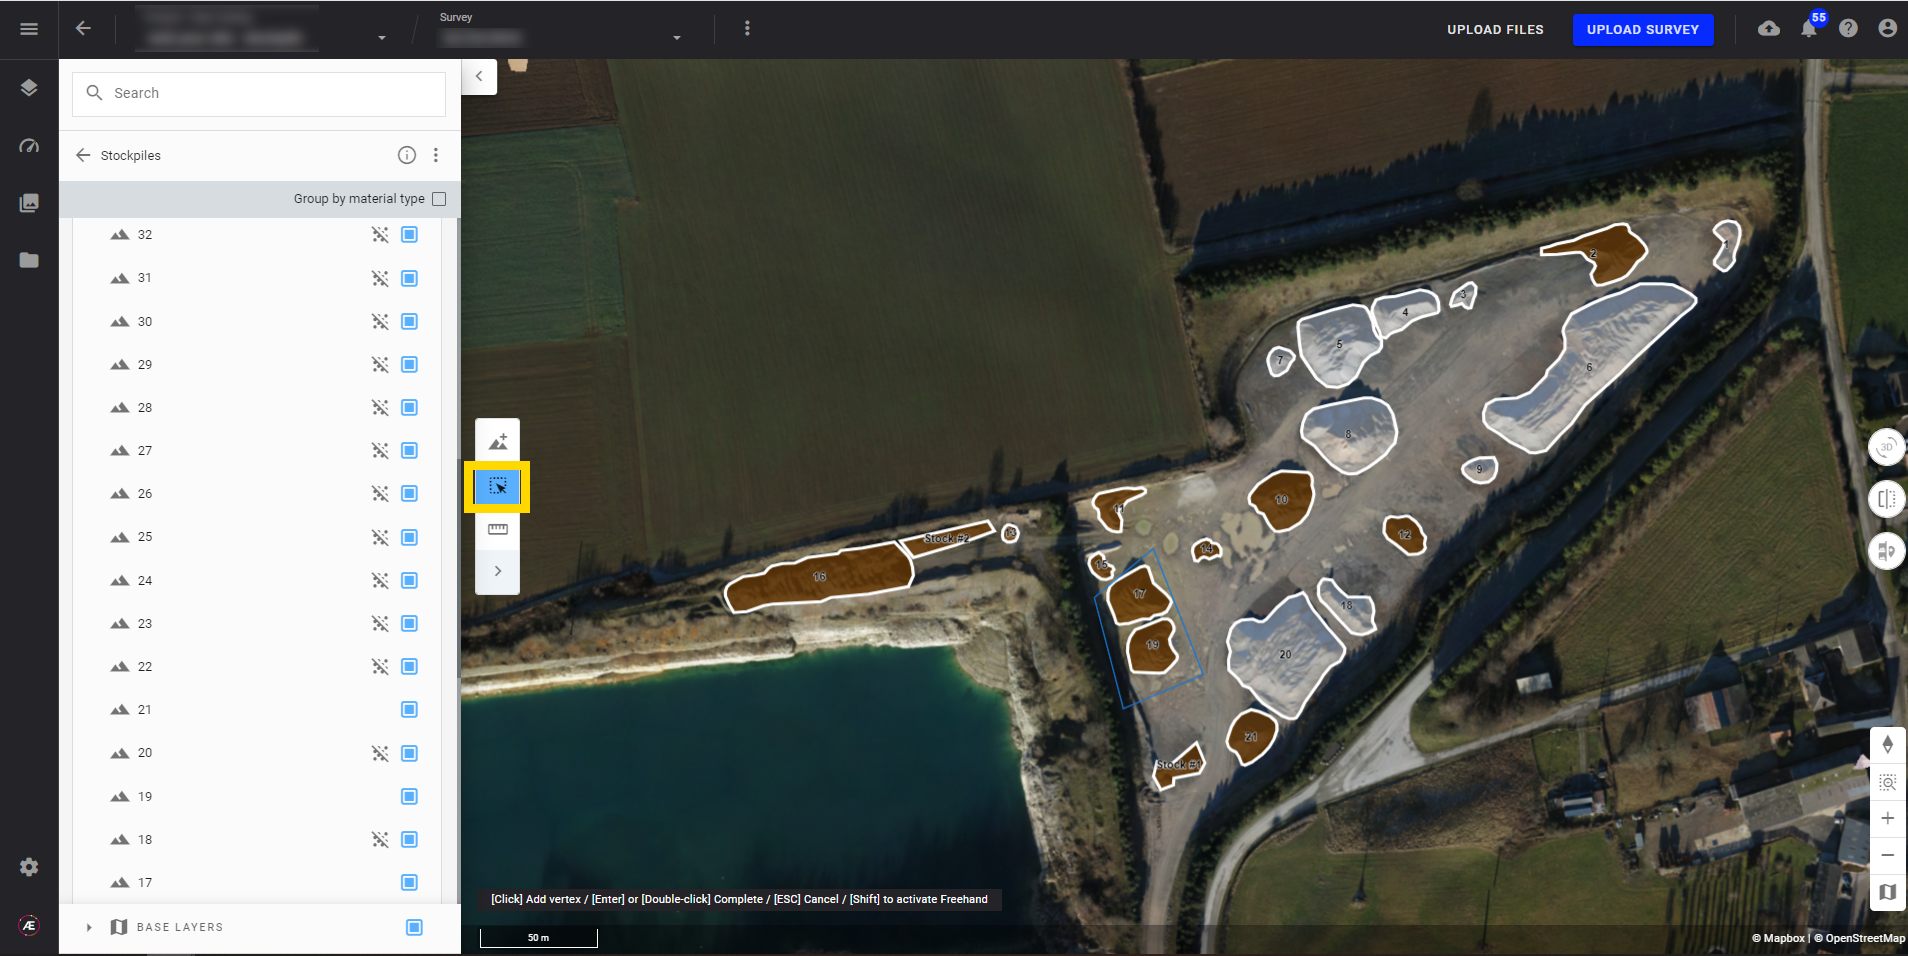
Step 2 - Select the material type then close the Stockpiles panel.
2.10 Import stockpiles from another survey
IMPORTANT INFORMATION
Importing stockpiles only acts on self-service stockpiles from another survey
Step 1 - If you wish to import stockpiles from another survey after activating the stockpile module, then click on “Import stockpiles from another survey”
This option is only available if another survey contain some self-service stockpiles and if there is a DSM on the current survey.
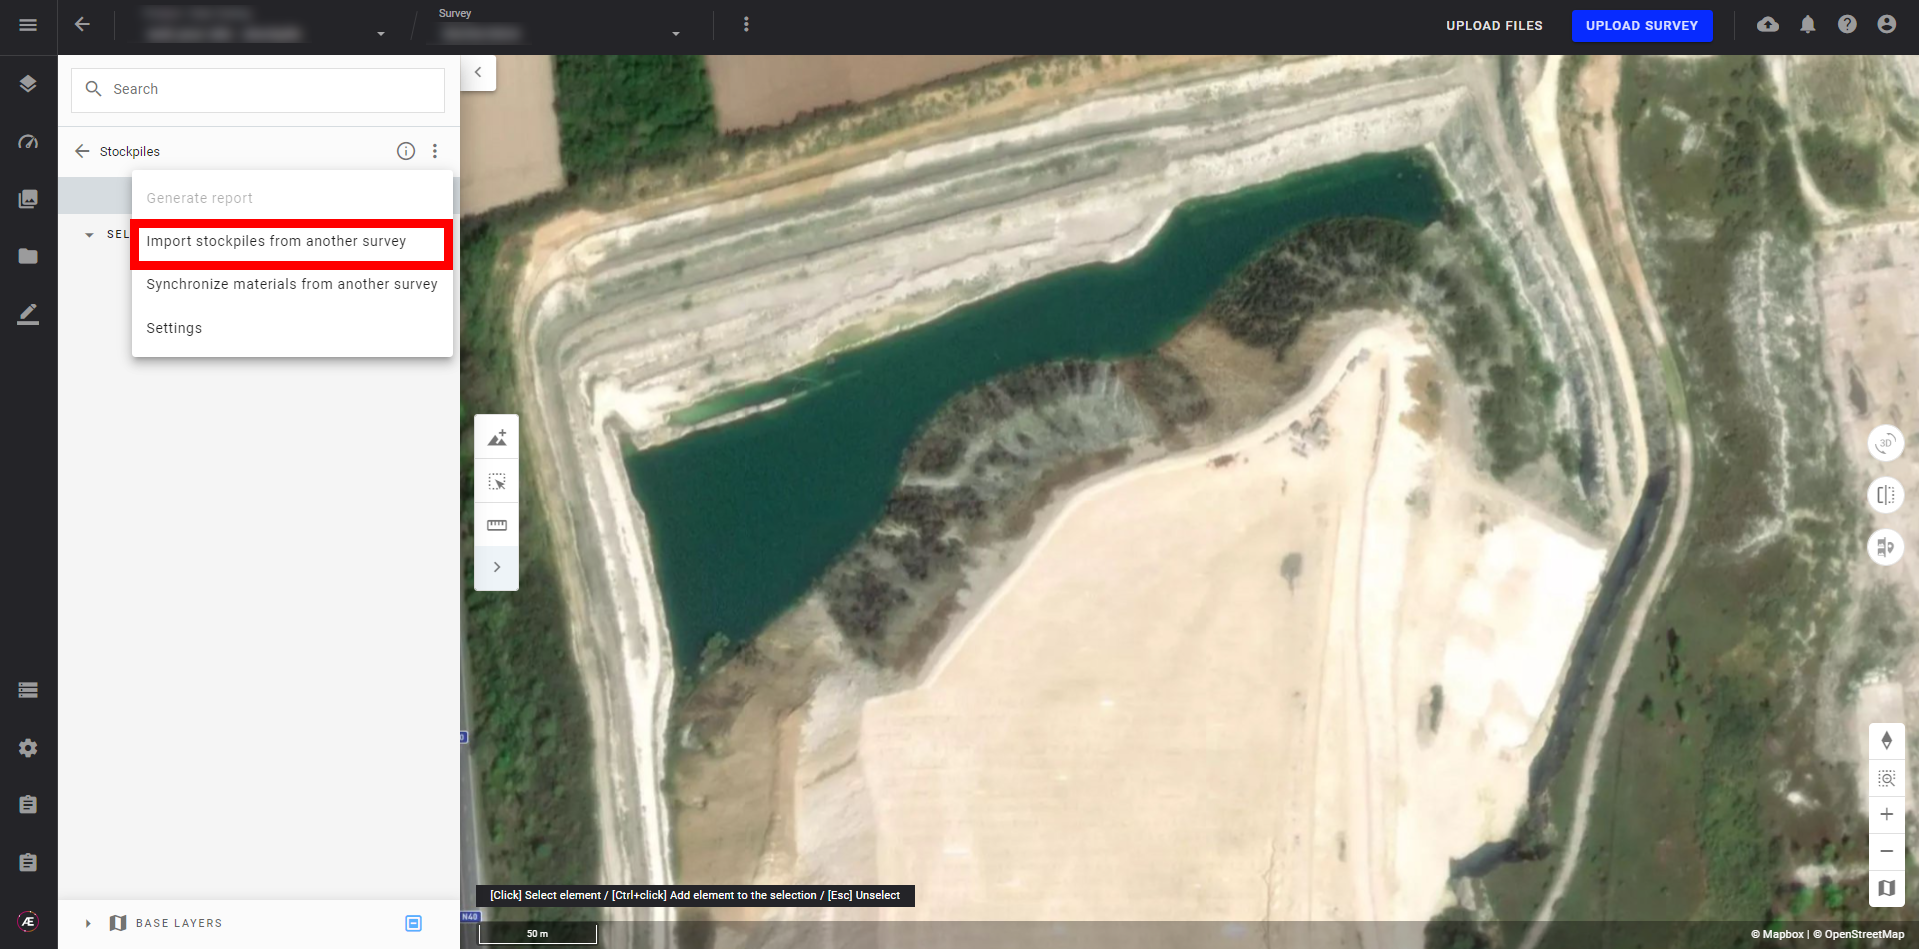
The following window will be displayed:
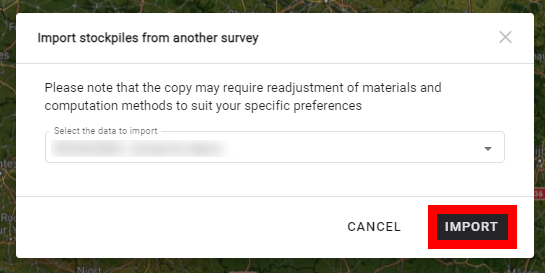
Step 2 - Click on “Import”.
The stockpiles are imported from the source survey.
2.11 Synchronize materials from another survey
Important information
Synchronizing materials from another survey allows setting materials on all stockpiles by relying on the stockpile name/material association from another survey. To date, it is not guaranteed that a given advanced stockpiles keeps the same name between two surveys. It is recommended to use this feature for self-service stockpiles only.
Step 1 - Select “Synchronize materials from another survey”
This option is only available if another survey contain the same stockpiles category as the current survey (self-service stockpiles/self-service stockpiles or advanced stockpiles/advanced stockpiles).
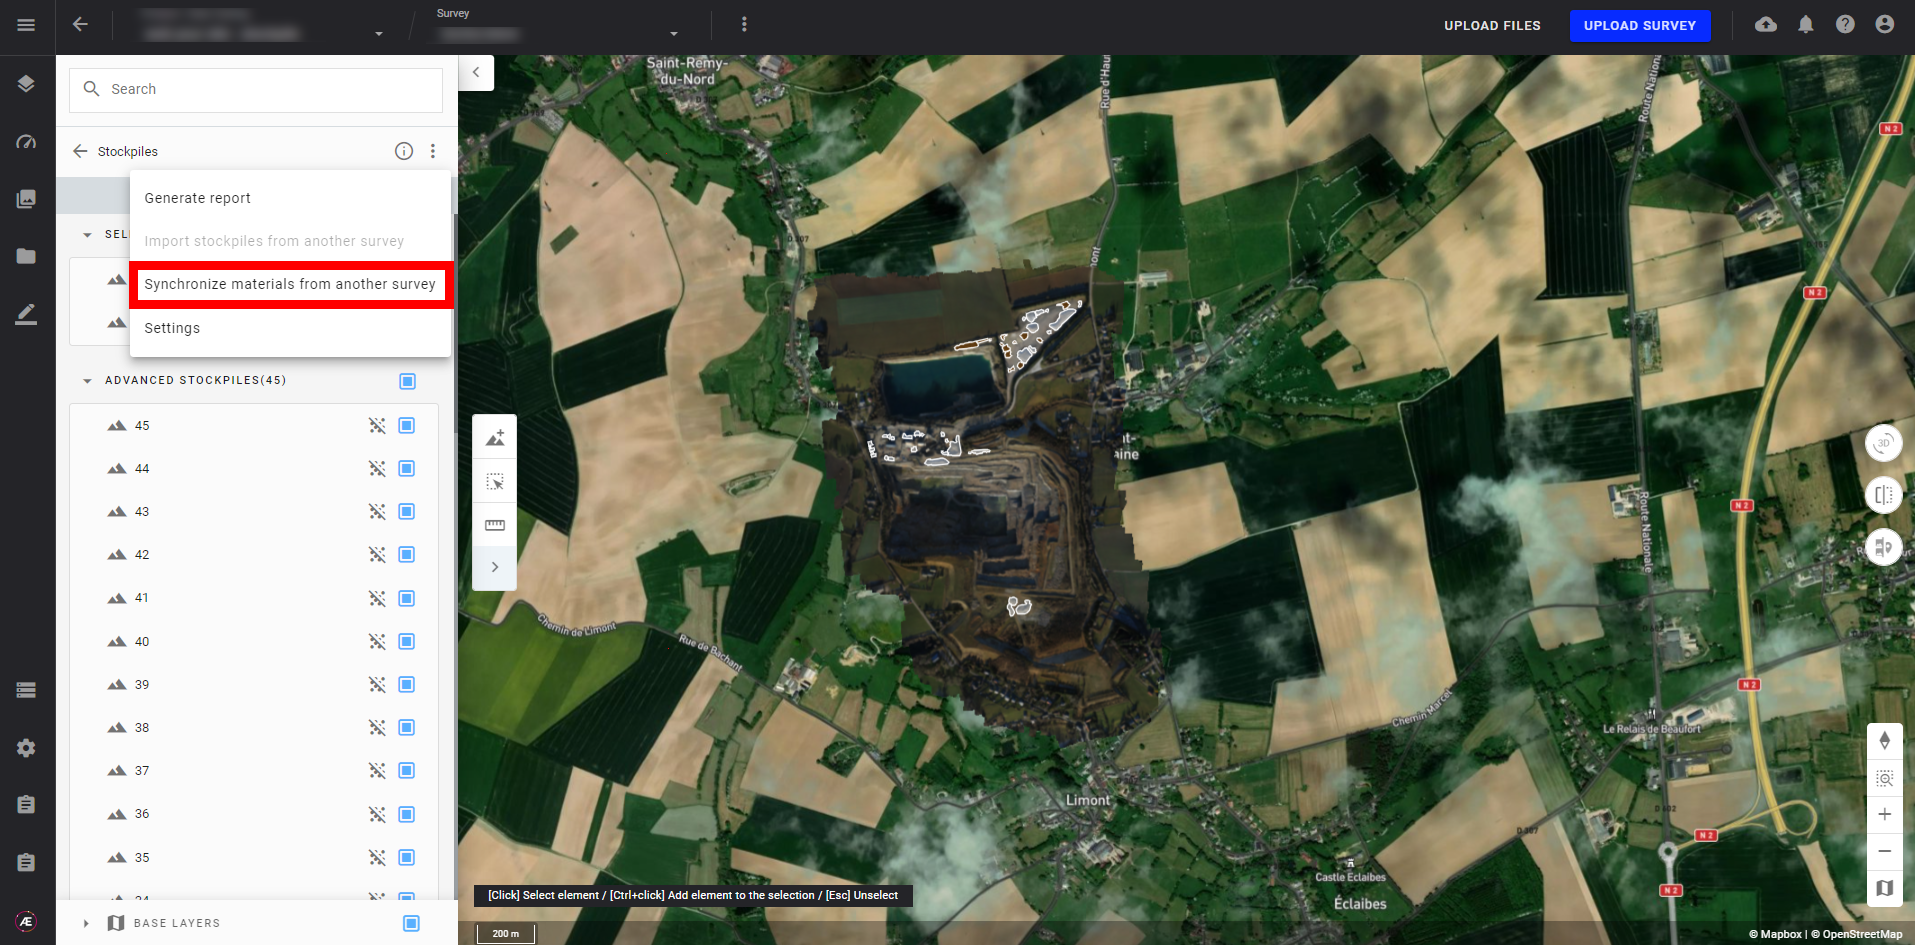
The following window will be displayed:
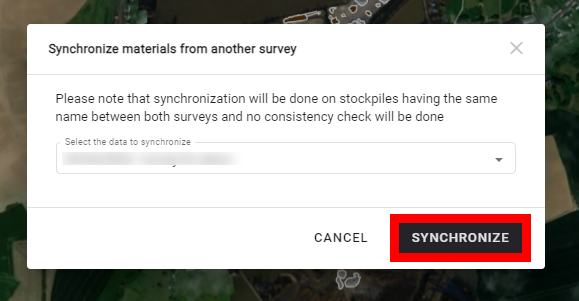
Step 2 - Click on “Synchronize”.
The stockpiles having the same name in the source survey, are updated with the materials coming from the source survey.
3 Viewing general metrics outside the stockpiles module
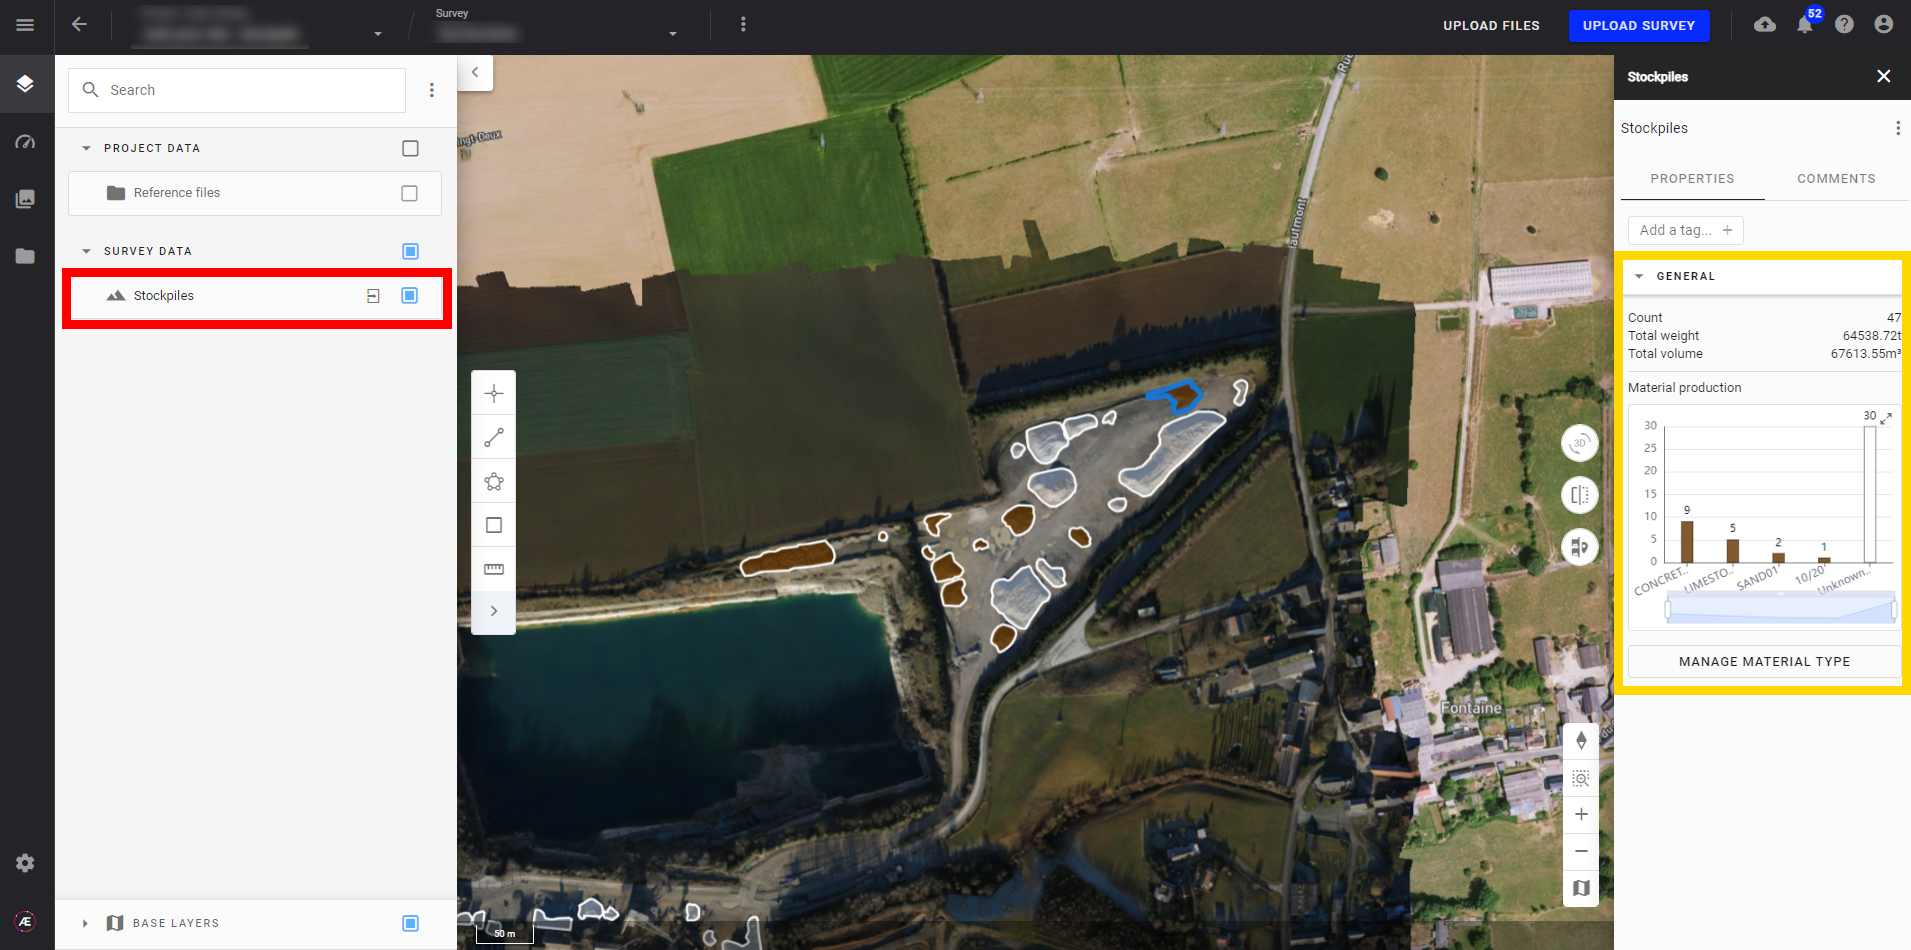
- Go back to the layers panel by clicking on the “← Stockpiles” button, then click on the "Stockpiles" checkbox in the left menu panel to display stockpiles.
Warning
Stockpiles that have materials assigned to them will be displayed in brown, and stockpiles that don't have them are displayed by default in white.
Note : stockpiles having materials from the company inventory assigned to them, will be displayed in brown
- Click on the "Stockpiles" in the left menu panel, a generic information panel will open with all the stockpiles. This information panel will show information such as the total number of stockpiles, the total weight, and the total volume. It will also display a chart with the material types and the number of piles that belong to that material type.
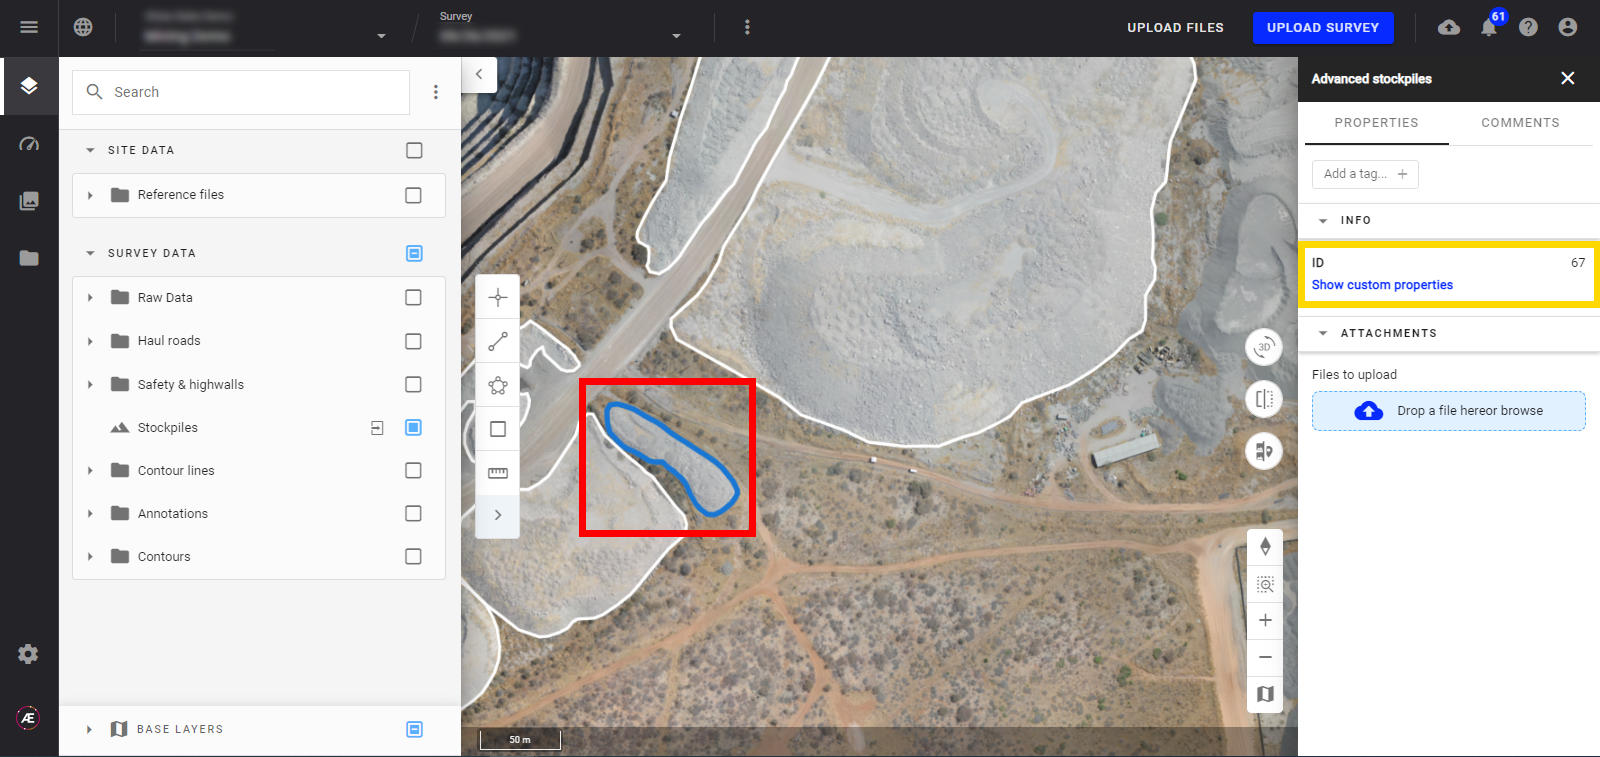
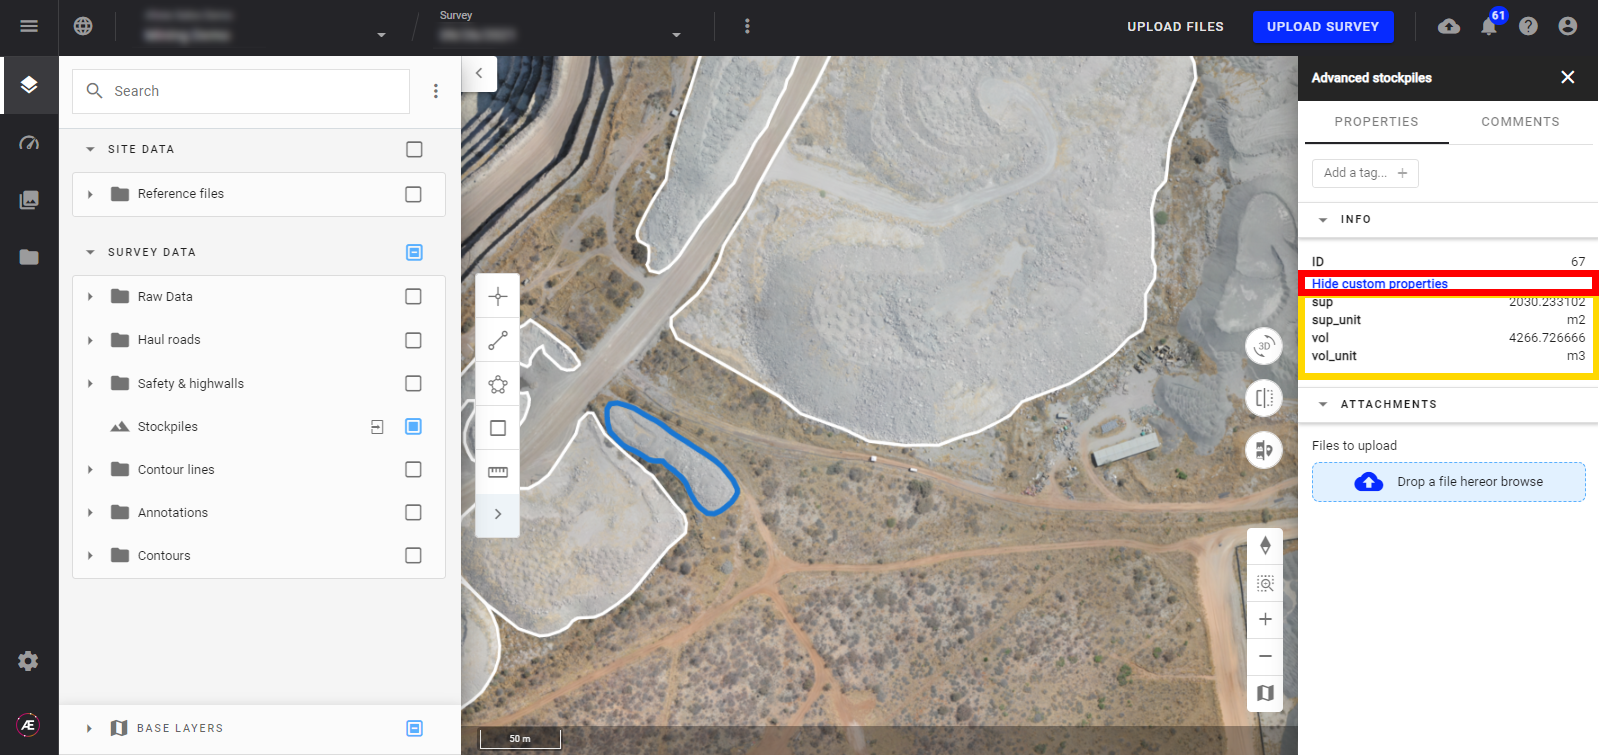
- Click on one of the stockpiles on the map to open the right panel with information specific to that selected pile, such as the stockpile iD. Click on "Show custom properties", and the panel will display volume, volume unit, and area. of that selected stockpile.