

Launch Analytics
1. Description
This article is about the generic process of launching analytics.
2. Pre-requisites
- the analytics is available on your company
- if the analytics is external (custom), then you must have permission to launch custom analytics (an administrator account is not sufficient. A role of type "custom analytic launcher" is required)
3. Workflow
Step 1 - Login to the platform.
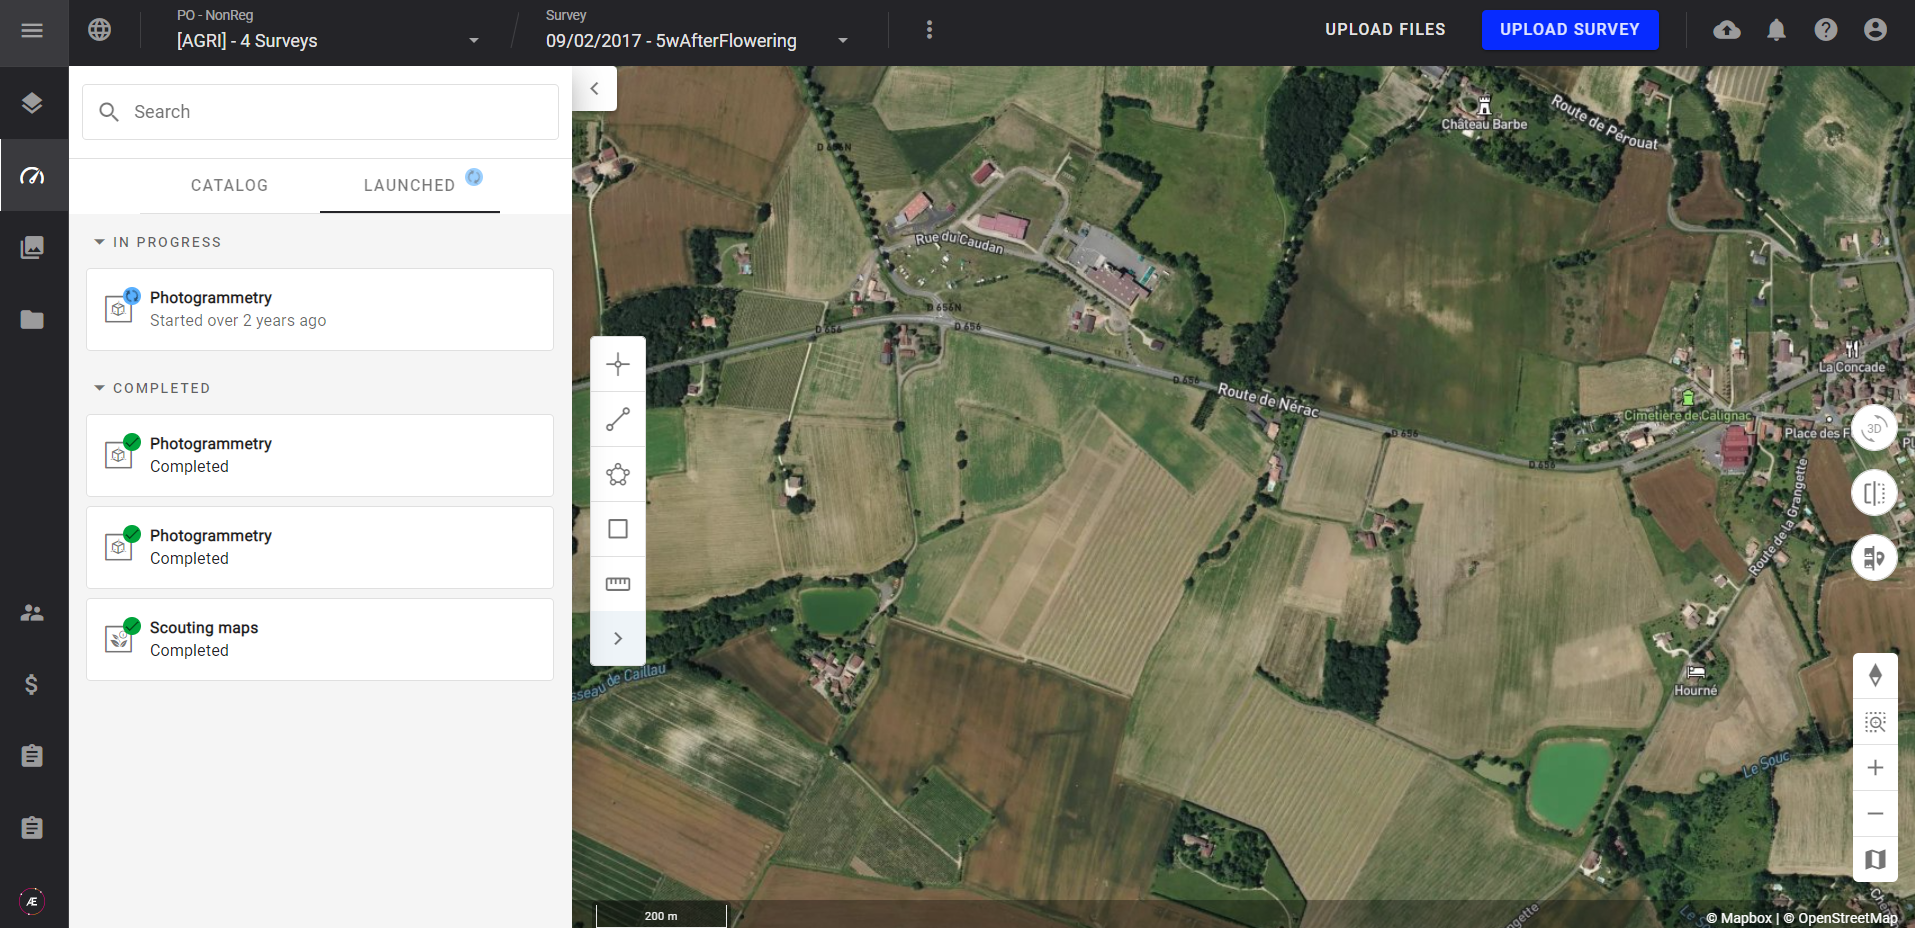
Step 2 - Select the company and the project to run the analytics.
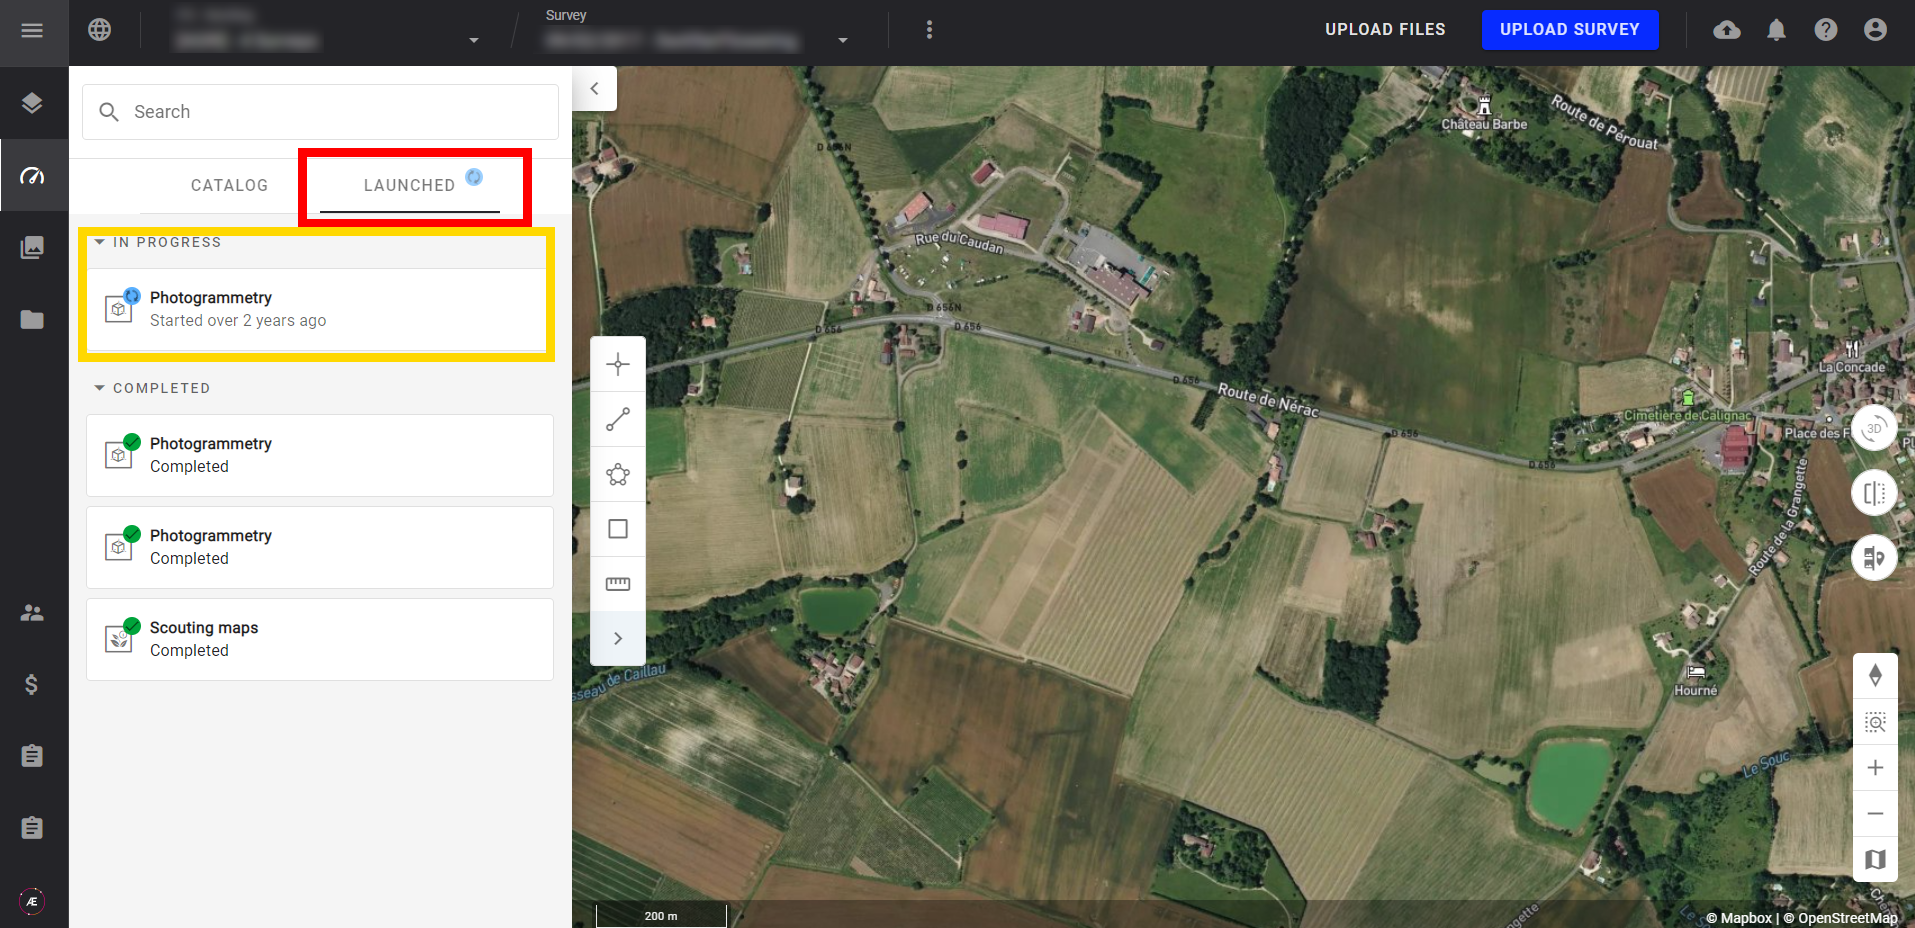
Step 3 - Click on the analytics button, and the analytics tab is deployed.

Step 4 - Select the analytic you want to launch.

Step 5 (optional) - Select the analytics version if a select box is proposed on the Version field.
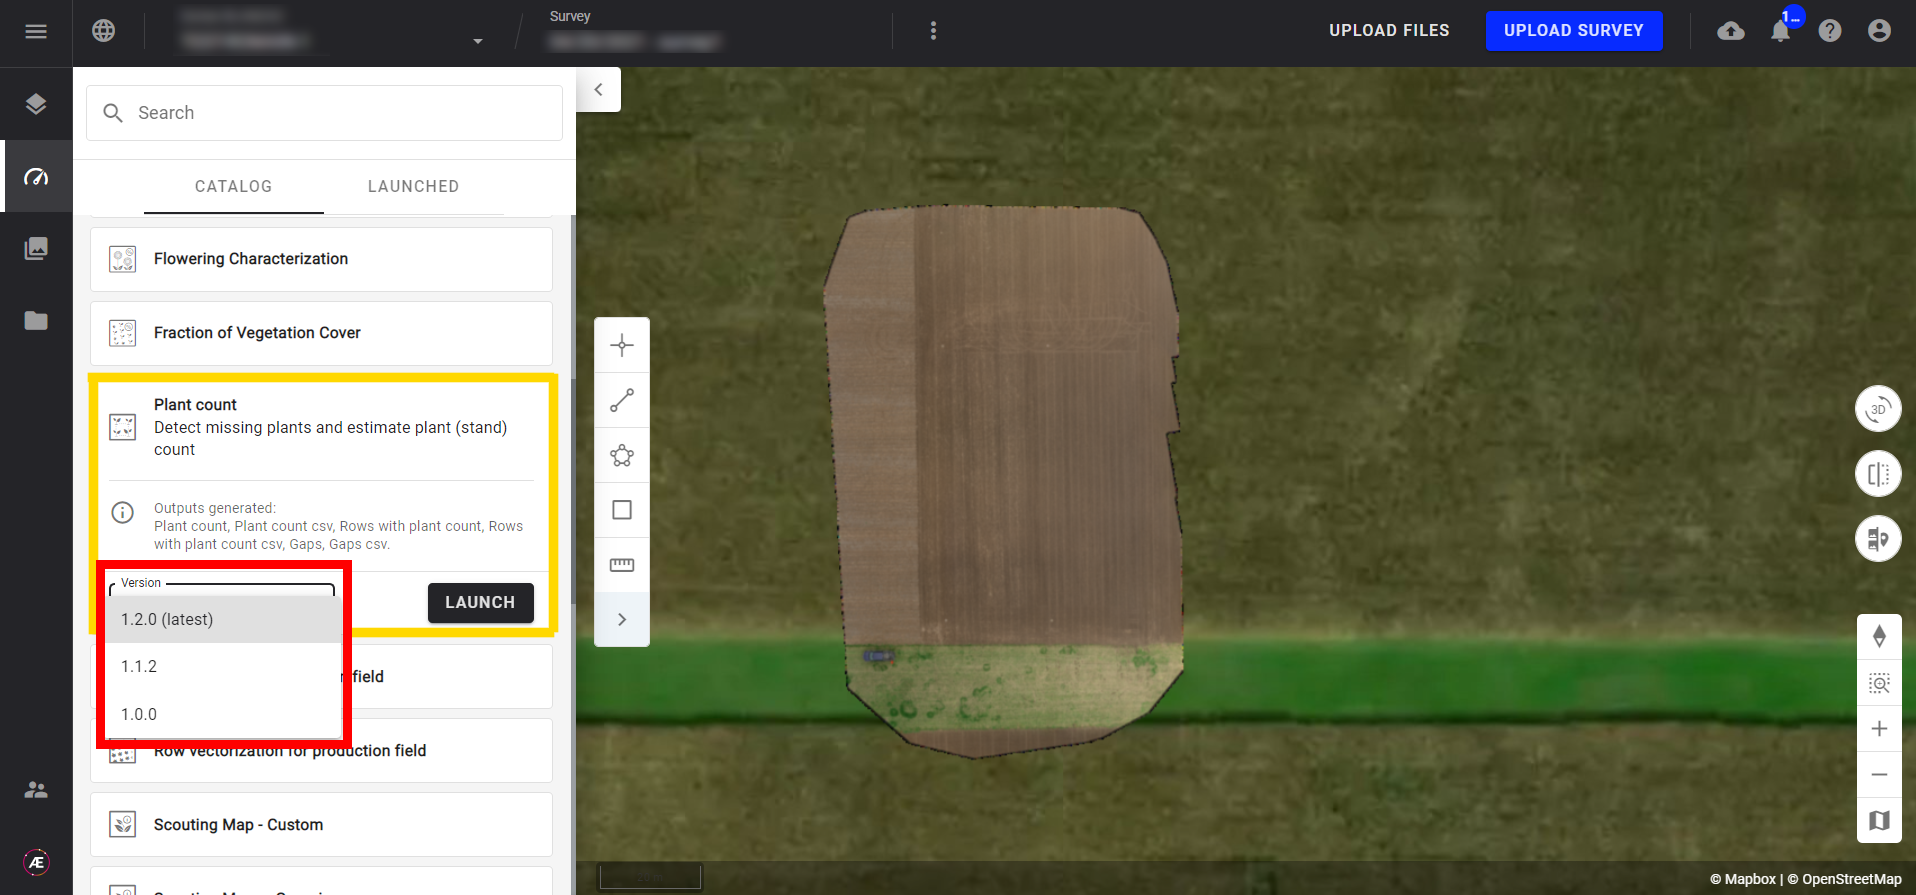
Step 6 - Click on "LAUNCH".
A wizard opens, with several steps, depending on the analytic you chose. The first step is always the selection of inputs.

Step 7 - Select inputs
If needed, make a search to refine the list of inputs.
Once inputs selected, click on "NEXT STEP"
4. Results
When the analytics will be completed, a notification message will be displayed with a link to view the survey data. After clicking on this link, you will be redirected to the layers menu.
