

Annotation explorer
List all annotations available on a specific project.
1. Description
The Annotation Explorer lists all the annotations created on all surveys of a specific project. The user can visualize this list, filter it according to different criteria, click on a line to get details on a specific annotation, do bulk actions such as update, export or delete on selected annotations.
2. Access to annotation explorer
To open Annotation explorer, go to Data Studio, and select a project. Click on this icon  to open the Annotation explorer
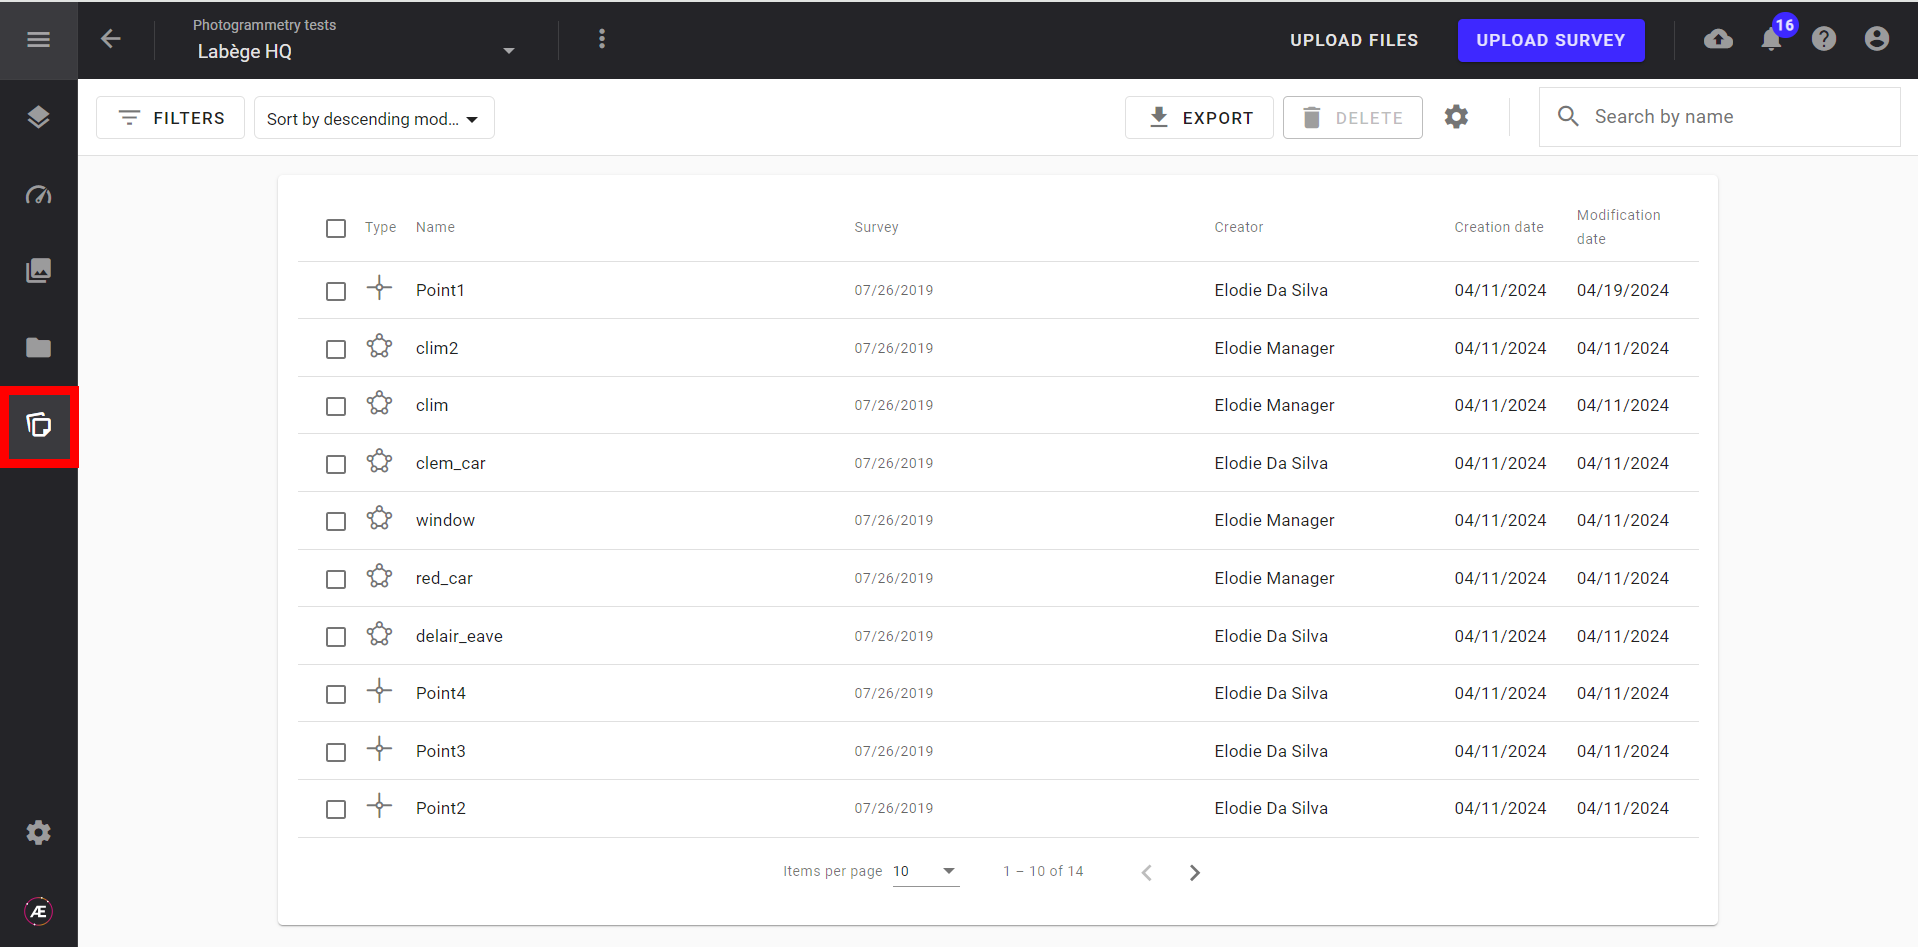
3. Dasboard
This view presents all annotations of all surveys of the selected project.
The columns are the following :
- Type: Geometric shape of the annotation (polygon, line or point)
- Category: Indicates if the annotation is a “Note” or an “Issue”
- Survey: Name of the survey on which the annotation has been created
- Folder : Indicates in which folder (layer group) the annotation is.
- Creator: Name of the user who created the annotation
- Creation date: Creation date of the annotation
- Modification date: Modification date of the annotation.
- Component, defect, severity, priority, actions, status, custom: for issues only, list of attributes of the annotation.
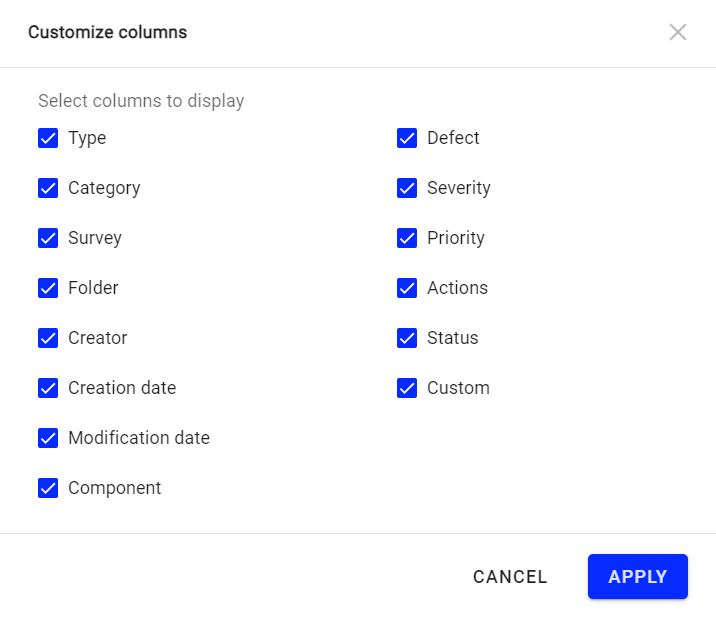
The user can choose to display or hide some columns by clicking on this button : 
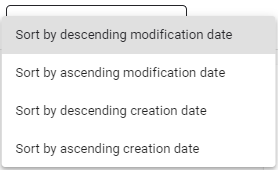
By default, the annotations are ordered by “modification date”, from the recent one to the oldest one. The user can change this order, selecting “sort by descending modification date” :
3.1. Filters
The user can filter the displayed annotations according to the following criteria:
- Survey
- Creation date
- Creator
- Category (note or issue)
- If “Issue” is selected, the user can also filter on issue attributes : component, defect, severity, priority, actions, status, custom
To do so, click on “FILTERS” button above the table. Define the filter criteria and click on “APPLY”.
The list of annotations is filtered according to the defined criteria.

Note
If several filters are activated, the table only displays annotations satisfying all defined criteria.
In addition, there is a “Search by name” field on top of the global view, enabling the user to find a given annotation quicker.

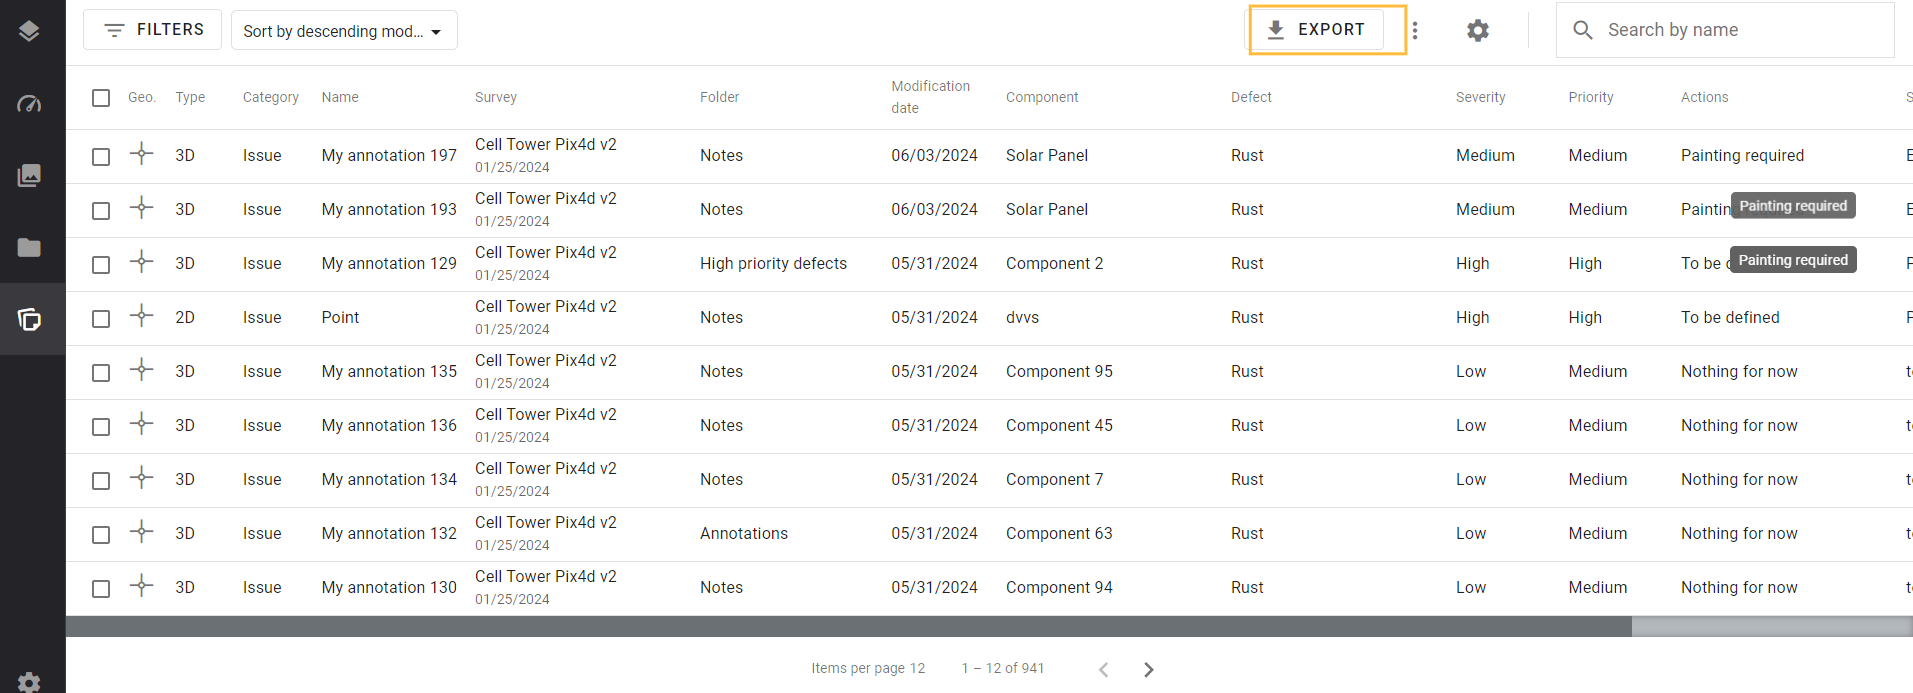
3.2. Export
The user can export the list of annotations by clicking on the “EXPORT” button, on top right of the page. It will generate a CSV file with the annotations details.
Note
If no filters are set, all annotations in the project will be exported. If filters are set, only filtered annotations will be exported. If annotations are selected, only the selected annotations will be exported.
In all cases, only the first 1000 rows will be exported.
3.3. Bulk actions
The user can do actions on a selection of annotations by clicking on the “…” button. First select the list of annotations to be edited on the left column, then click on the “…” button and choose the bulk action to apply.
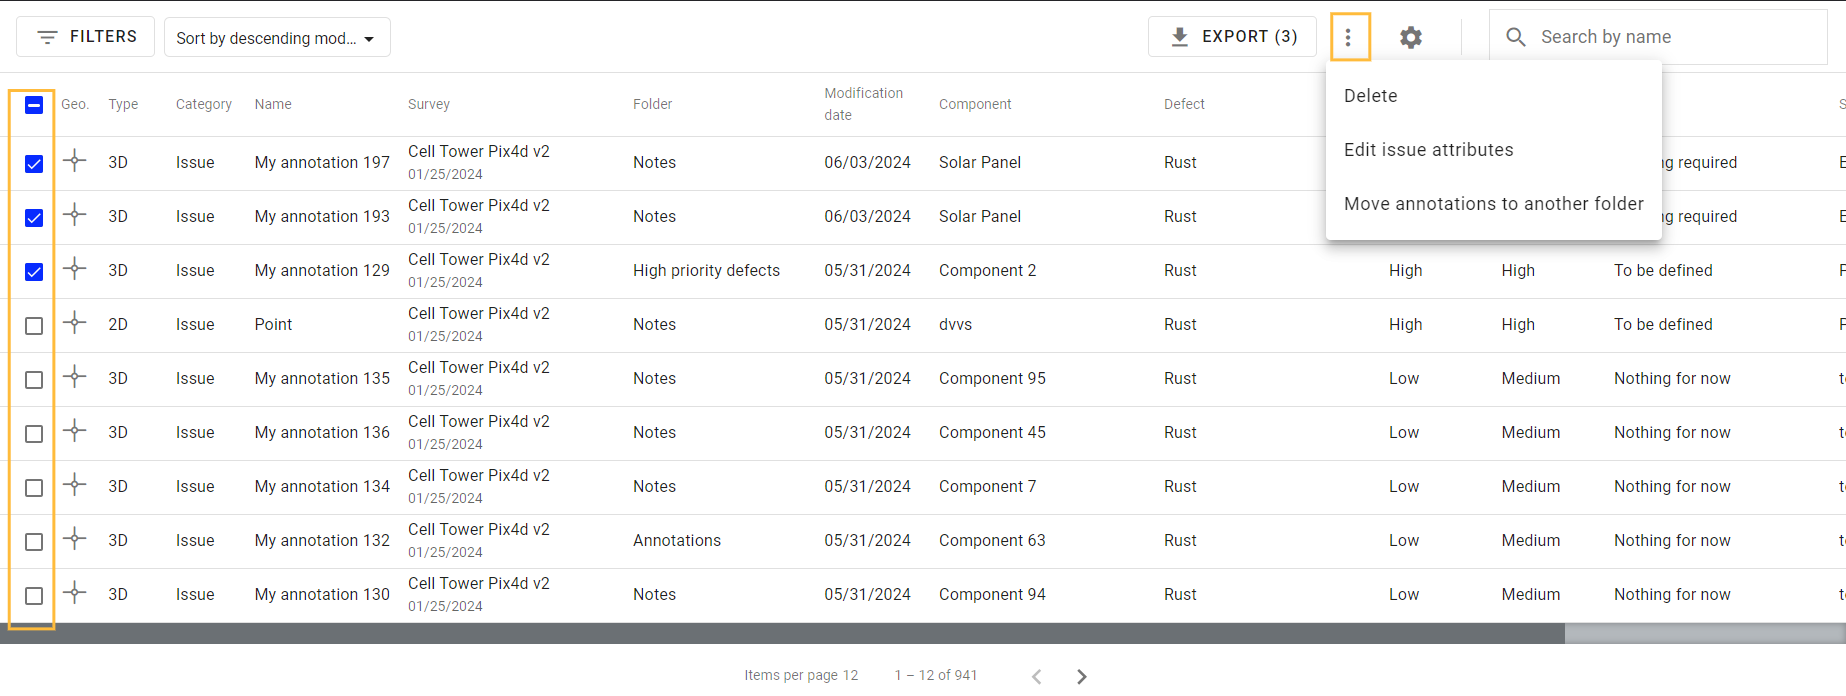
There are 3 bulk actions :
- Delete
- Edit issue attributes : available if all selected annotations have the category “issue”
- Move annotations to another folder : available if no annotations with type “image” is selected.
3.3.1. Delete
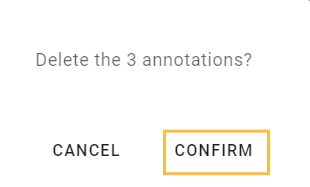
Once annotations you want to delete selected, click on “Delete”. A confirmation message appears. Click on “CONFIRM” to validate the deletion of annotations.
3.3.2. Edit issue attributes
Once annotations you want to edit selected, click on “Edit issue attributes”. It opens the following window :
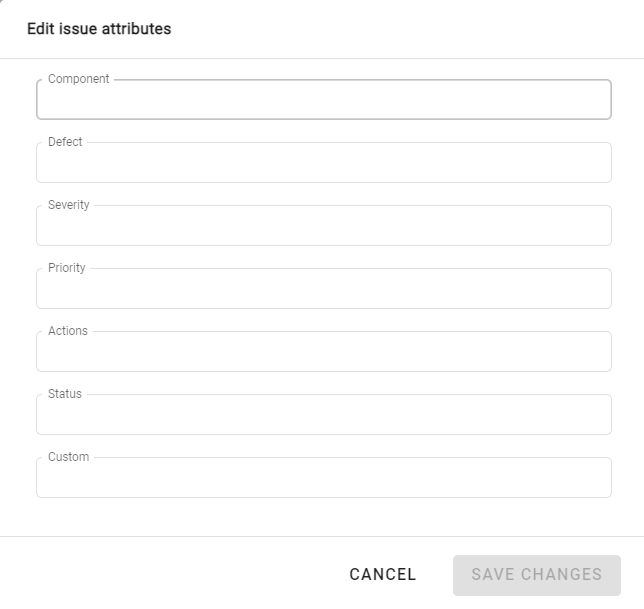
Enter the attributes you want to update for all annotations.
Note
Only filled attributes will be replaced. For example, if you enter “Rust” in the field “Defect”, it means that for all issues, the attribute “Defect” will be updated to “Rust”. If you don't fill in “Severity” or “Priority”, these attributes will keep the their value, they will not be erased.
Once all attributes updated, click on “SAVE CHANGES”. The attributes of issues are updated accordingly.
3.3.3. Move annotations to another folder
Once annotations you want to move to another folder selected, click on “Move annotations to another folder”. In opens the following window:

Select the folder you want to move annotations to, and click on “SAVE CHANGES” : annotations folder are updated accordingly.
4. Detailed view
Clicking on a specific raw in the table opens a panel with annotation details..
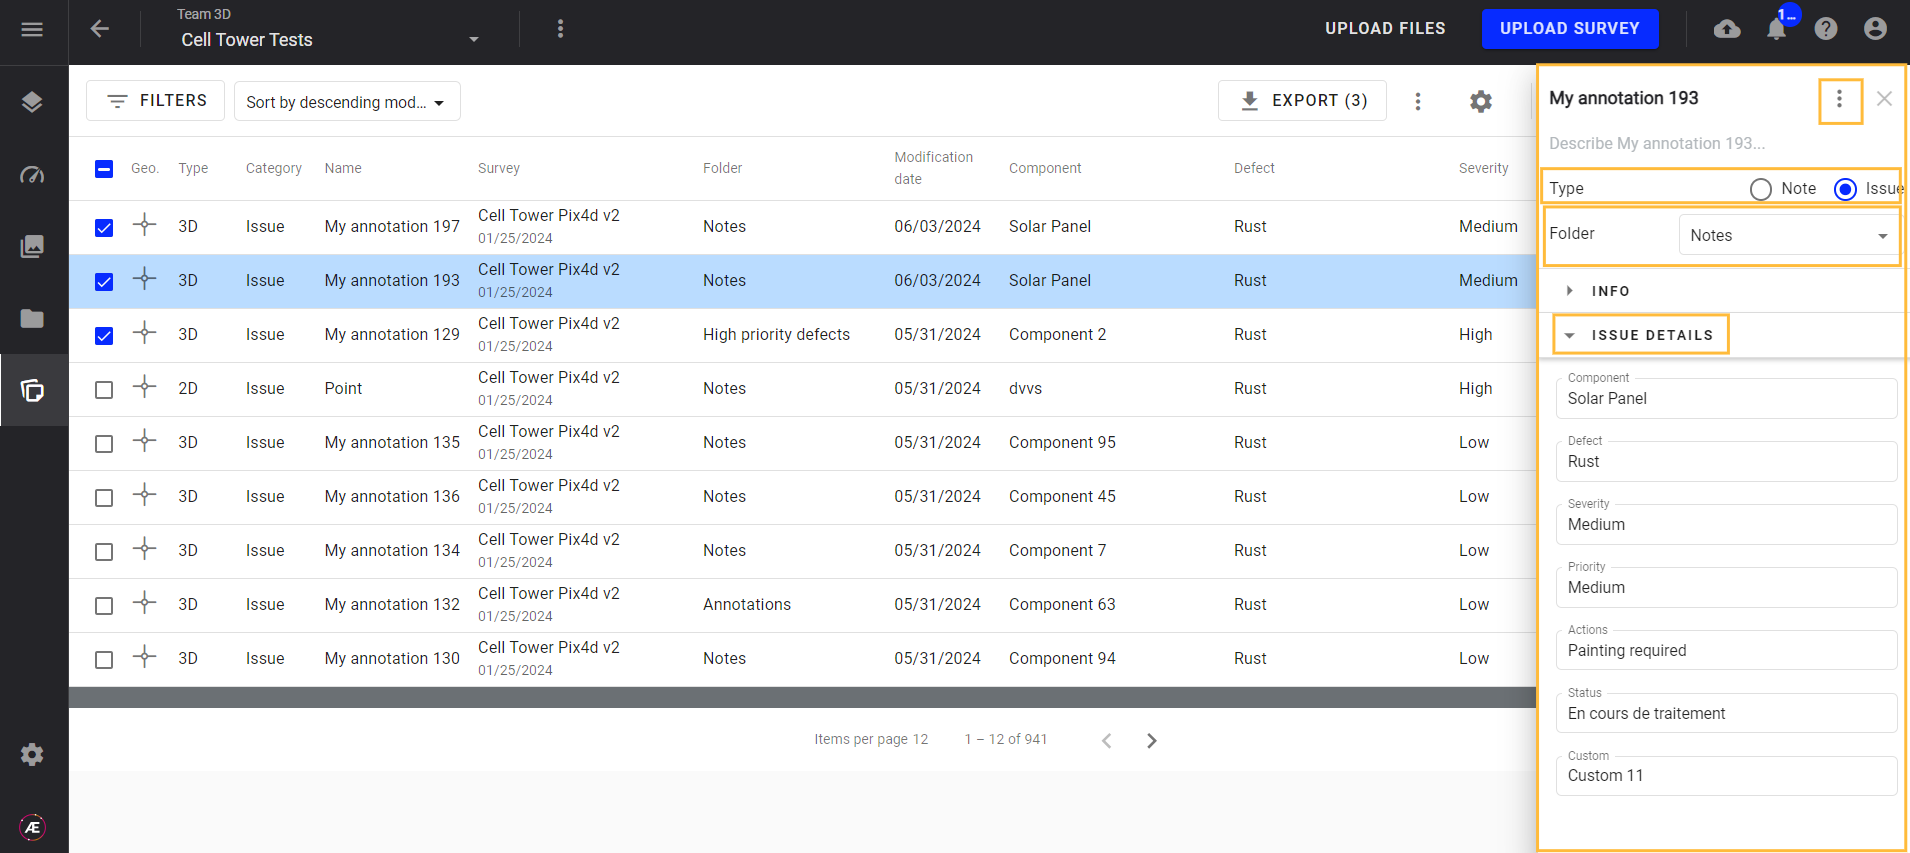
By clicking on the  button, the user can do several actions on the selected annotation:
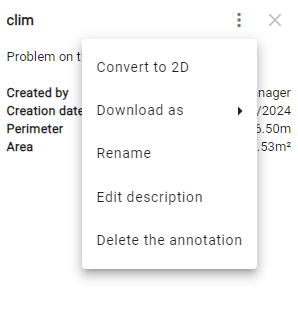
From this menu, the user can also change the annotation category (issue vs note), change the annotation from one folder to another and edit issue attributes.
